Mixtable is an online spreadsheet, designed from the ground up to bulk edit and analyze Shopify data.
Got a question? We're here to help! Reach out at [email protected], and we'll get back
to you promptly.
Mixtable’s spreadsheet interface simplifies the process of choosing an image for a specific product variant. You can either select an existing image from the product the variant belongs to or upload a new one.
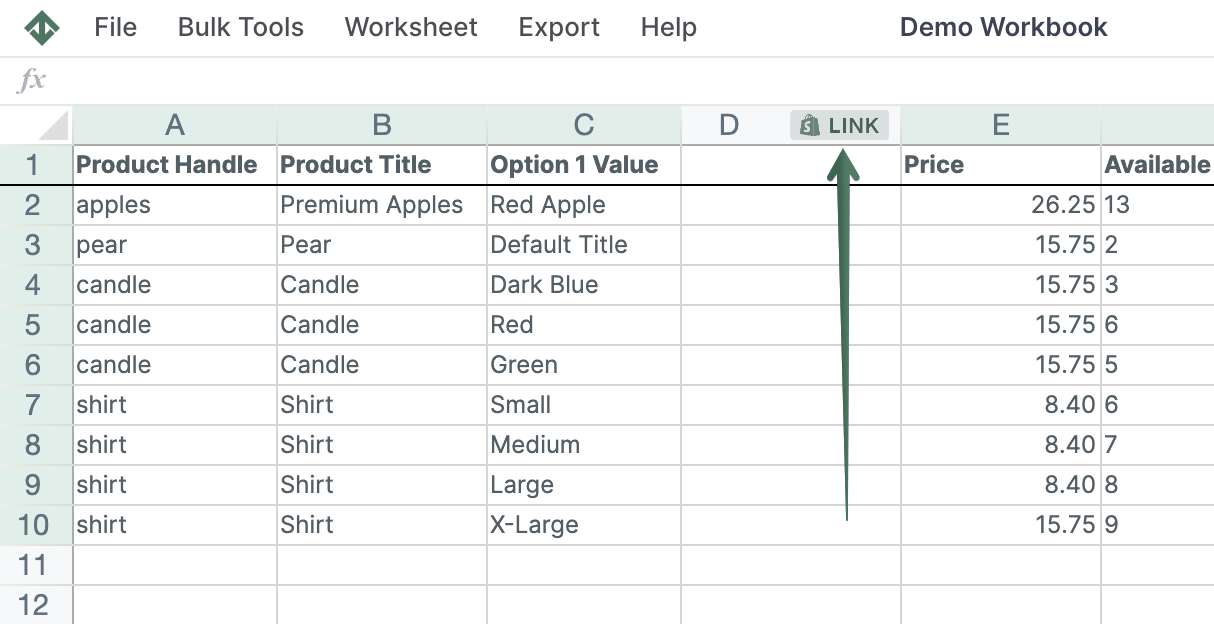
First, ensure you have a Products (with variants) worksheet in your workbook for the Shopify store whose variants you’re modifying. With this worksheet in place, you’ll need to designate a column for the variant image.
To load new Shopify data, start by selecting an empty column — any column with a non-green header (green headers mean the column is already linked to Shopify data). Then, click the ⚡️ button in the column header to open the selection window to choose the data you want to pull in.
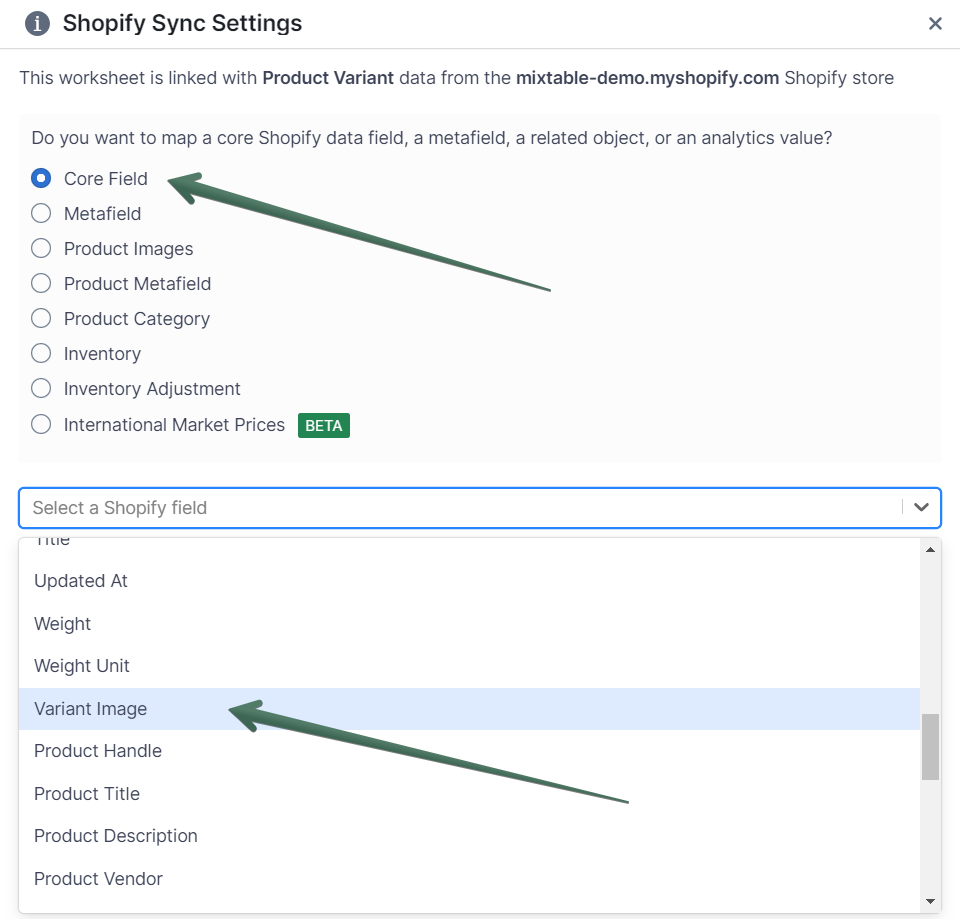
In the window that opens, select Shopify data fields, and then Variant Image from the dropdown menu.
Click the Save button to save the new column mapping.
You’ll see the new column start populating almost immediately with thumbnails of any images currently assigned to your variants. Mixtable populates the cells in the column using the IMAGE function, which holds the URL of the image as a parameter.
Leveraging the power of the Excel-style IMAGE function in Mixtable allows users to efficiently manage Shopify product variant images within the convenience of their spreadsheets. By using a URL as a parameter, the IMAGE function enables seamless display and updating of images within cells.
https://example.com/image.jpg, the function appears as: =IMAGE("https://example.com/image.jpg")https://example.com/new-image.jpg, update the function accordingly: =IMAGE("https://example.com/new-image.jpg")The Change button visible in each variant image cell allows you to set the variant image to another image associated with the product or upload a new one. Clicking the button brings up the Set Variant Image widget. The widget allows you to set the image for a given variant from the set of images already belonging to the same product, or by uploading a file from your computer.
You're ready!
Mixtable is an online spreadsheet designed to sync data with Shopify. It looks, feels, and behaves like Excel (including formulas), but runs in your browser. With Mixtable you can:
Best of all, you can sync changes back to Shopify with a single click. Find out more about the Mixtable suite of products here.