Add or remove Shopify products to collections in bulk
Add or remove Shopify products to collections in bulk
Adding products to Manual collections in Shopify can be done in several ways. Here, we’ll discuss adding products to Collections via:
- CSV export/import;
- Spreadsheet app (Mixtable), where you can add products in bulk and sync them back to Shopify with one click.
Use CSV export/import to add products to collections
Shopify allows for CSV (comma-separated values) export of data and then, after making changes, importing it back into Shopify. Here’s how to add products to collections via CSV:
-
From Admin > Products, click Export in CSV
-
The Collections column is not included in the CSV export. You can add a new column, name it Collections, and include information about the product collections in it.
-
Add information about the Collection for each product:
- If you assign an existing automatic collection to a product, then the product needs to meet the conditions for the collection (e.g., it needs to have a certain tag).
- A manual collection will be created if the collection name you enter in the field doesn’t already exist.
-
Import the CSV file back into Shopify.
Add products to collections in bulk with a spreadsheet editor
There is an easier way to manage your Product Collections with the help of a spreadsheet app like Mixtable. With Mixtable, you have all the spreadsheet functionality you are familiar with (filter, find-replace, sorting, etc.) combined with access to your Shopify data. The best part is that you can sync your changes to Shopify with one click!
Map products’ Manual Collections to a column in your worksheet
To add/remove products from Manual Collections, you start by installing Mixtable Spreadsheet Editor.
In a spreadsheet, create a worksheet that shows your Shopify Product data.
-
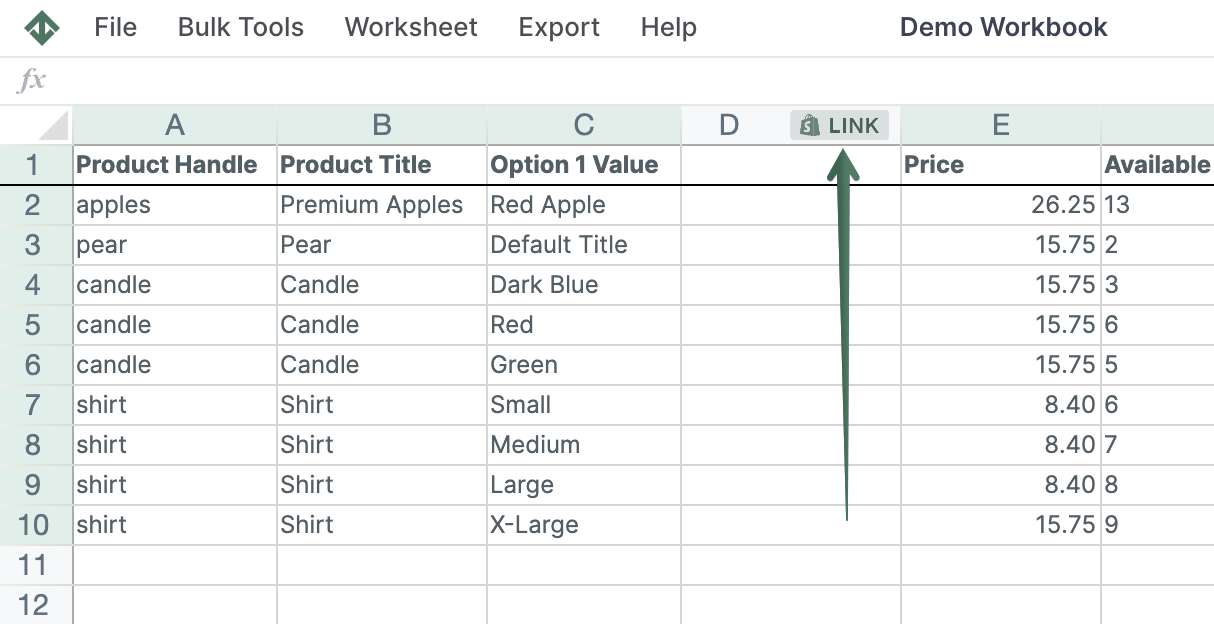
To load new Shopify data, start by selecting an empty column — any column with a non-green header (green headers mean the column is already linked to Shopify data). Then, click the
 button in the column header to open the selection window to choose the data you want to pull in.
 -
In the dialog that opens, select the Shopify data fields option. A dropdown menu will appear, prompting you to choose the field you want to sync. Find and select the Product Collections field. Now, click on the Save Column button.
-
You'll now see the column populate with any existing Product Collections data.
You’ll now see that the new column is set up to show each product’s Manual Collections, and it will begin to populate with the handles of any existing Manual Collections that each product is in.
Add or remove Products from Shopify Collections using the Collection Picker
Now that your products’ collections are mapped to a column, and you can see the existing collections that a product is in, we can add/remove products from Manual Collections as needed. One way to do so is with the Collection Picker.
- In your worksheet, you’ll notice that all the cells in the new Collection-mapped column contain a button with a + symbol.
- When you click this button, you’ll open the Collection Picker widget. The Widget allows you to add or remove a product from a collection visually.
- With the Collection Picker active, select a collection’s checkbox to add a product to that collection or uncheck a checkbox to remove the product from the collection.
When you are done, click the Update cell with selected collections button. This will update the relevant cell with the handles of the collections that you’ve chosen for the product.
Note: Even though you’ve updated the cell’s value, these changes won’t sync to Shopify until you press the Sync to Shopify button. This allows you to make changes to your worksheet without sending them to Shopify and make the sync only when you are ready.
Add or remove Products from Collections with spreadsheet formulas
When you’ve mapped your products’ collections to a column, you’ll notice that each cell now contains the handles of the Manual Collections that a product is in. These cells behave just like any other cells, and you can edit them manually or set their value to a formula. If the handle of a collection ends up in the cell, then the product will be added to that collection when you click on the Sync to Shopify button.
This behavior allows you to modify the collections of products in bulk easily.
- You can use Excel-style formulas to set the collection handles for a number of products.
- You can also copy/paste collection handles from one cell to other cells to set the collections of several products in a single operation.
Add or remove products from collections with Action columns
Add the Action Columns spreadsheet functionality to an existing product worksheet to edit Shopify collections in bulk.
Note: The worksheet needs to show product information. You can create one using our Basic Product Info template, or add a Products (no variants) worksheet to an existing spreadsheet.
To load new Shopify data, start by selecting an empty column — any column with a non-green header (green headers mean the column is already linked to Shopify data). Then, click the button in the column header to open the selection window to choose the data you want to pull in.
You can quickly add or remove products once you link the Add to Collection and/or Remove from Collection columns to your products' spreadsheet. Here's how:
- Click the (+) button and select a new manual collection to which to add the product.
- Click the (+) button and deselect a manual collection from which you want to remove the product.
- You can use filtering and copy-paste to do that to multiple products.
- Click Send to Shopify.
- Allow some time for the changes to take place.
Find more about Action Columns functionality here.
You're ready!
Mixtable is an online spreadsheet designed to sync data with Shopify. It looks, feels, and behaves like Excel (including formulas), but runs in your browser. With Mixtable you can:
- Bulk add products to collections, edit metafields, add or remove tags;
- Change product prices, including international prices, and review price history;
- Manage customers with a spreadsheet CRM for Shopify;
- Use Excel features like sort ascending or descending, find-replace, filter, and more.
Best of all, you can sync changes back to Shopify with a single click. Find out more about the Mixtable suite of products here.
Manage Shopify data in a spreadsheet.
Use Mixtable to edit, sync, analyze, import, and export your Shopify store data without CSV juggling.