
CRM for Shopify in a Spreadsheet
 Spreadsheet Editor Updated October 6, 2026
 On this page
Many CRM tools are expensive, take time to set up, and come with far more features than a Shopify store needs. For many small and medium-sized stores, a spreadsheet works just as well: it’s easy to understand, easy to use, and easy to change as your needs grow.
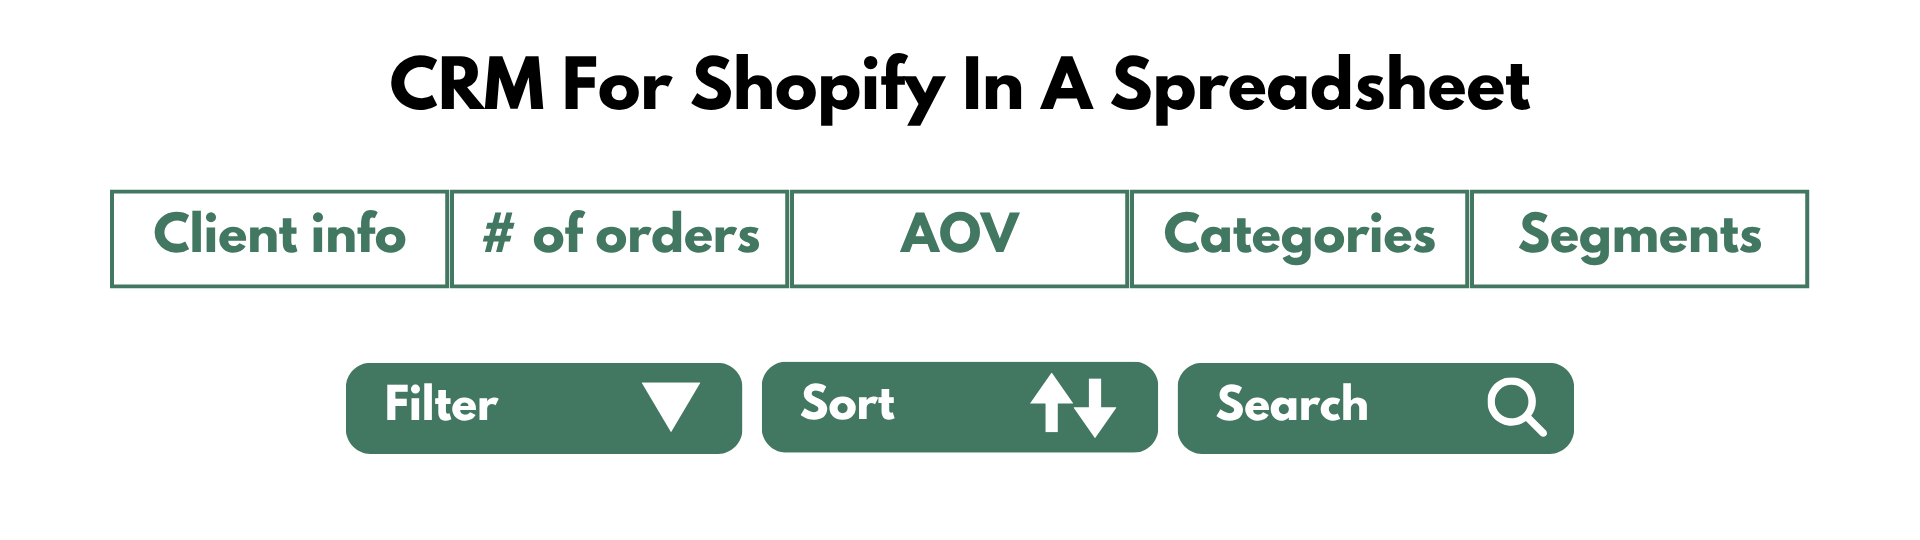
With Mixtable, you can build a spreadsheet CRM for your store in a few minutes, with the customer and order data that matters to you. New customers and changes from Shopify flow into the spreadsheet automatically, and you can update customer details such as tags and notes right in the cells and sync them back to Shopify.
Your CRM is a worksheet with one row per customer and exactly the columns you choose. It starts with a few of the most-used customer fields, and you can remove the ones you don’t need and add any others.
How to create your CRM worksheet
- Open Mixtable
- Open the spreadsheet you want to use, or create a new one
- Click the + at the end of the worksheet tabs (or choose Worksheet > Add worksheet…), select Shopify data worksheet, and click Continue
- Choose Customers, pick the columns you want, and click Continue
- Choose Load everything, or choose Only rows that match rules to load only some of your customers (see conditional worksheets below)
- Click Create Worksheet
Mixtable fills the worksheet with the customers from your Shopify store. If you have a lot of customers, it may take a little while for all of them to load.
Customer data fields
These are the customer fields you can add as columns:
- Shopify Store URL
- Created At
- First Name
- Last Name
- Language
- Shopify ID
- Last Order ID
- Last Order Name
- Multipass Identifier
- Note
- Number Of Orders Placed
- Phone
- Customer Status
- Tags
- Tax Exempt
- Total Amount Spent
- Updated At
- Verified Email
- Email Marketing Consent - State
- Email Marketing Consent - Opt-in Level
- Email Marketing Consent - Consent Updated At
- SMS Marketing Consent - State
- SMS Marketing Consent - Opt-in Level
- SMS Marketing Consent - Consent Updated At
- SMS Marketing Consent - Consent Collected From
- Default Address - Line 1
- Default Address - Line 2
- Default Address - City
- Default Address - Company
- Default Address - Country
- Default Address - Country Code
- Default Address - First Name
- Default Address - Last Name
- Default Address - Name
- Default Address - Phone
- Default Address - Province / State
- Default Address - Province Code
- Default Address - Postal Code / Zip Code
You can edit Email, First Name, Last Name, Language, Phone, Note, Tags, Tax Exempt, and Multipass Identifier, then sync your changes to Shopify. The other fields, such as Total Amount Spent and the default address, are there for you to view, sort, and filter.
Find customers with filtering, search, and sorting
Once your customers are in a worksheet, you can quickly find the people you’re looking for.
Filter Shopify customer data
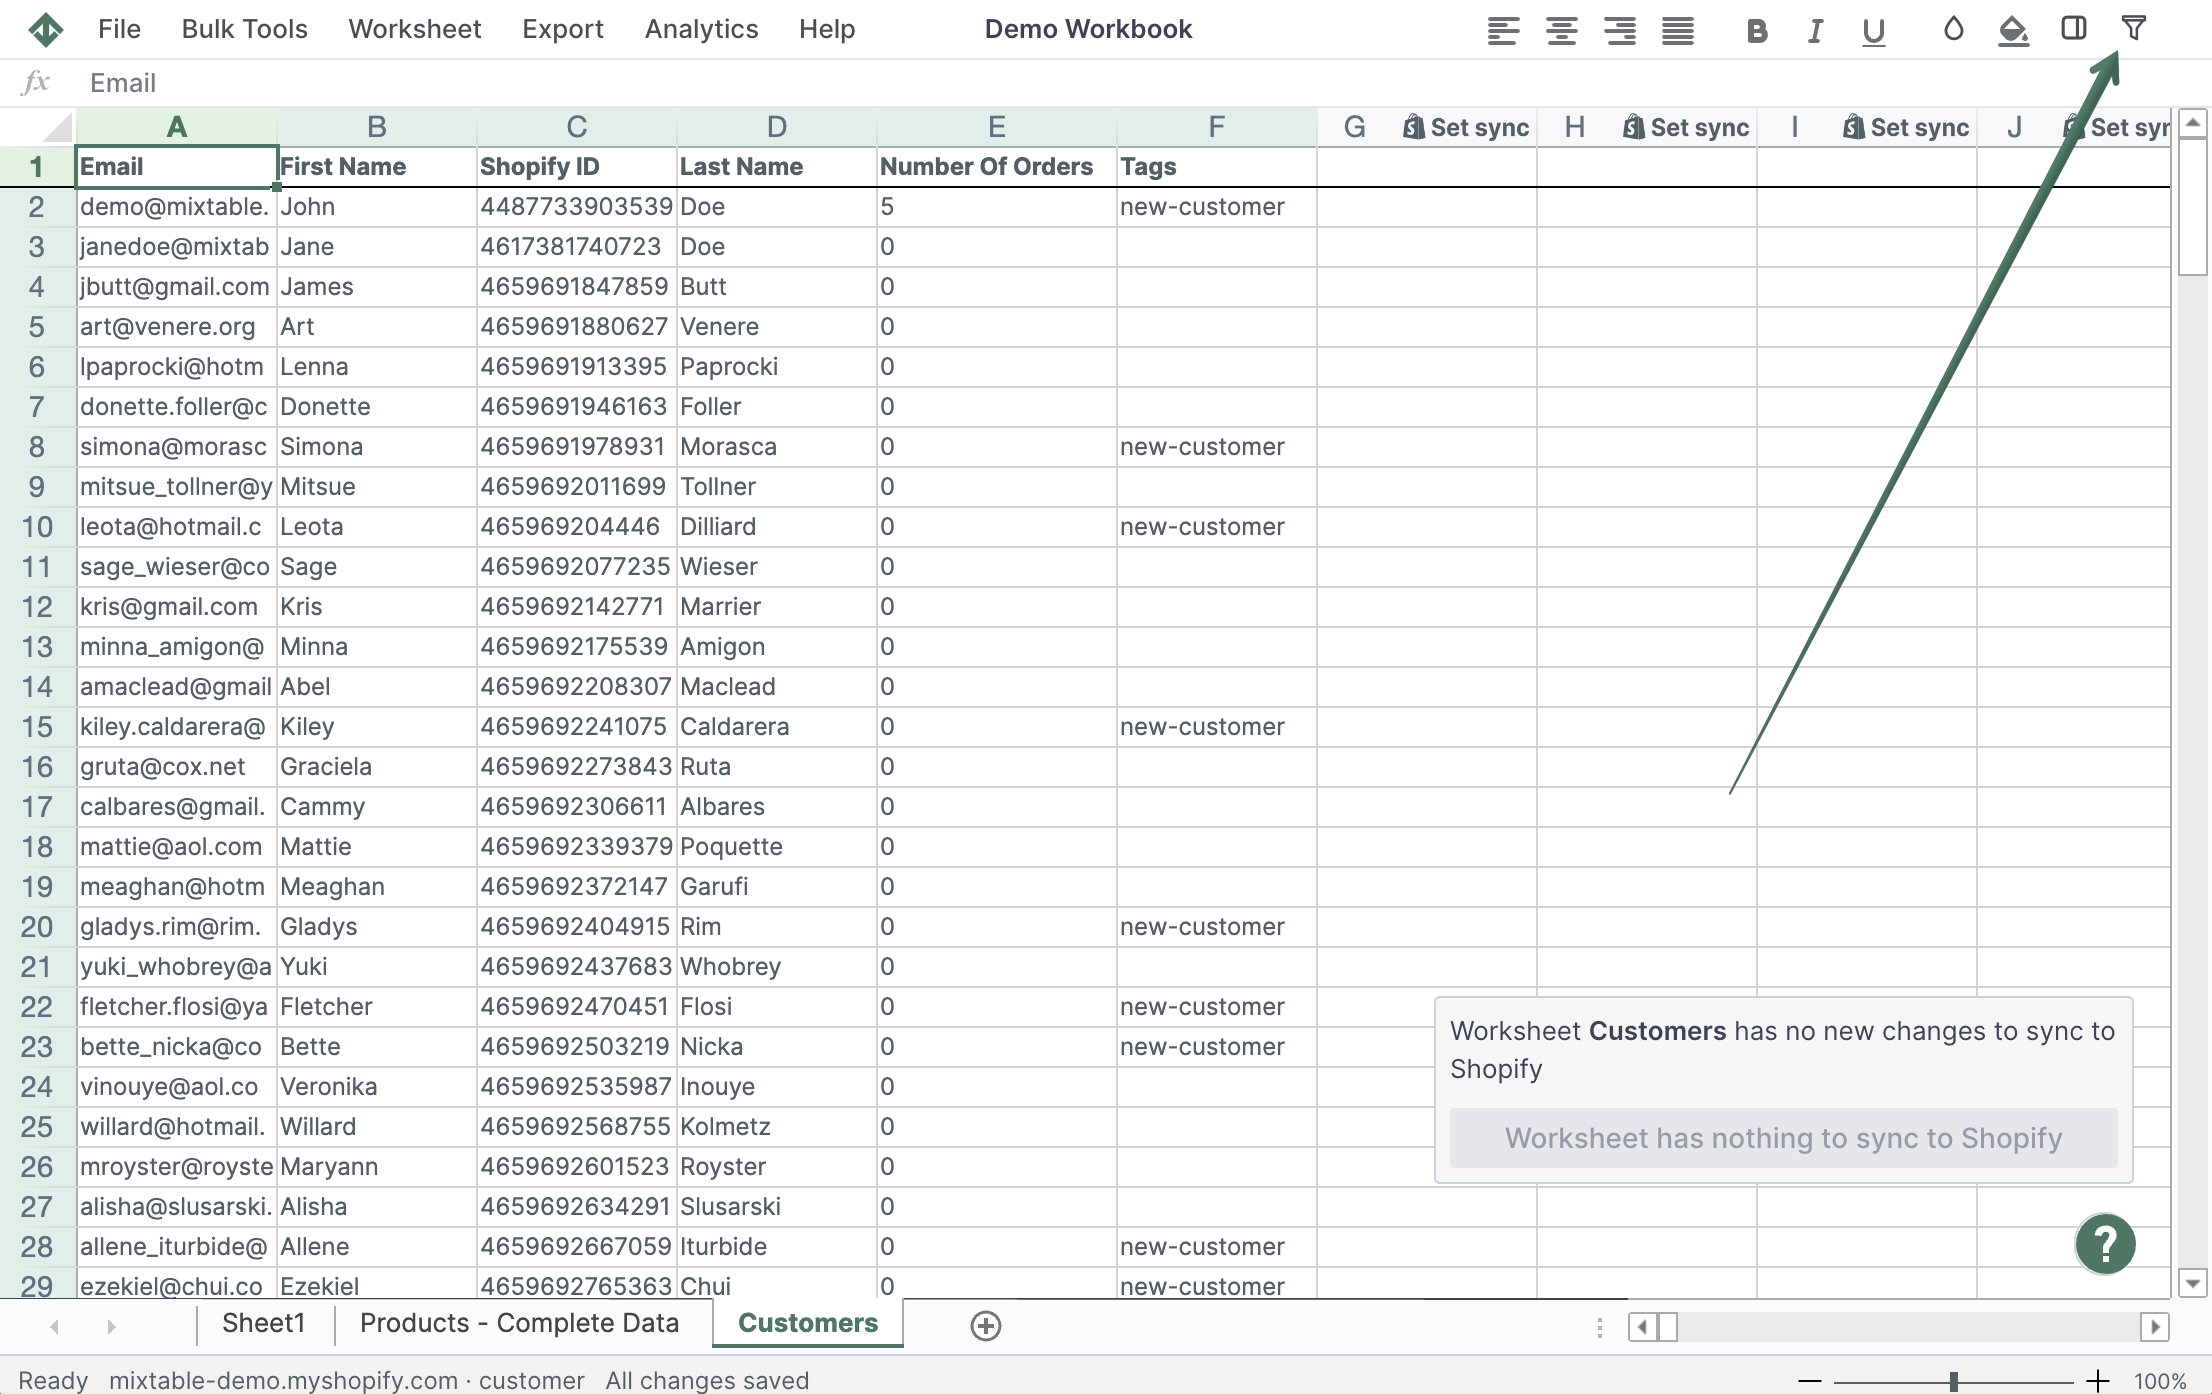
Click Filter in the toolbar to turn on filtering.
- A ▼ button appears in each cell of the header row
- Click a column’s ▼ button to open its filter menu and set what you want to see
The text filters work like the ones in Excel. For example, you can show only the rows where a column contains a word, matches a word exactly, or doesn’t contain a word. Use them to filter by email, tags, order count, and more.
Sort Shopify customer data
Sorting puts the customers you care about most at the top. For example, sort Number Of Orders Placed in descending order to see your most loyal customers first, or in ascending order to see customers with the fewest orders.
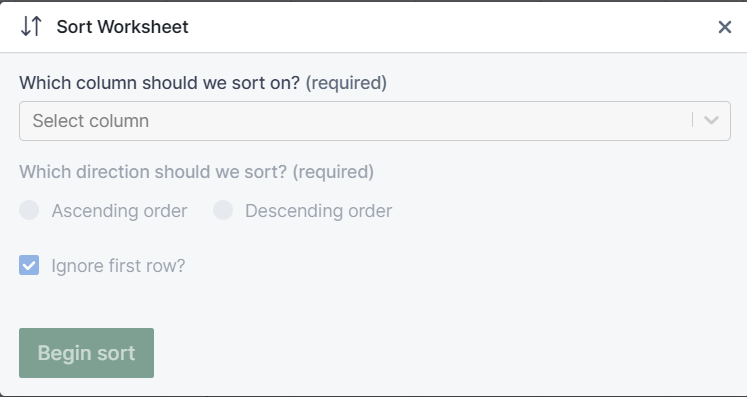
- Click Sort in the toolbar, or choose Worksheet > Sort Worksheet from the menu bar
- Under Which column should we sort on?, pick the column. The list shows each column that has data, with the value of its first cell
- Under Which direction should we sort?, choose Ascending order or Descending order
- Click Begin sort
Mixtable rearranges the rows right away. Learn more about sorting your data.
Search for customer information
To find the cells that contain a name, email, tag, or any other value:
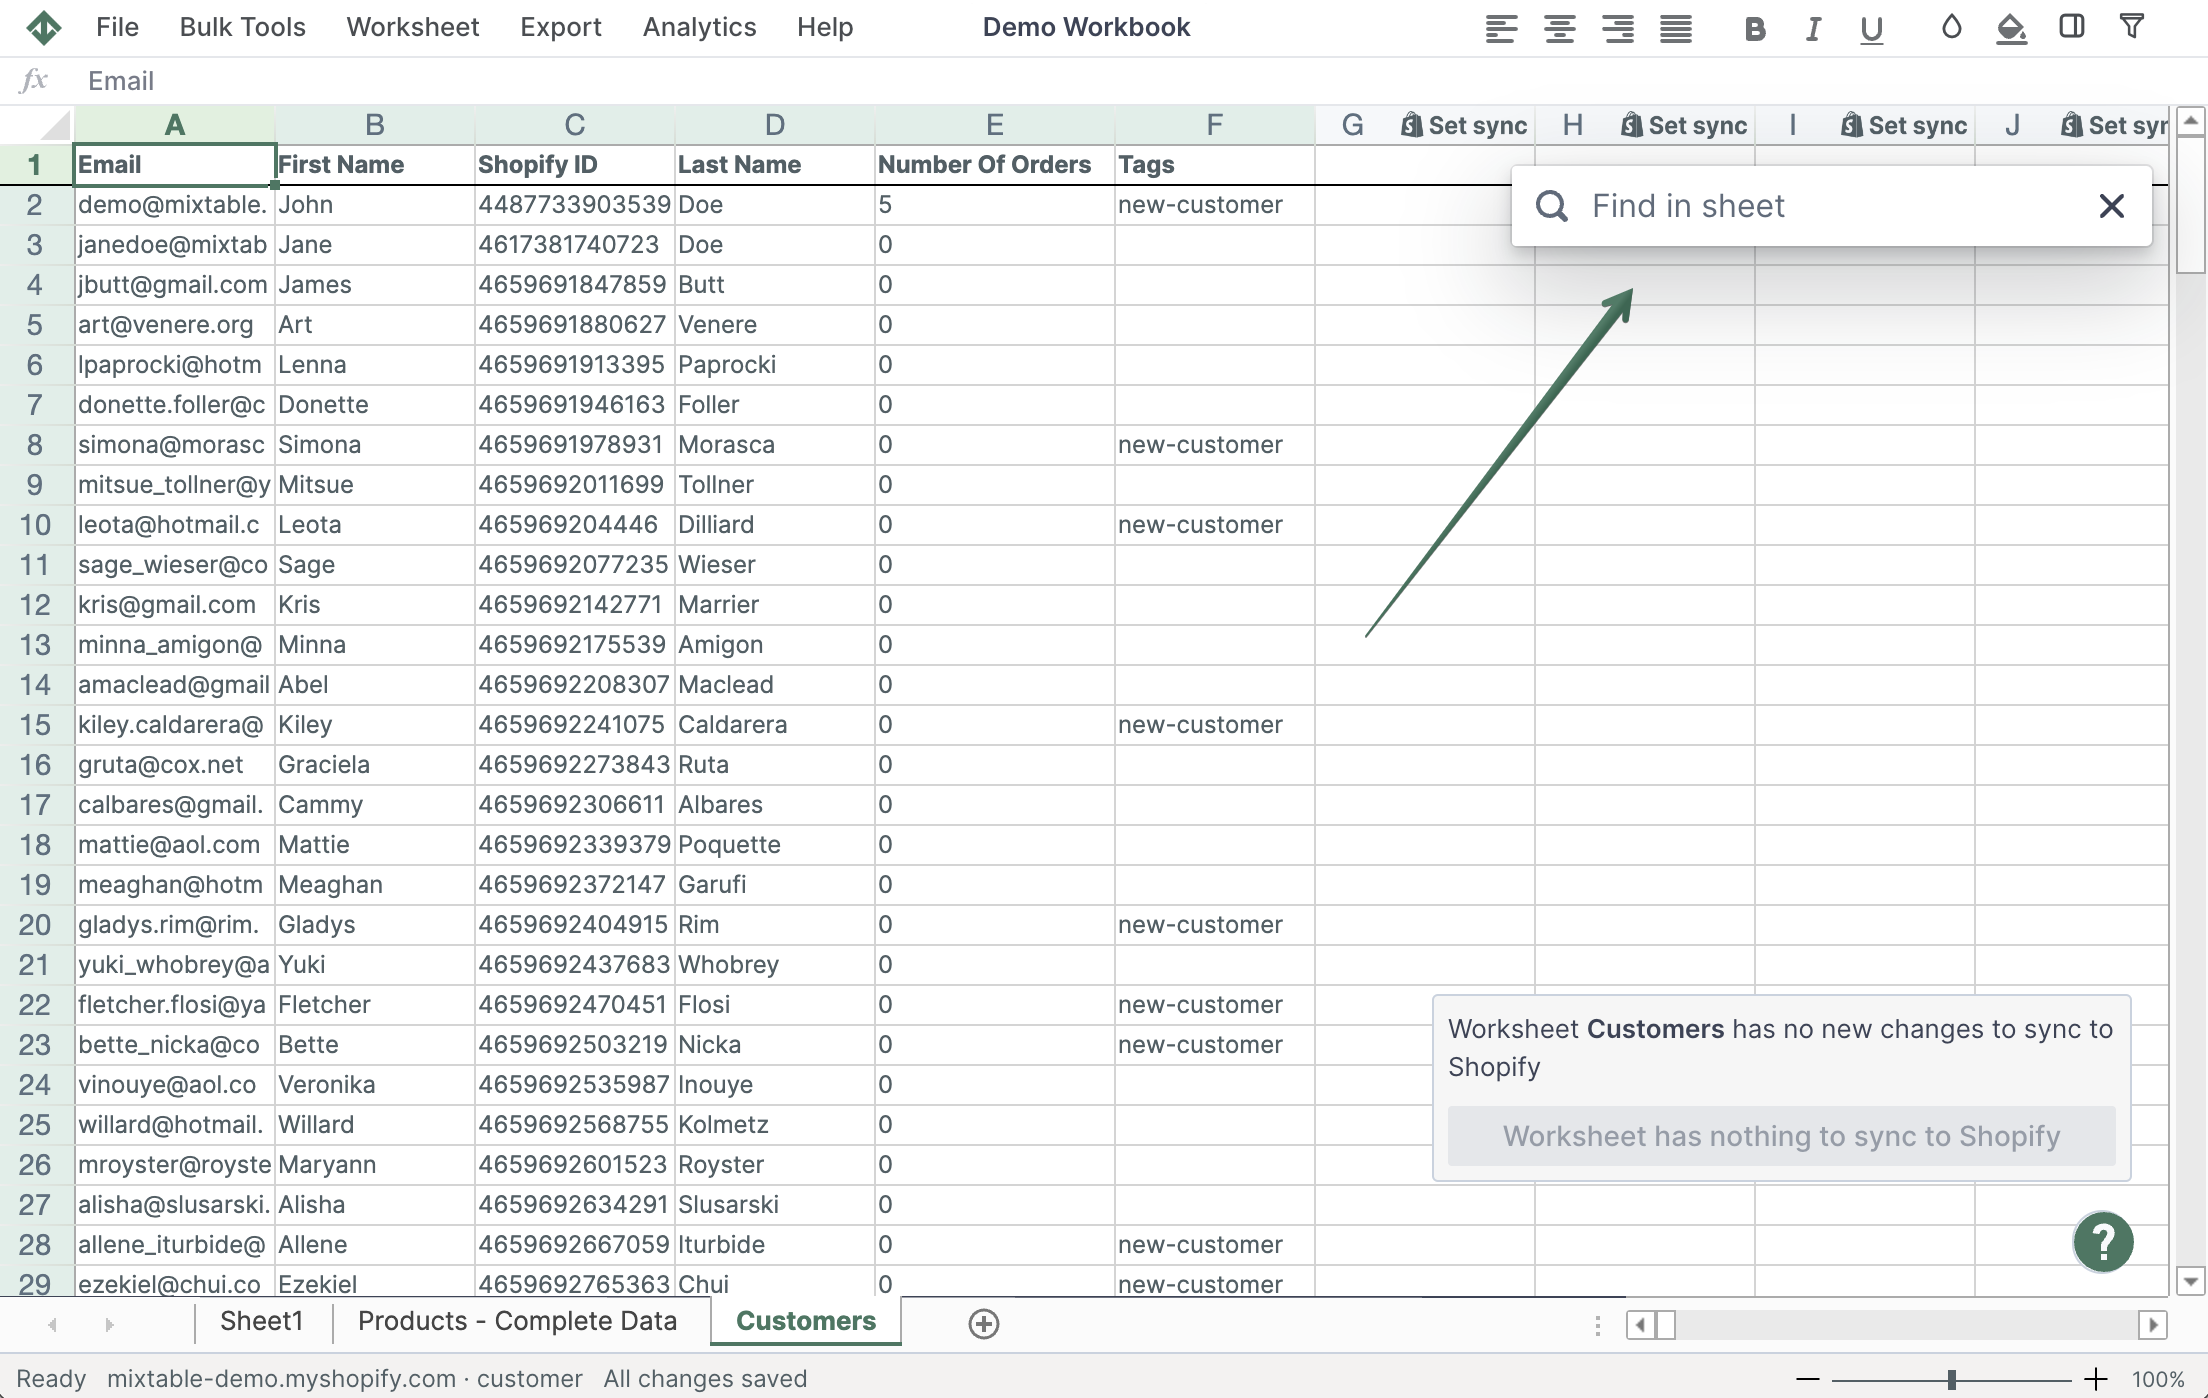
- Click Find in the toolbar, choose Worksheet > Find in worksheet, or press Ctrl+F (Cmd+F on a Mac). The search panel opens at the top right of the worksheet
- Type what you’re looking for in the Search cells… box. Mixtable searches the worksheet as you type
- Click Prev or Next to move between matching cells, or click a result in the list to jump straight to it
Learn more about searching your data.
Use colors to highlight information
Colors make a long customer list easier to scan. For example, you could color your wholesale customers blue or flag customers who need a follow-up.
- Select the cells you want to color
- Click the Fill color button (the paint bucket) in the toolbar and choose a color
- To remove the color, choose white, or click Clear formatting in the toolbar, which also removes other formatting such as bold
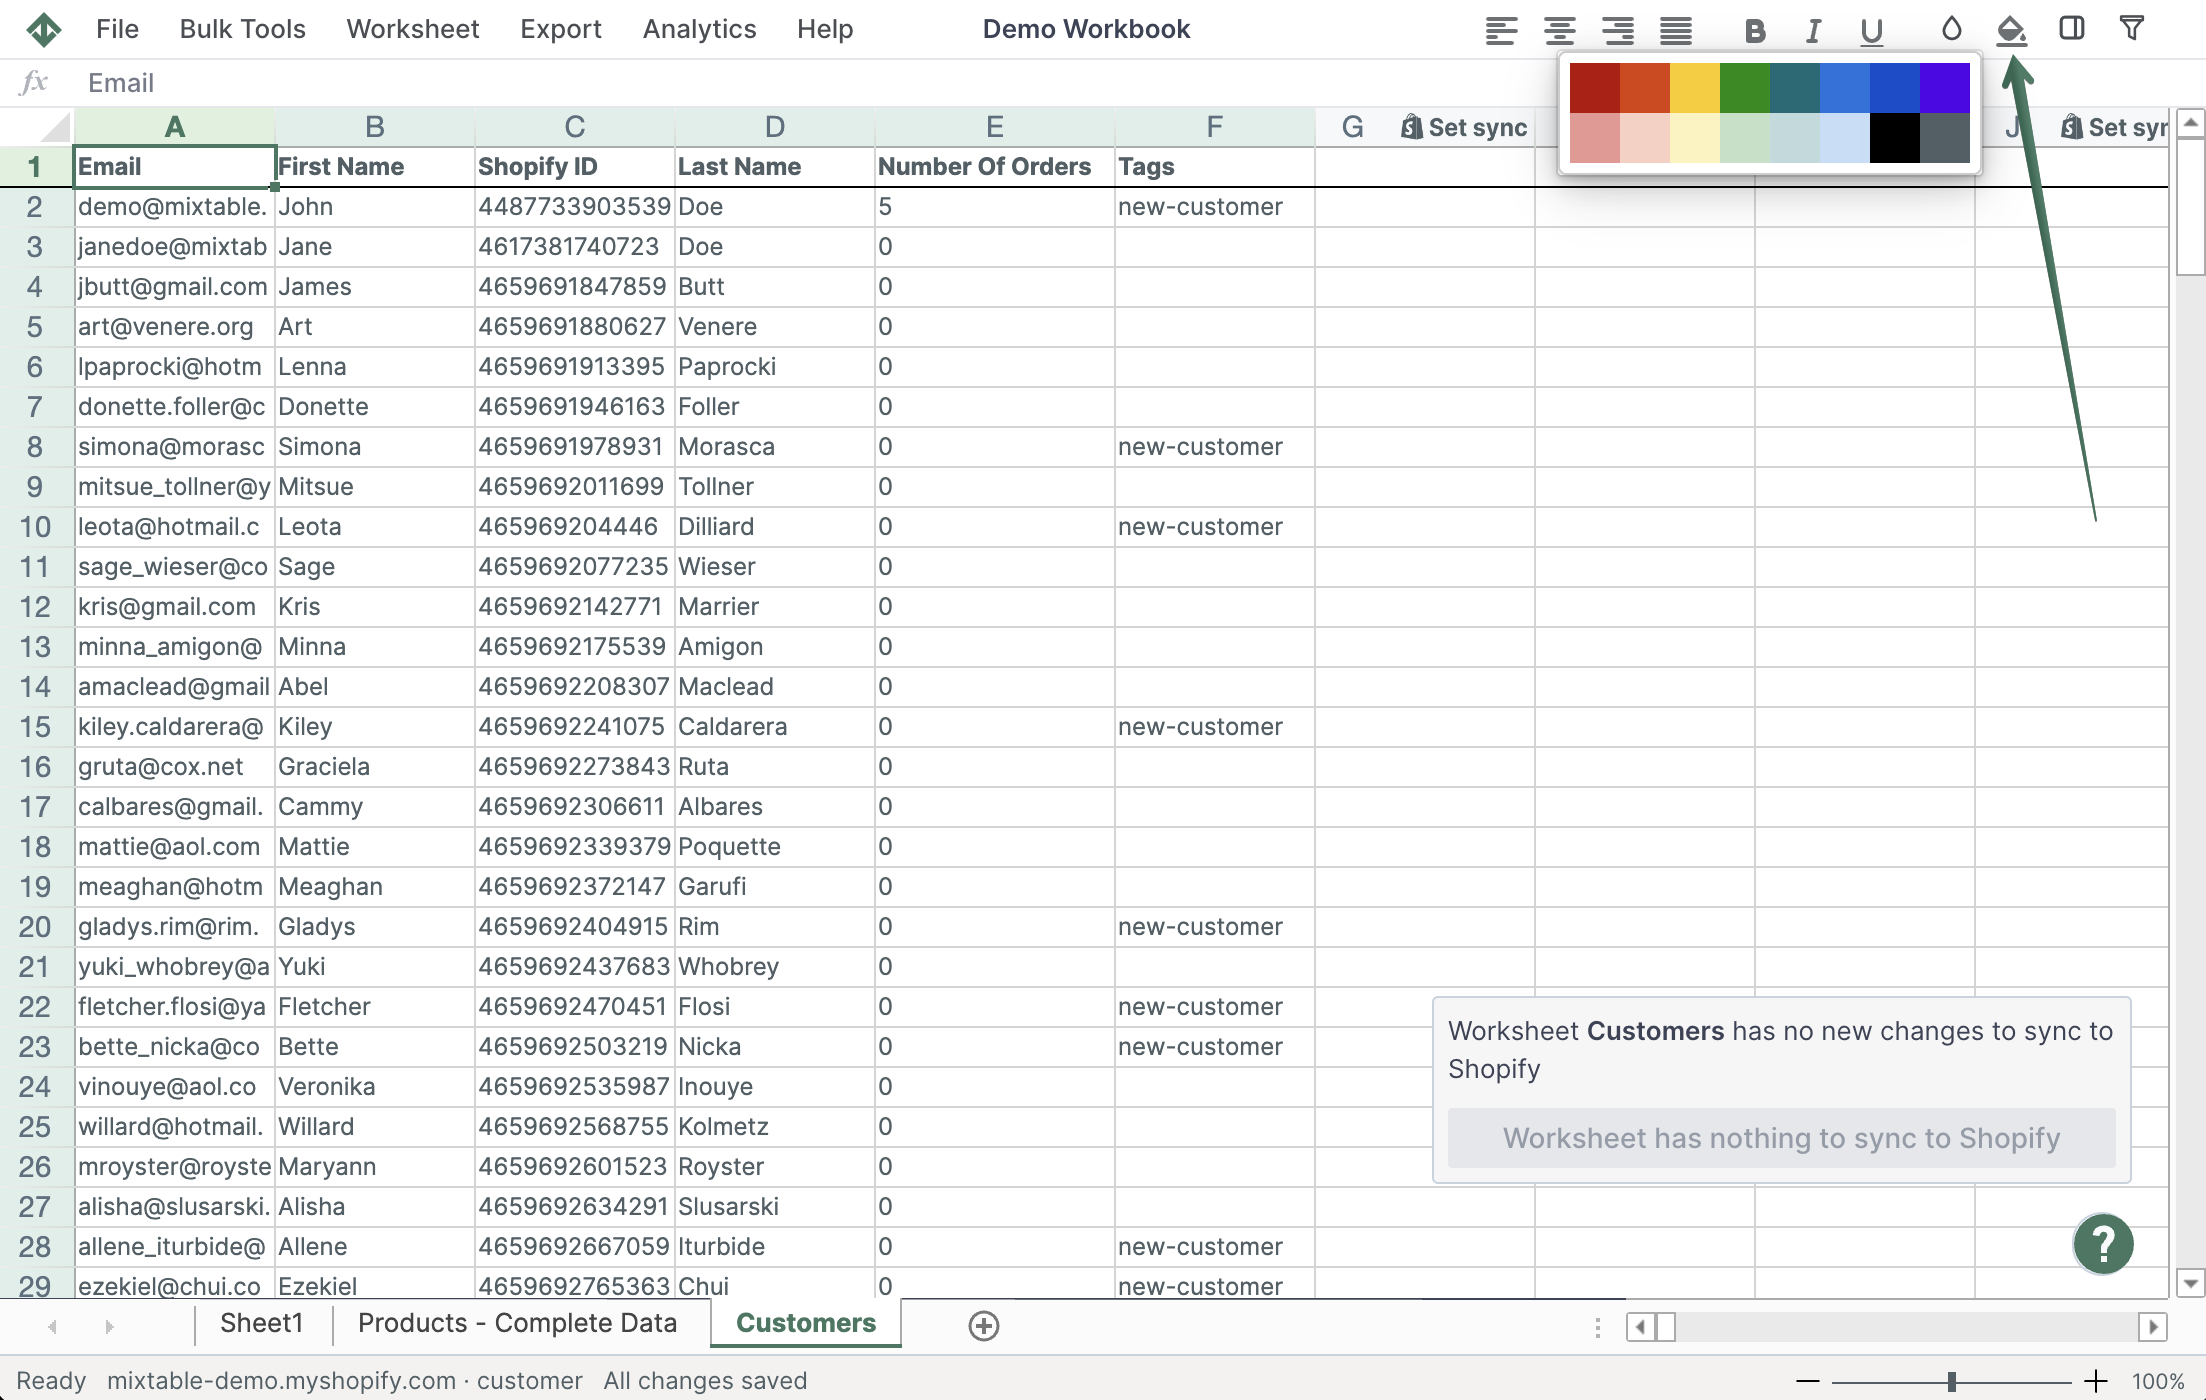
To color cells automatically based on their values, use conditional formatting. Right-click a column’s letter and choose Conditional formatting…. For example, add a rule that colors Total Amount Spent cells green when the value is greater than 500, or one that highlights Tags cells that contain “VIP”. The colors update whenever the values change, for example after a sync. Learn more about conditional formatting.
View a customer’s full record and history
Your worksheet shows the columns you picked, but a CRM sometimes needs the whole picture. Select a customer’s row and click Details in the toolbar (or choose Row > Open in Details). The Details panel shows everything Mixtable has saved for that customer, even fields that aren’t in your worksheet: contact details, orders placed, total spent, last order, email and SMS marketing consent, every address, and metafields. It’s view only, so you make changes in the worksheet cells.
To see how a customer’s details have changed, right-click their row number and choose Row history. It lists the changes to the tracked Shopify fields in that row, such as the customer’s name, email, phone, tags, note, and language. Each change shows whether it was made in Shopify or synced from Mixtable, and a synced change names who clicked Sync. Learn more about Cell history and Row history.
Create a conditional worksheet for a CRM
You don’t have to load every customer. To work with just one group, such as customers with a particular tag, set up a conditional worksheet, and Mixtable only loads the customers that match your rules. You can combine simple rules with groups, such as customers who have a particular tag and are located in either of two countries. If a customer later stops matching your rules, their row may become empty. Learn more about conditional worksheets.
Add performance columns to your CRM
A CRM gets more useful when each row shows what a customer is worth. With Mixtable Analytics Spreadsheet, you can add analytics columns beside the customer fields listed above: net sales, orders count, average order value, and Customer Lifetime Value, which is a customer’s net sales minus the estimated cost of what they bought. Sort by any of them and your best customers move to the top of the worksheet.