 Excel & CSV Exporter
Mixtable is an online spreadsheet, designed from the ground up to bulk edit and analyze Shopify data.
Got a question? We're here to help! Reach out at [email protected], and we'll get back
to you promptly.
In Mixtable, the filtering feature is a handy tool that helps users analyze data more efficiently by isolating specific subsets based on different criteria. You can use these filters for individual columns, supporting various data types like text, numbers, and dates. For example, using filtering, you can quickly find the products, orders, customers, etc., data you need. Follow these steps to filter your data efficiently.
Create a workbook that links to your Shopify store’s data. You can start with a blank workbook and add individual Shopify data worksheets as you need them, or start with our template Shopify data workbook, which has the data most commonly loaded by our users. Use the Add blank workbook or Create Shopify template workbook buttons on your dashboard, respectively.
Once your workbook is configured, click the [+] button in the worksheet toolbar at the bottom. You will now see a menu with the different worksheets you can add, such as Customers, Orders (no line items), Orders (with line items), Refunds, Products (no variants), Products (with variants), etc.
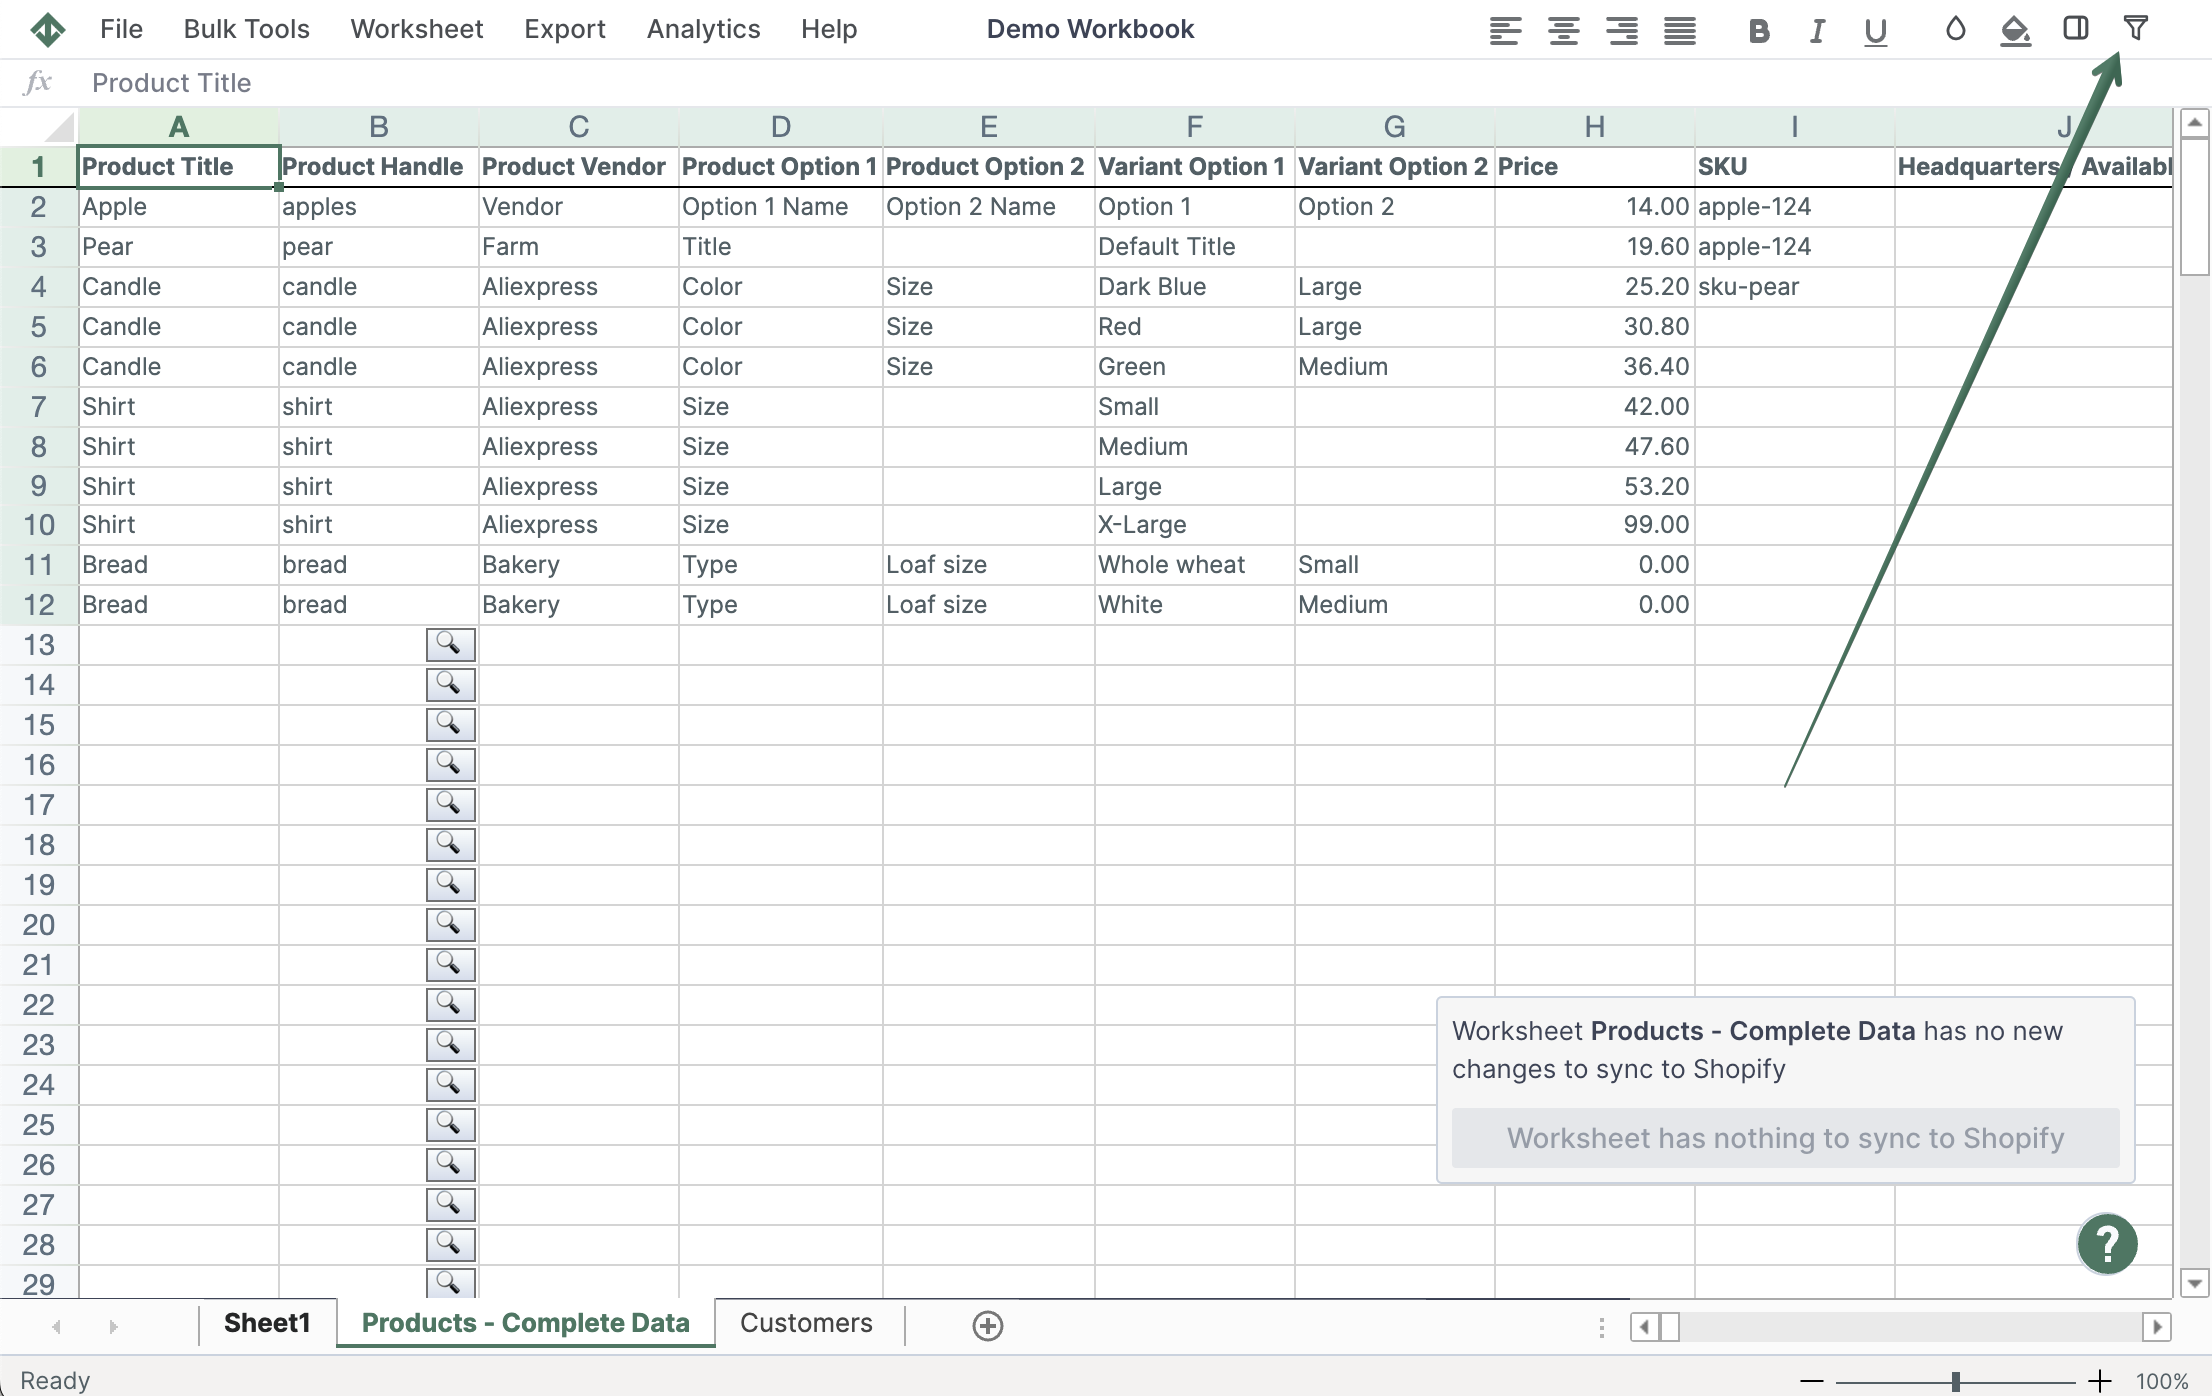
Now that you have the worksheet, click on the Filter button in the Mixtable toolbar to turn on filtering in your worksheet. Once filtering is enabled, you’ll see [▼] buttons in the cells on the first row of the worksheet.
Once you click the [▼] button a drop down menu will appear to each of your columns. You can now set up your filter. You have a number of text filters as options, similar to what you get in Excel. You can set up a filter that only shows rows where the column contains a word, is exactly that word, does not contain a word, etc.
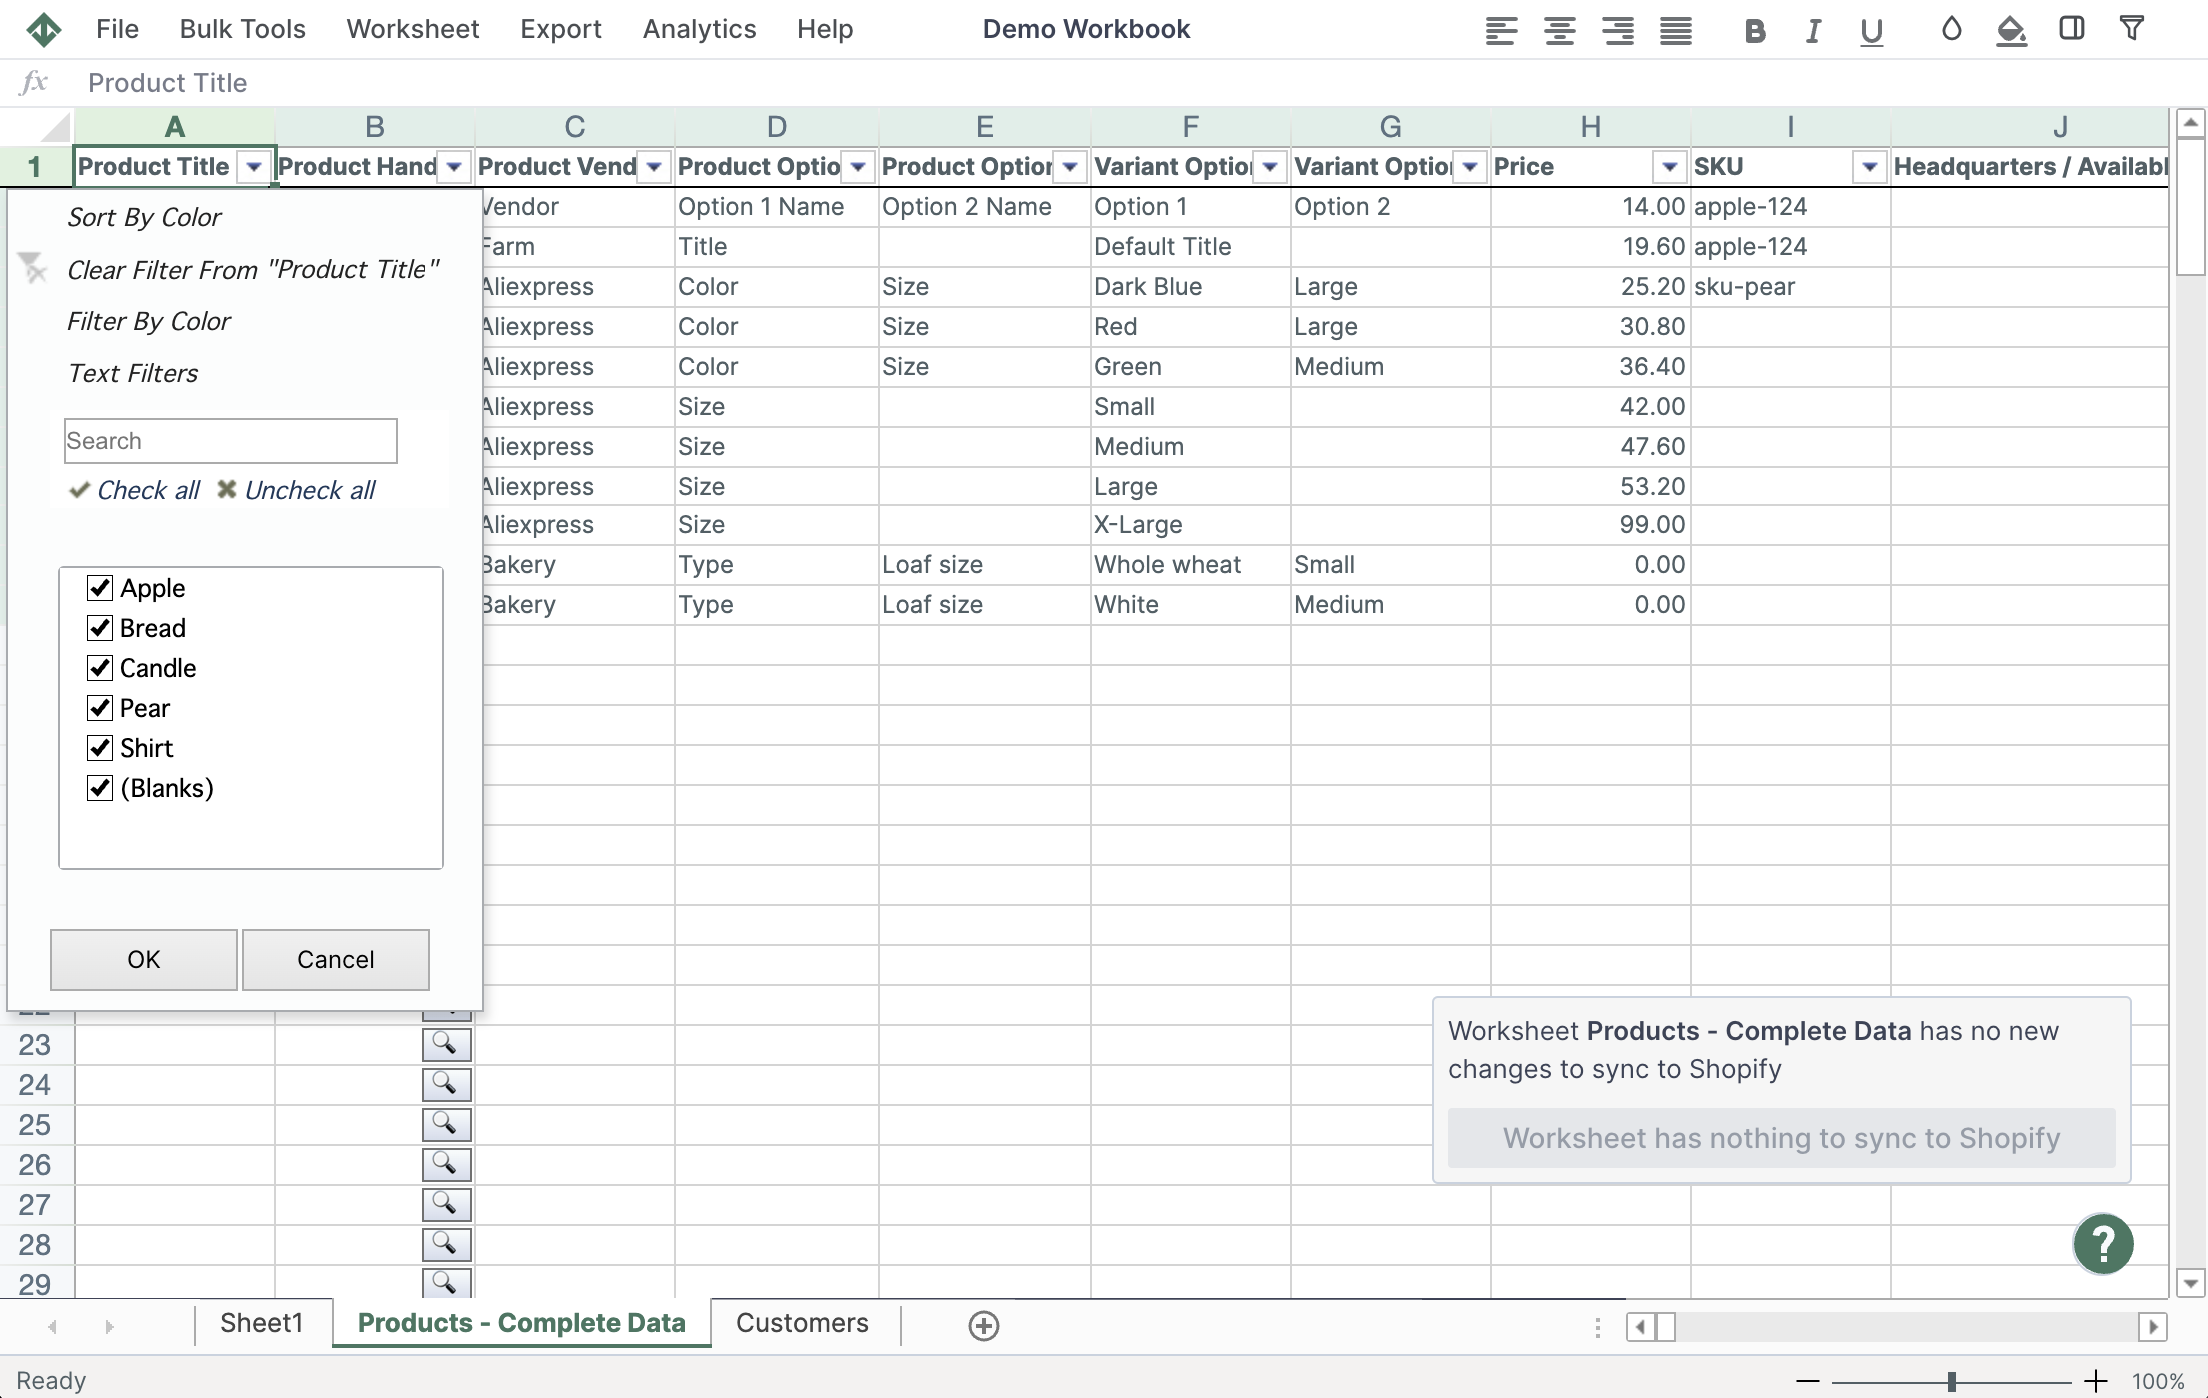
In the example below, we are filtering a Shopify Customers worksheet, but the process is similar for all types of worksheets.
You're ready!
Mixtable is an online spreadsheet designed to sync data with Shopify. It looks, feels, and behaves like Excel (including formulas), but runs in your browser. With Mixtable you can:
Best of all, you can sync changes back to Shopify with a single click. Find out more about the Mixtable suite of products here.