Product Metafields Template
 Spreadsheet Editor Updated October 15, 2026
 On this page
Shopify metafields hold the extra details your products need, such as materials, care instructions, or related products. The Product Metafields template in Mixtable puts all your product and variant metafields into one spreadsheet, so you can review and edit them in bulk instead of opening products one at a time in the Shopify admin.
Here’s what the template is good for:
- Filling in missing values: spot empty metafields at a glance and fill them in across your whole catalog
- Keeping values consistent: make sure the same value is written the same way on every product, so your store’s filters and search work as expected
- Updating product links: change which products, variants, or pages a reference metafield points to
- Tidying up SEO: edit SEO titles and meta descriptions right next to your other product details
How to load the Product Metafields template
After installing the Mixtable Spreadsheet Editor app, create a spreadsheet from the template:
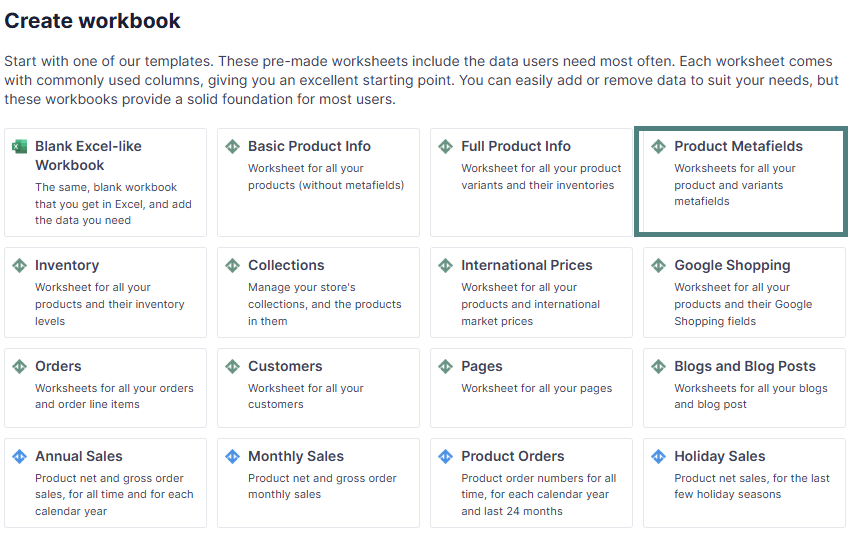
Open your Mixtable dashboard and click Create spreadsheet at the top of the page. If you haven't created a spreadsheet yet, click Browse all templates below the dashboard's suggestions instead. In the Create spreadsheet window, find Product Metafields under Products, or type its name in the search box, and click it. Mixtable creates the spreadsheet and fills it with data from your Shopify store.
On your first visit, clicking Edit metafields on the dashboard creates the same template in one click.
What data is included in the Product Metafields template
The template creates two worksheets: one for products and one for variants. Mixtable builds the columns from the metafield definitions in your Shopify store, so the spreadsheet shows your own custom fields.
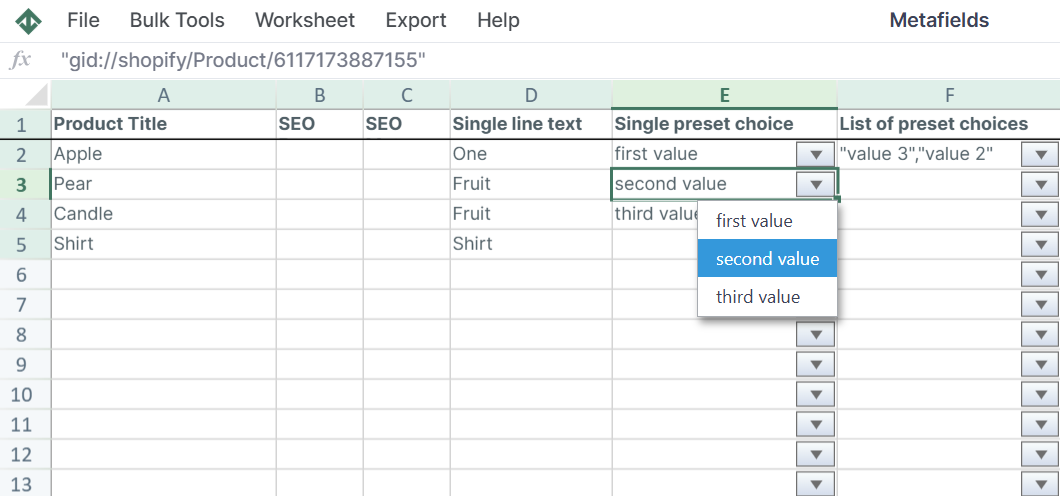
The Product Metafields worksheet has one row per product and these columns:
- Product Title
- SEO Page Title
- SEO Meta Description
- One column for each product metafield defined in your store, named after the metafield

The Variant Metafields worksheet has one row per variant and these columns:
- Title
- Handle
- SKU
- Barcode
- Option 1, Option 2, and Option 3
- One column for each variant metafield defined in your store
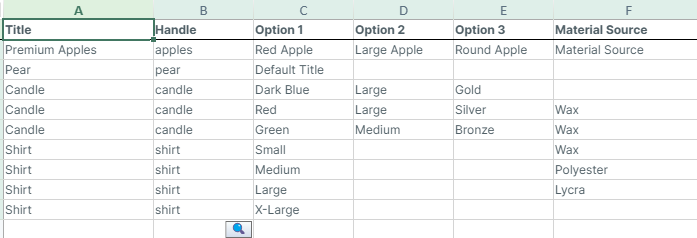
The screenshots show our demo store, so your metafield columns will have different names. If you add a new metafield definition in Shopify later, you can add it as a column at any time.
Edit your metafields
You edit metafields right in the cells, and Mixtable helps with the trickier types:
- Text and numbers: type in the cell, just like in Excel. Copy and paste, fill down, and formulas work too
- Preset choices: when a metafield only accepts certain values, each cell has a drop-down list of those values
- References: for a metafield that points to products, variants, pages, or other Shopify items, click the 🔍 button in the cell, choose the items you want, and click Update cell with selected references
When you are ready, look at the sync control at the top right of the spreadsheet, next to Share. It shows how many edits are waiting, for example Sync 12 changes. Click Preview to review them, then click the Sync button. Mixtable sends the updated metafield data to Shopify. It may take a few seconds for the changes to appear in your store.
Show product metafields on your orders
Want to see a product’s metafields next to the orders it appears in? You can add them to an Orders worksheet with Related Data Fields, with no lookup formulas needed.
Analyze metafield data with spreadsheet tools
Because your metafields are in a spreadsheet, you can use familiar tools to work with them:
- Sort in ascending or descending order
- Find and replace text across a column
- Filter to show only the rows you need
- Use formulas to build or check values
Frequently asked questions
Can I manage metafields with preset choices or references in a spreadsheet?
Yes. Load the Product Metafields template, and Mixtable sets up the right editing helper for each metafield:
- In a preset choice column, pick a value from the drop-down in the cell
- In a reference column, click the 🔍 button in the cell to choose the products, variants, or pages it should point to
When you’re done, click Preview at the top right of the spreadsheet to review your changes, then click Sync to send them to Shopify.