Mixtable is an online spreadsheet, designed from the ground up to bulk edit and analyze Shopify data.
Got a question? We're here to help! Reach out at [email protected], and we'll get back
to you promptly.
Nowadays, CRM products are usually bulky, difficult to set up, and expensive. They are overbuilt with the latest bells and whistles, with most of these features being an overkill for Shopify store owners. For small-to-medium-sized businesses, the most effective CRM is one that comes in a spreadsheet format - easy to understand, easy to use, and easy to modify.
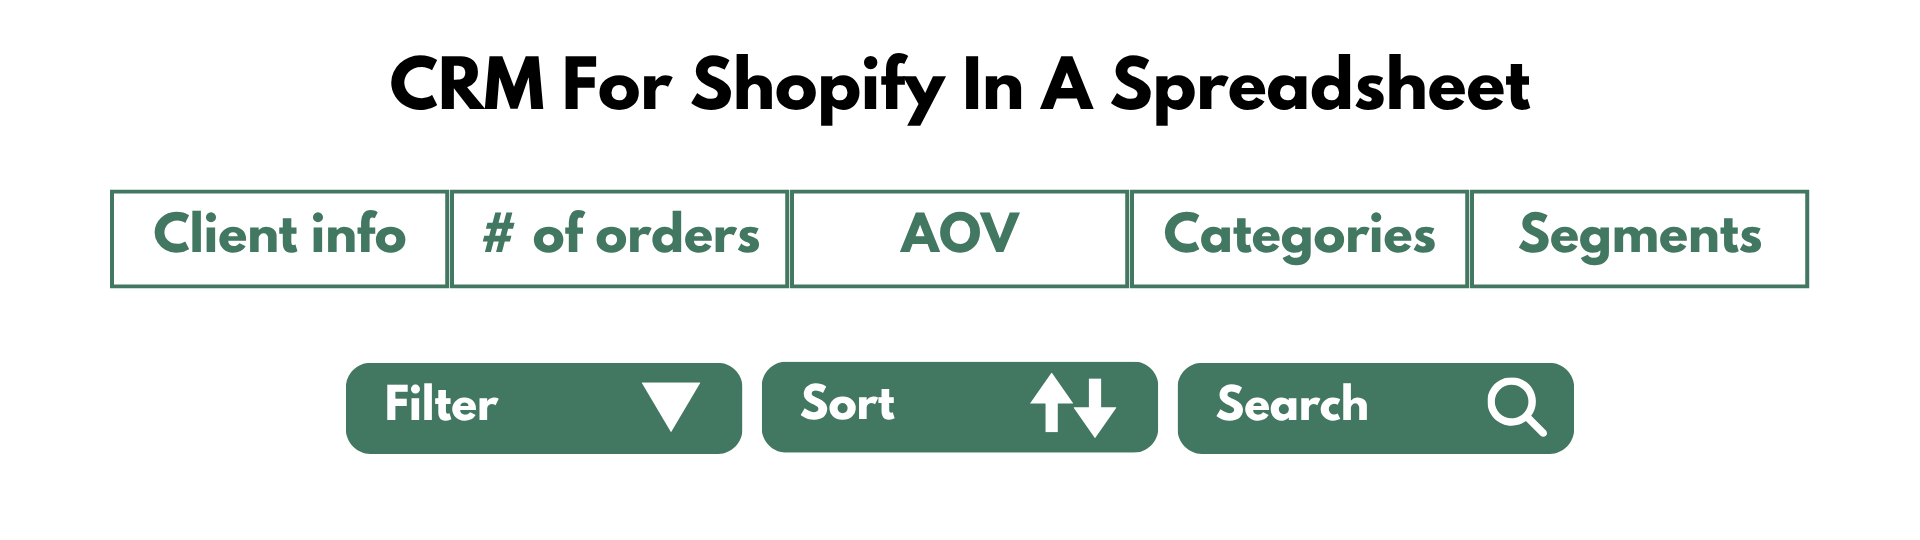
With Mixtable you can very quickly create such a spreadsheet CRM for your store, with all the relevant customer and order data. New customer and order data will flow automatically from Shopify to Mixtable, and you can update Shopify right from your workbook.
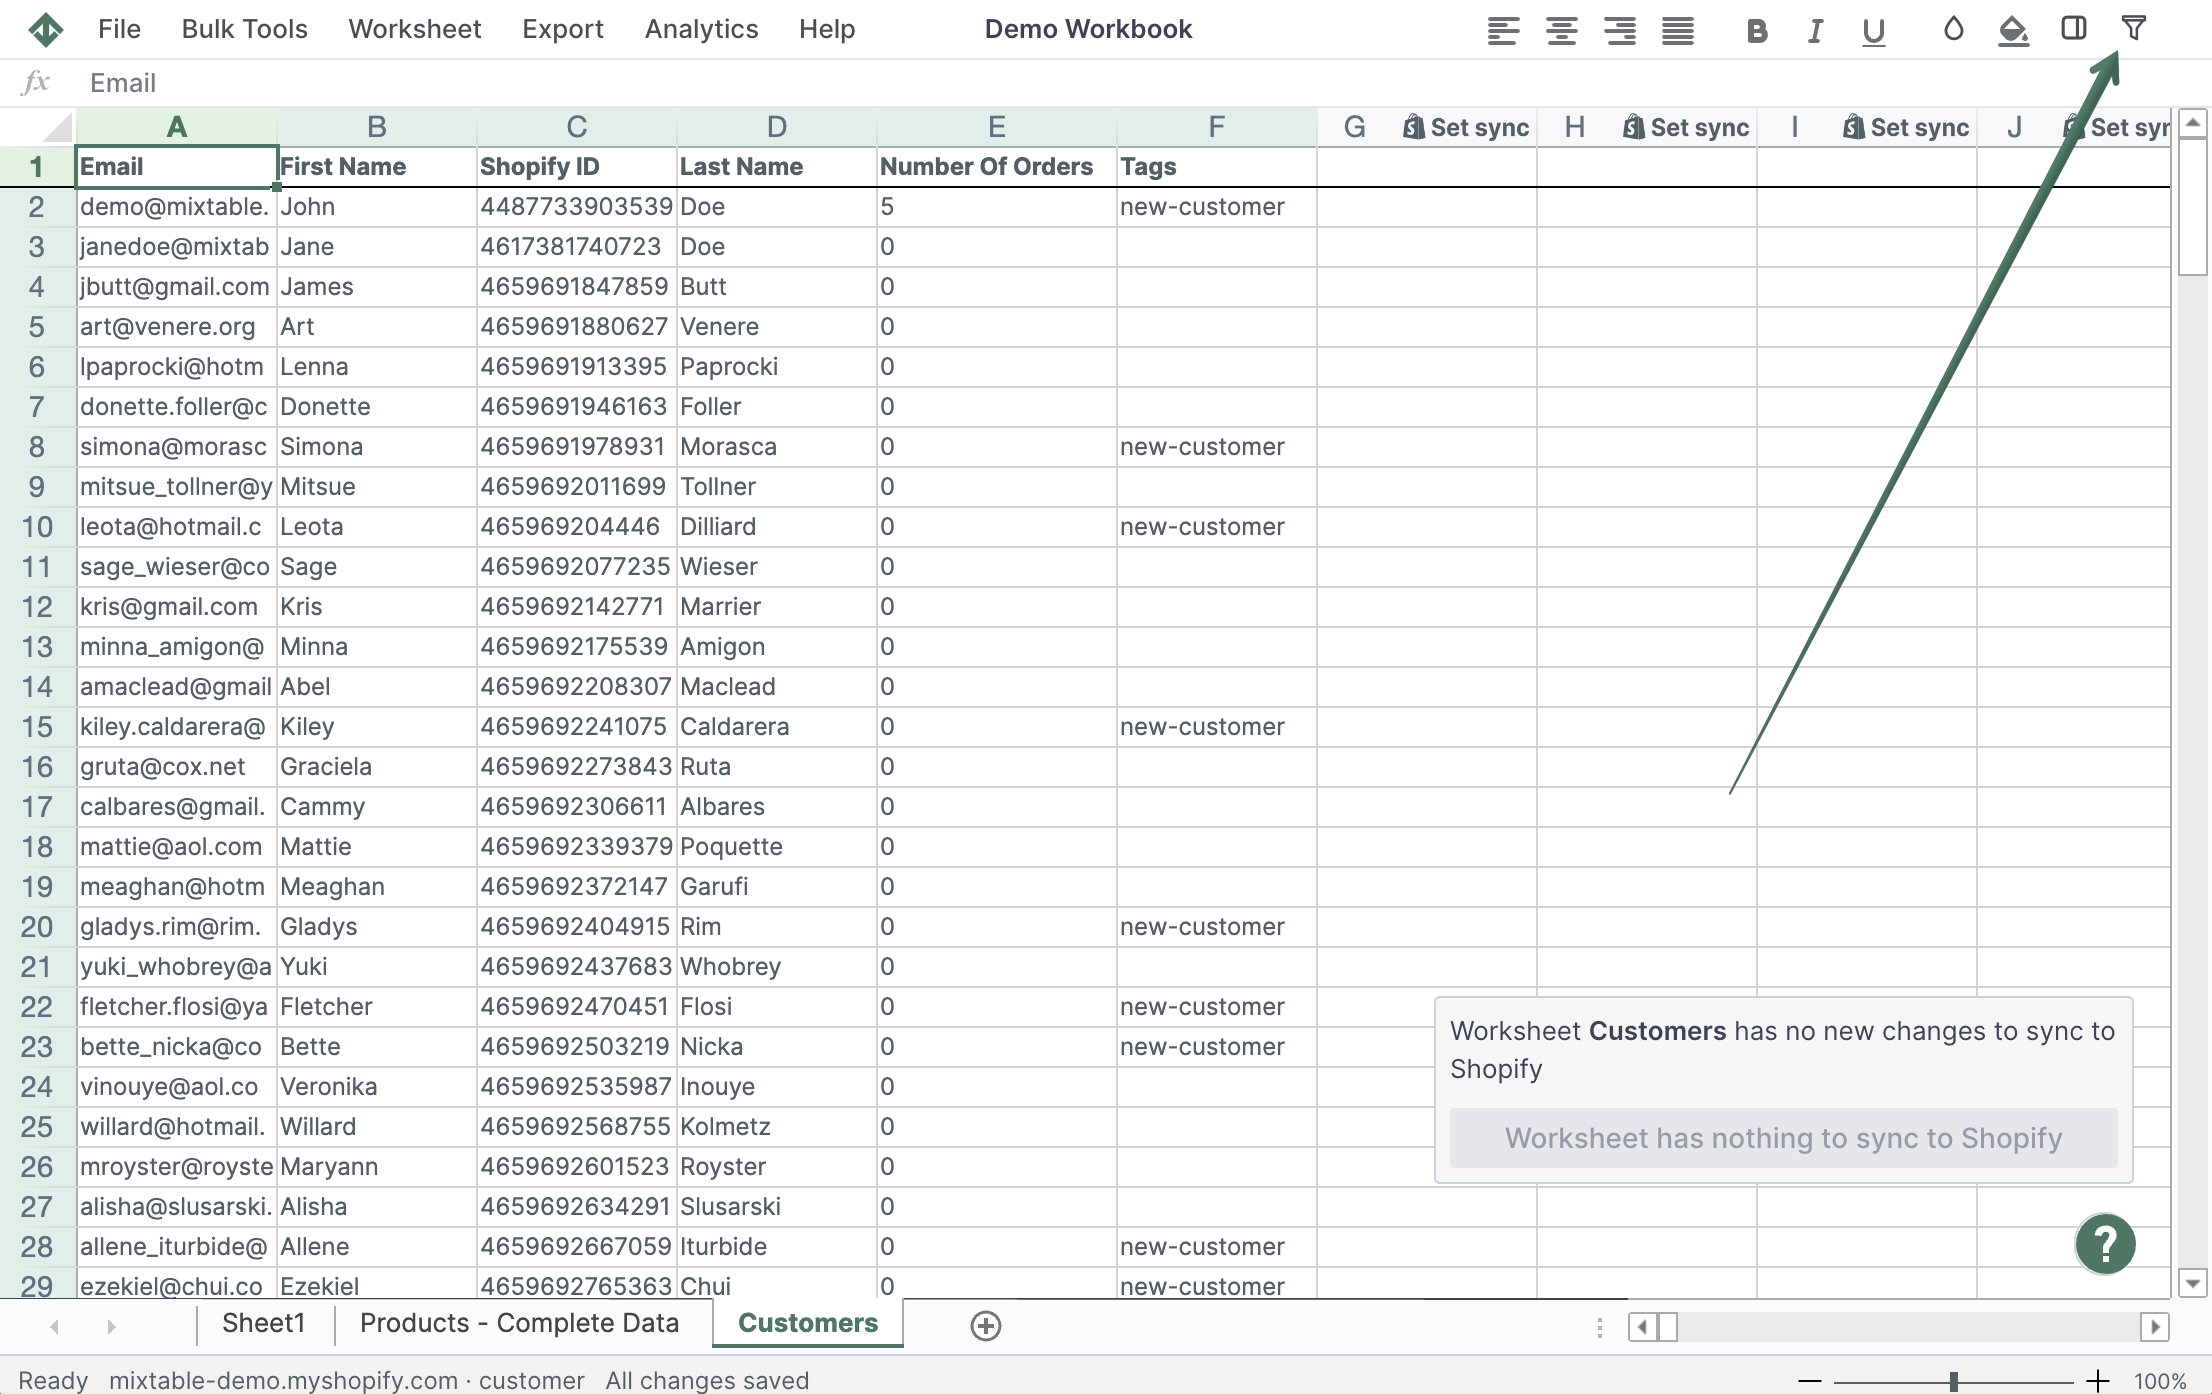
Mixtable allows you to see all your store’s customers in one worksheet, with the exact set of columns you need. To get started, create a Workbook and add a worksheet with your Shopify Customers. The worksheet will have a few of the most commonly used columns to get you started, and you’ll see your customer data populating in the worksheet as soon as you add it. You are now free to customize it as you see fit - you can remove columns you don’t need, and you can map blank columns to the customer fields you need.
Note: Keep in mind that if you have a lot of customers, it might take some time for all their data to load into your worksheet.
Mixtable will populate the Customers worksheet with the customer information you have in your Shopify store.
Keeping track and managing customer information can be a time-consuming task; however, when you have a worksheet created for your Shopify customers’ information, you can easily find specific information about your customers by using Mixtable functions such as filtering, searching, and sorting data.
In Mixtable you can turn on filtering by clicking the button in the toolbar at the top of the screen.
You’ll find various text filters available, similar to those in Excel. You can set filters to display rows where the column contains a specific word, exactly matches a word, does not contain a word, and so on. Using this approach, you can filter customer emails, orders, tags, and more based on your requirements.
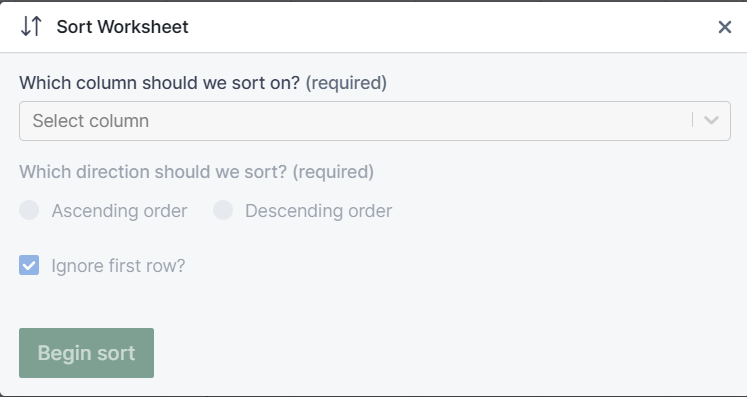
The Customers worksheet can be sorted in either ascending or descending order to display the most valuable information to you.
To sort your sheet according to your preferences, go to the Worksheet menu at the top of the Mixtable interface and select Sort Worksheet.
Mixtable will handle the sorting process in the background. Once the sorting is complete, you’ll be prompted to reload the workbook to view the updated data.
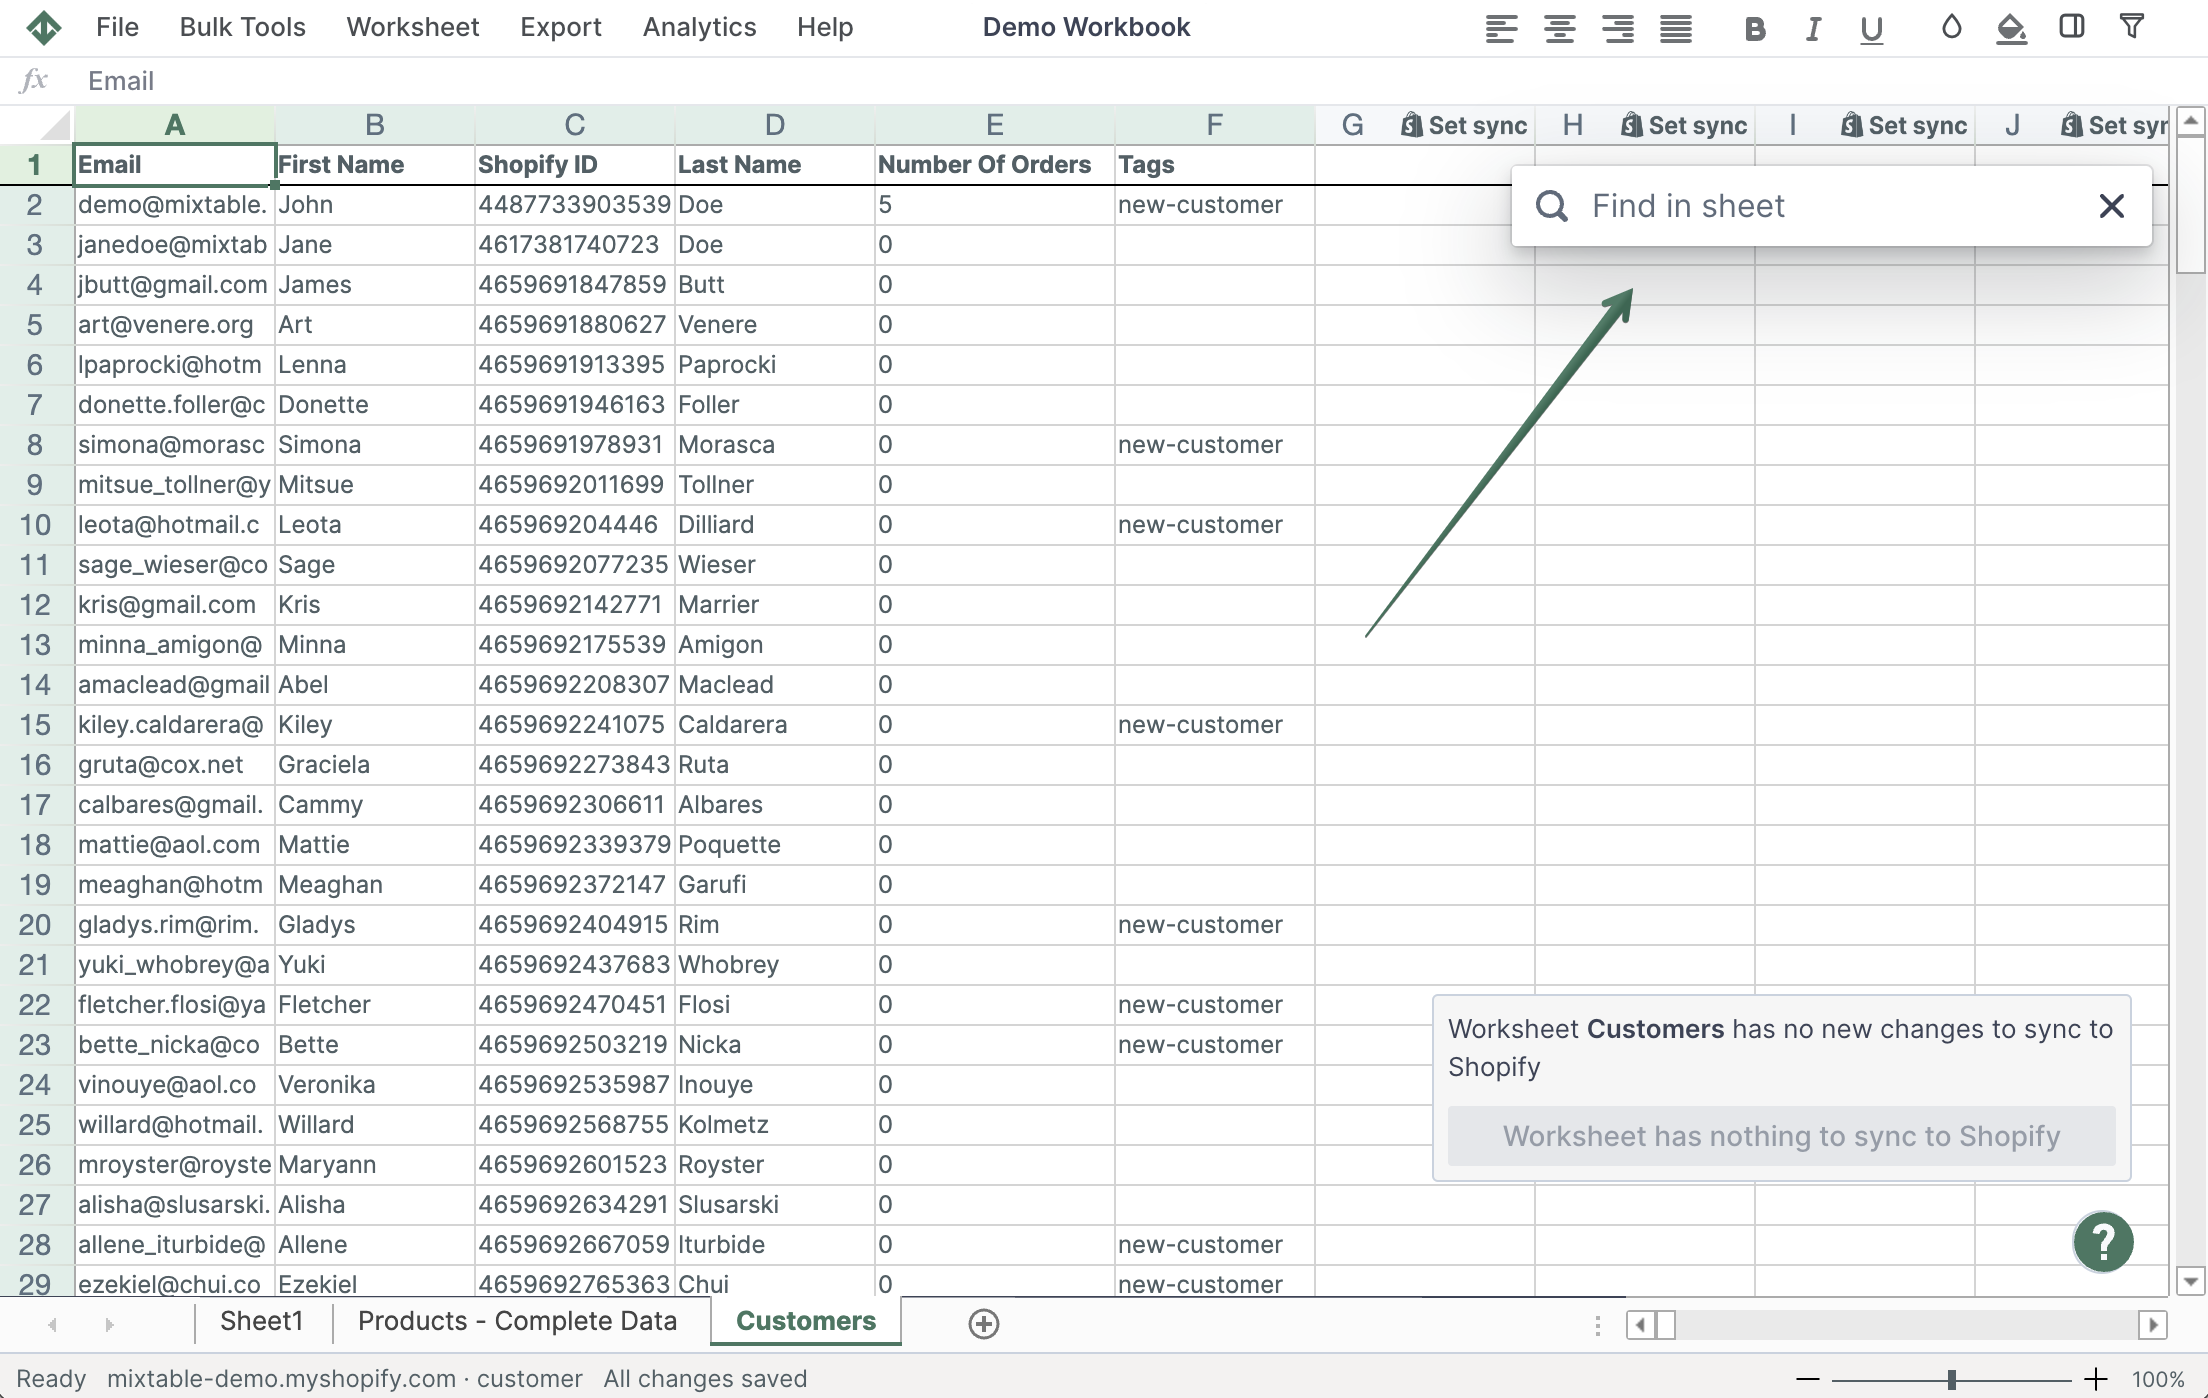
You can utilize our Find in sheet feature to pinpoint cells containing a particular value in your worksheets.
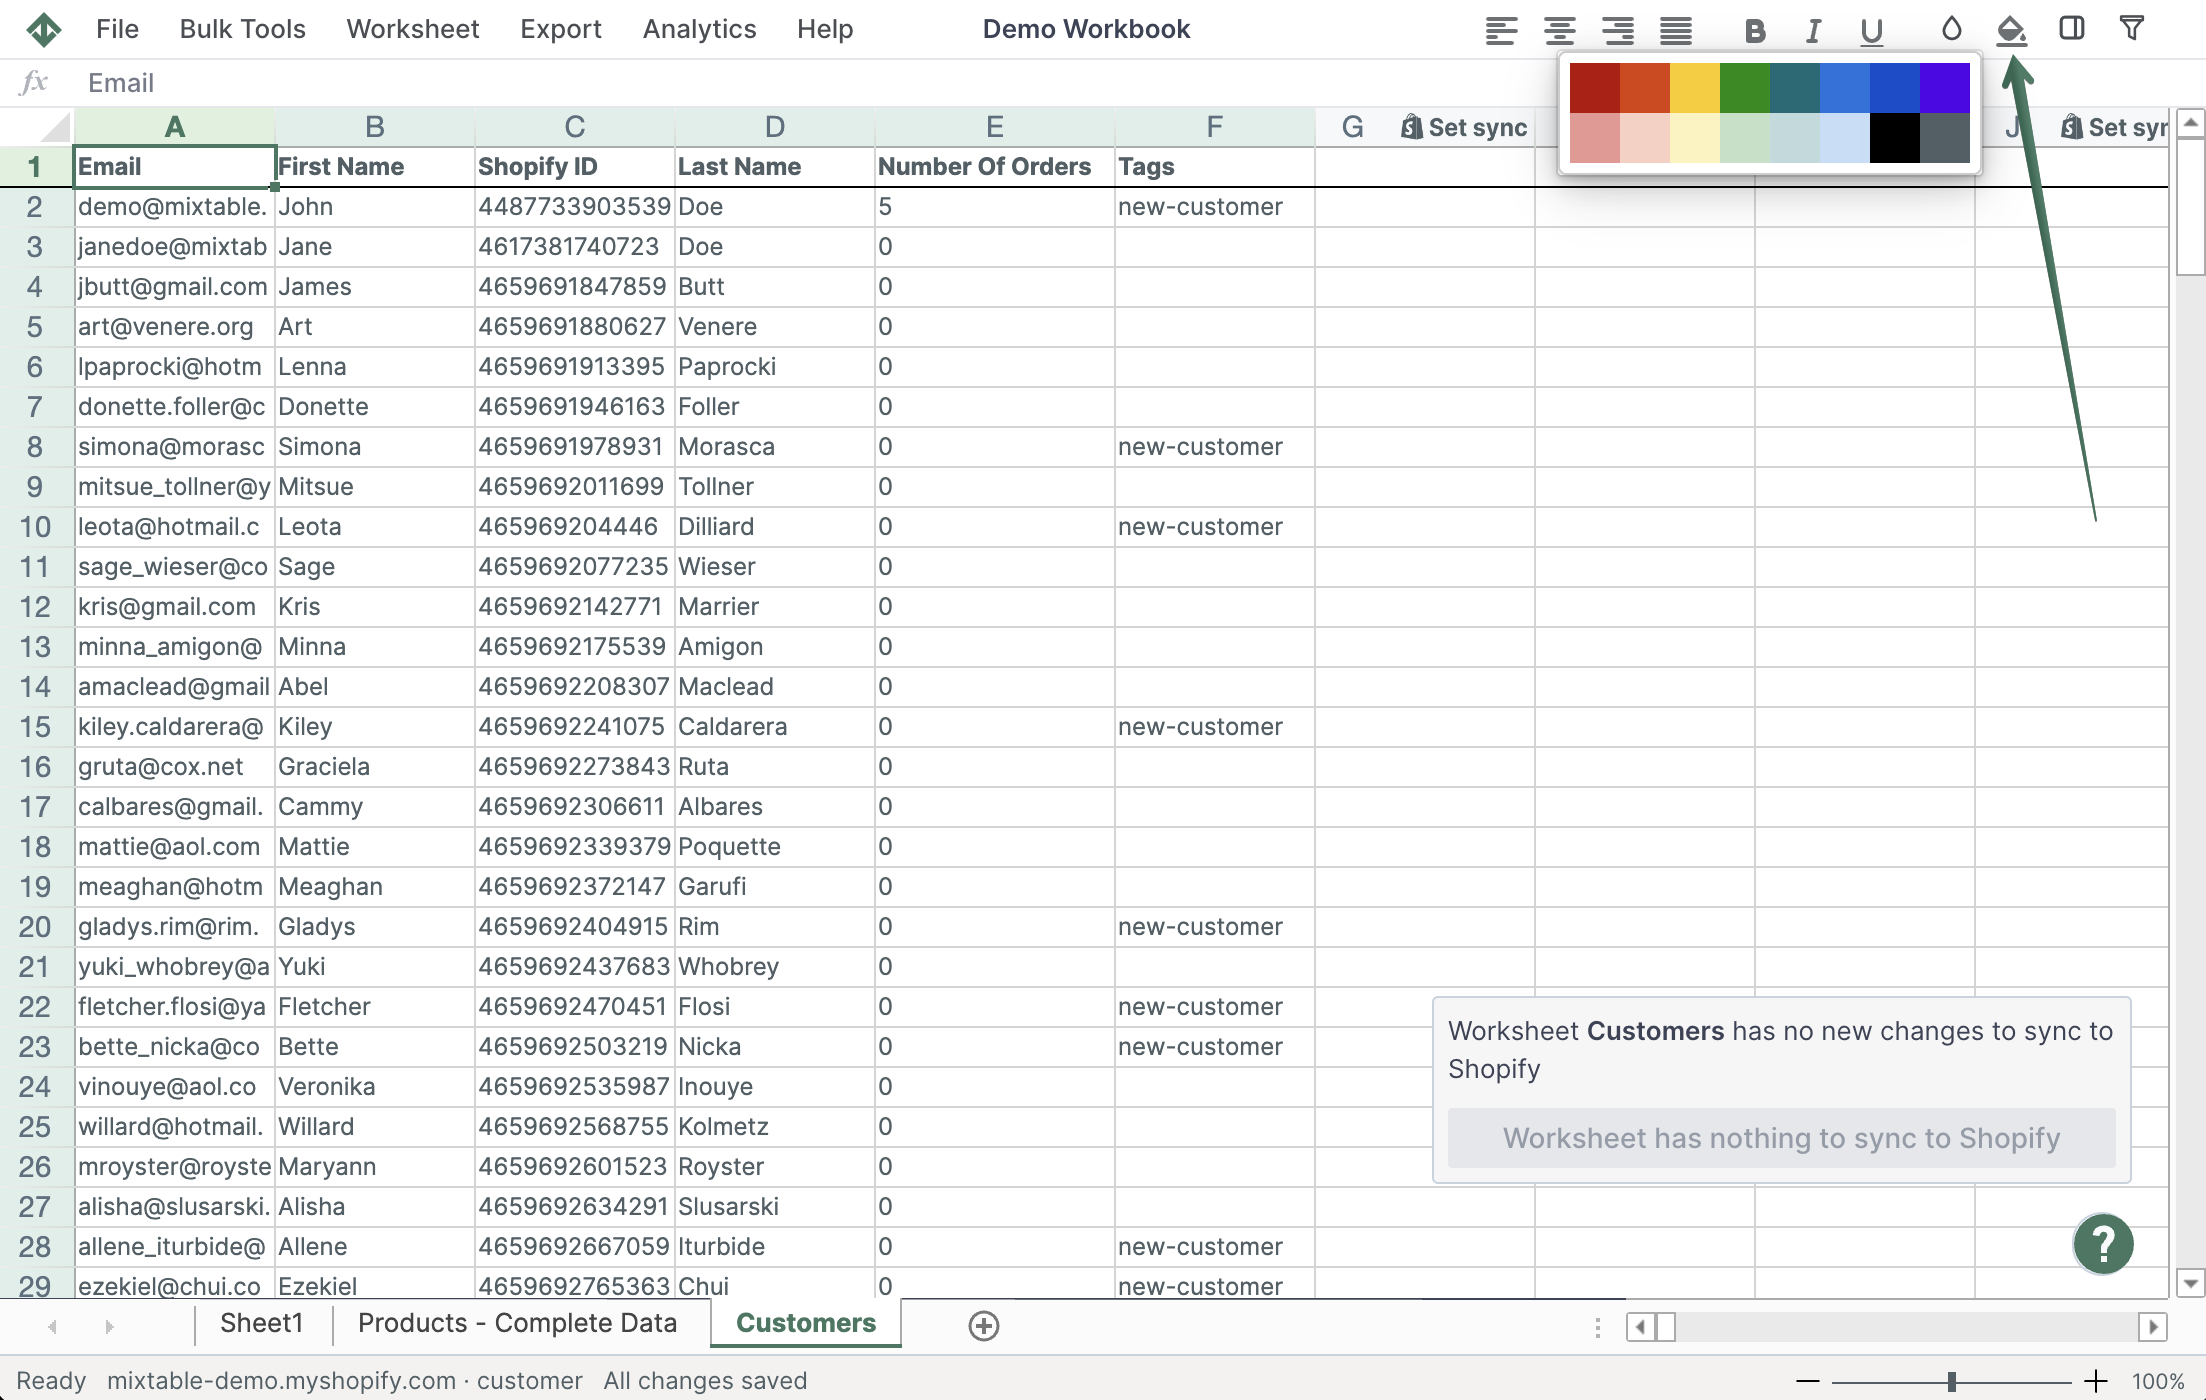
Keeping your Shopify customers’ information organized is a crucial task that can sometimes be confusing. Using the cell colouring function in Mixtable can help you with having a more organized spreadsheet with all of the customers’ contact details, orders, and more. Recognizing and analyzing visual cues occurs at a significantly swifter pace compared to text or numerical data processing. Employing colours within spreadsheets not only aids navigation but also enhances understanding.
If you don’t want all your Shopify data to be loaded in a worksheet, e.g., if you wish to only load customers from a specific segment, you can set up a conditional worksheet, and Mixtable will only load data that matches the criteria you’ve set out. Find more about how to use conditional worksheets here.
You're ready!
Mixtable is an online spreadsheet designed to sync data with Shopify. It looks, feels, and behaves like Excel (including formulas), but runs in your browser. With Mixtable you can:
Best of all, you can sync changes back to Shopify with a single click. Find out more about the Mixtable suite of products here.