Mixtable is an online spreadsheet, designed from the ground up to bulk edit and analyze Shopify data.
Got a question? We're here to help! Reach out at [email protected], and we'll get back
to you promptly.
Bulk tag management in Shopify is essential for efficiently organizing large product catalogs and updating multiple items simultaneously, especially when running seasonal sales or managing inventory across different categories. Whether adding promotional tags like “Summer Sale” to hundreds of products or removing outdated tags from last season’s inventory, doing it in bulk saves significant time compared to updating tags individually.
You can edit Shopify product tags from the Shopify admin. The edits won’t be in bulk for all products, but at least you will have all products in one view and won’t have to load products one by one.
Here’s how to do it:

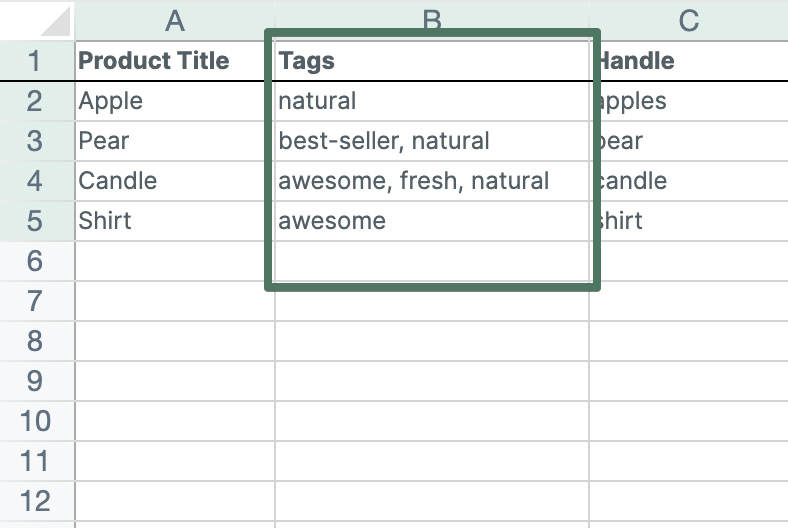
Mixtable’s spreadsheet interface makes bulk editing tags in your Shopify store trivial. Here’s how:
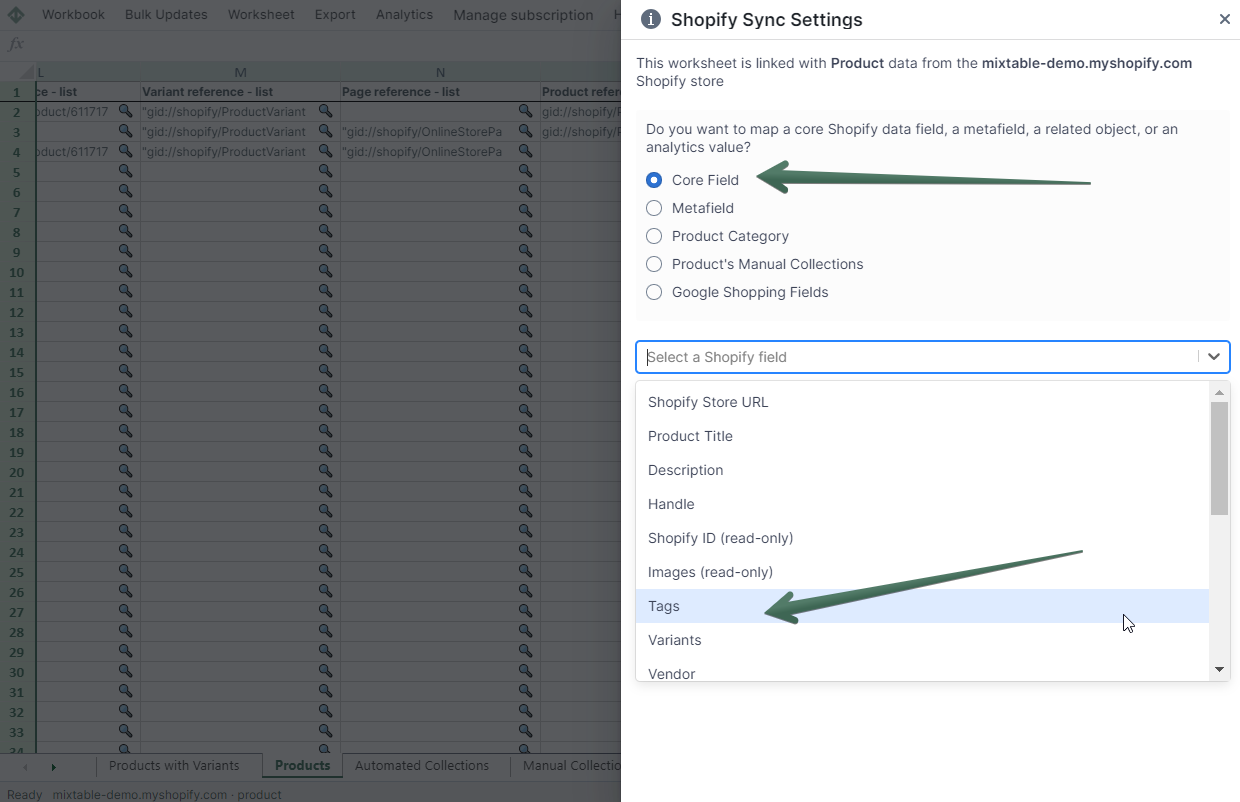
Bulk editing tags is fast and convenient by directly modifying cells that display a product, order, or customer’s tags. But if you simply need to add a tag, the fastest way is with the Bulk Add Tags feature. This feature is only available for worksheets that sync product, order, and customer information (as only this data in Shopify has tags). You’ll also need to have the Tags field mapped to a column.
You activate the Bulk Add Tags feature by clicking its toolbar button. In the dialog that opens, you’ll see a few inputs:
If you need to delete tags in Shopify, the fastest way is with the Bulk Remove Tags feature. This feature is only available for worksheets that sync product, order, and customer information (as only this data in Shopify has tags). You’ll also need to have the Tags field mapped to a column.
You activate the Bulk Remove Tags feature by clicking its toolbar button. In the dialog that opens, you’ll see a few inputs:
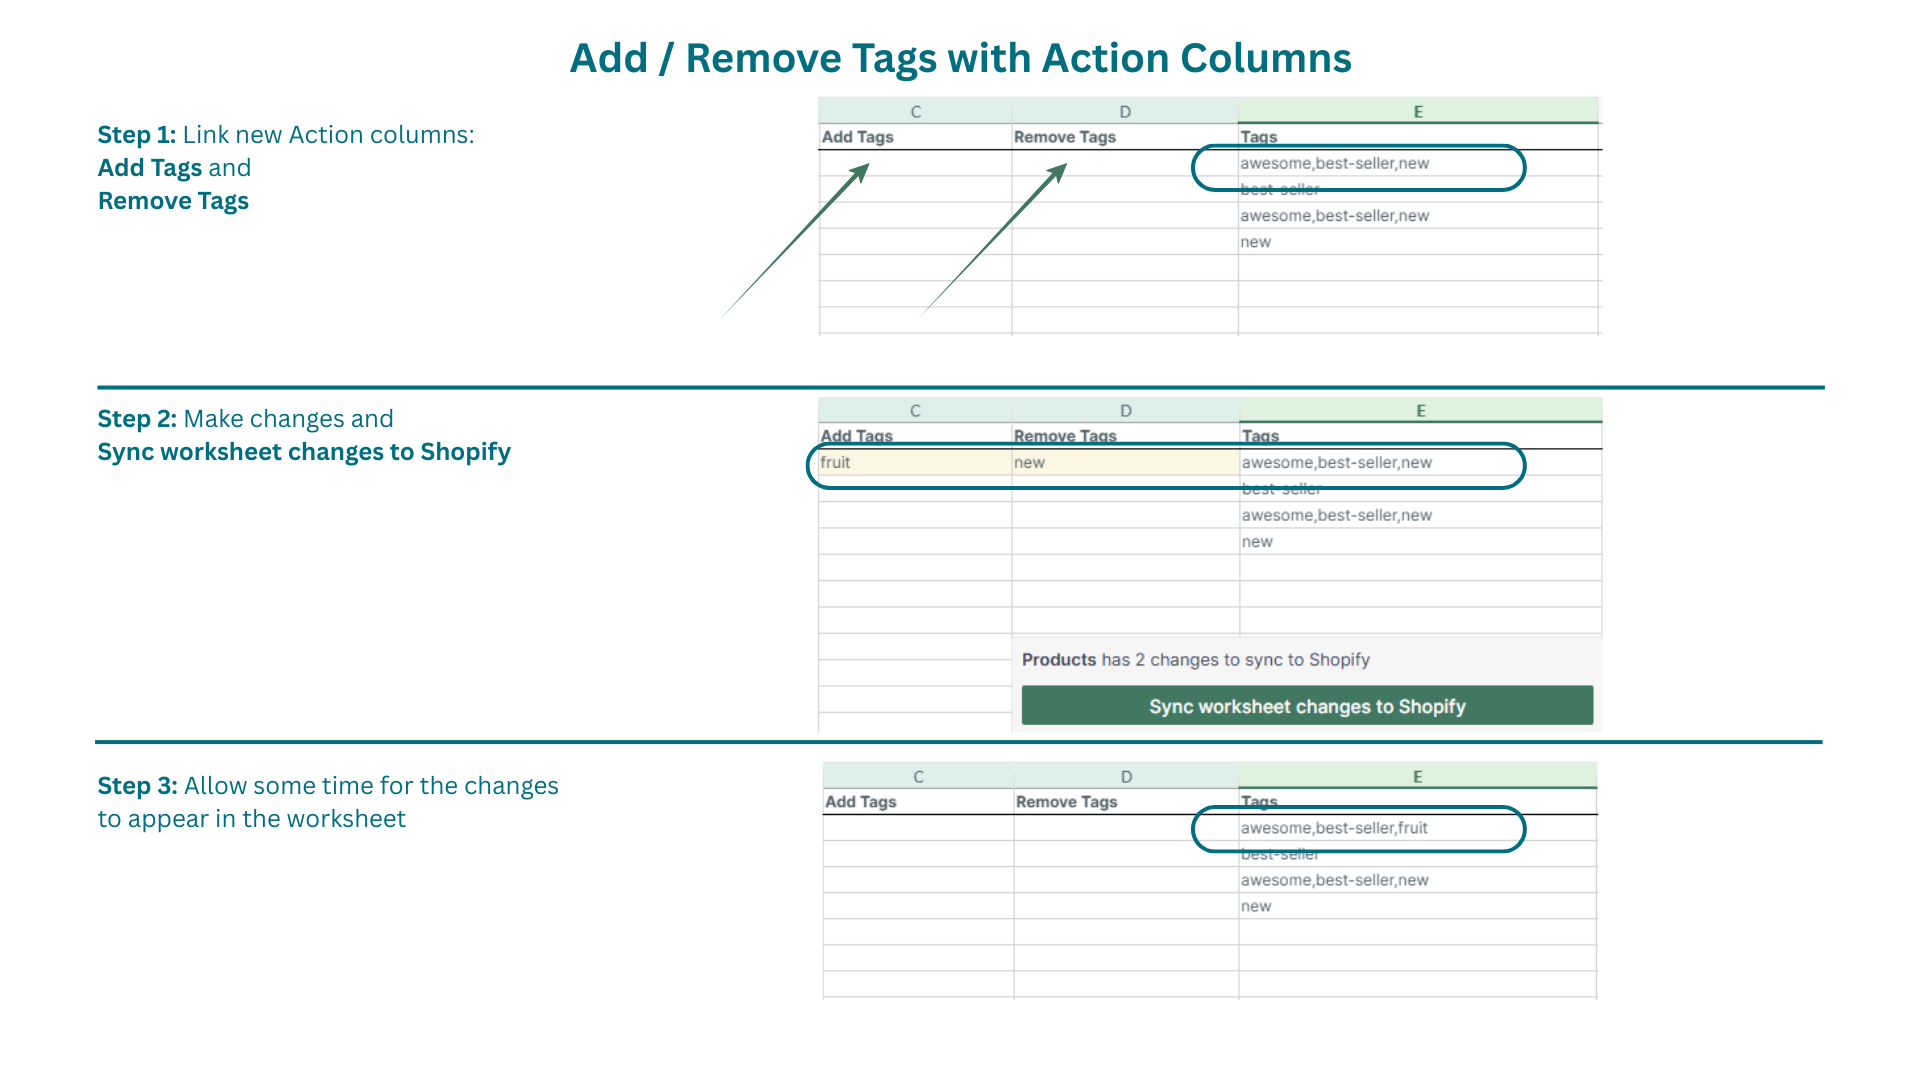
Add the Action Columns spreadsheet functionality to an existing product worksheet to edit Shopify tags in bulk.
Note: The worksheet needs to show product information. You can create one using our Basic Product Info template, or add a Products (no variants) worksheet to an existing workbook.
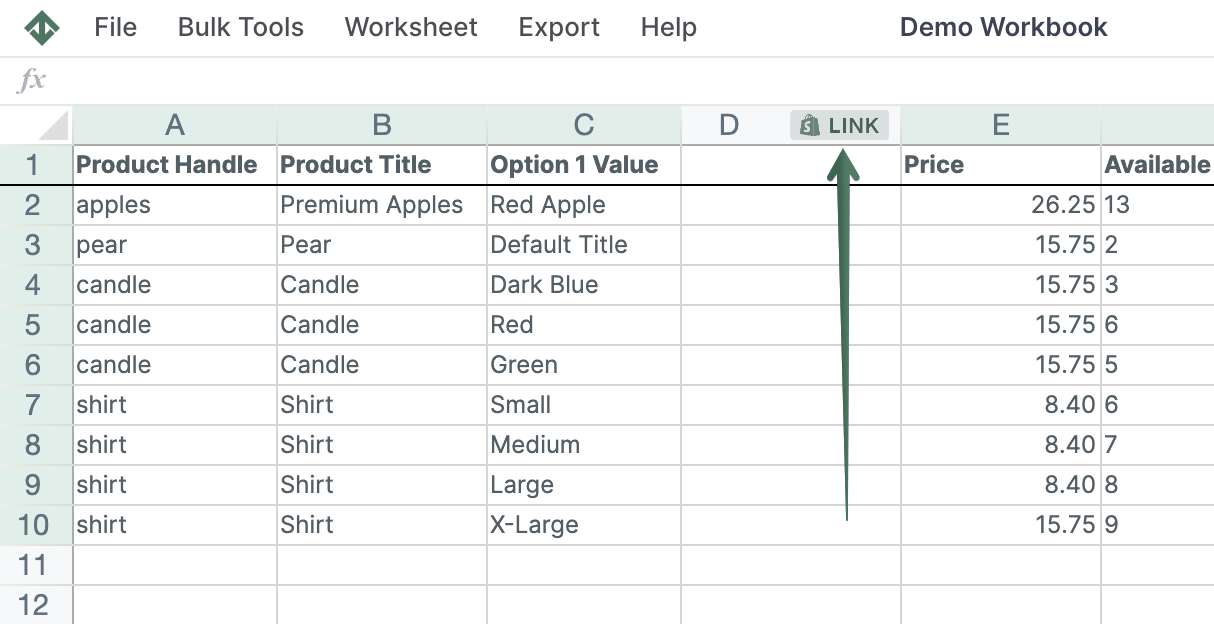
To load new Shopify data, start by selecting an empty column — any column with a non-green header (green headers mean the column is already linked to Shopify data). Then, click the ⚡️ button in the column header to open the selection window to choose the data you want to pull in.
From the Shopify Sync Settings window, choose Action Columns.

You can quickly add or remove tags once you link the Add Tags and/or Remove Tags columns to your products' spreadsheet. Here's how:
Note: If you have rules for automated collections based on tags, the new tags will add products to automated collections, and correspondingly, the removed tags will remove them from the automated collections.
Find more about Action Columns functionality here.
You're ready!
Mixtable is an online spreadsheet designed to sync data with Shopify. It looks, feels, and behaves like Excel (including formulas), but runs in your browser. With Mixtable you can:
Best of all, you can sync changes back to Shopify with a single click. Find out more about the Mixtable suite of products here.