Mixtable is an online spreadsheet, designed from the ground up to bulk edit and analyze Shopify data.
Got a question? We're here to help! Reach out at [email protected], and we'll get back
to you promptly.
Mixtable’s spreadsheet interface makes it trivial to manage metafields in your Shopify store. Mixtable allows you to edit both v1.0 and the new v2.0 metafields. So, any legacy metafields you have will sync, and you can also sync the new v2.0 metafields that can be configured from within the Shopify admin.
Shopify allows us to add metafields to multiple objects:
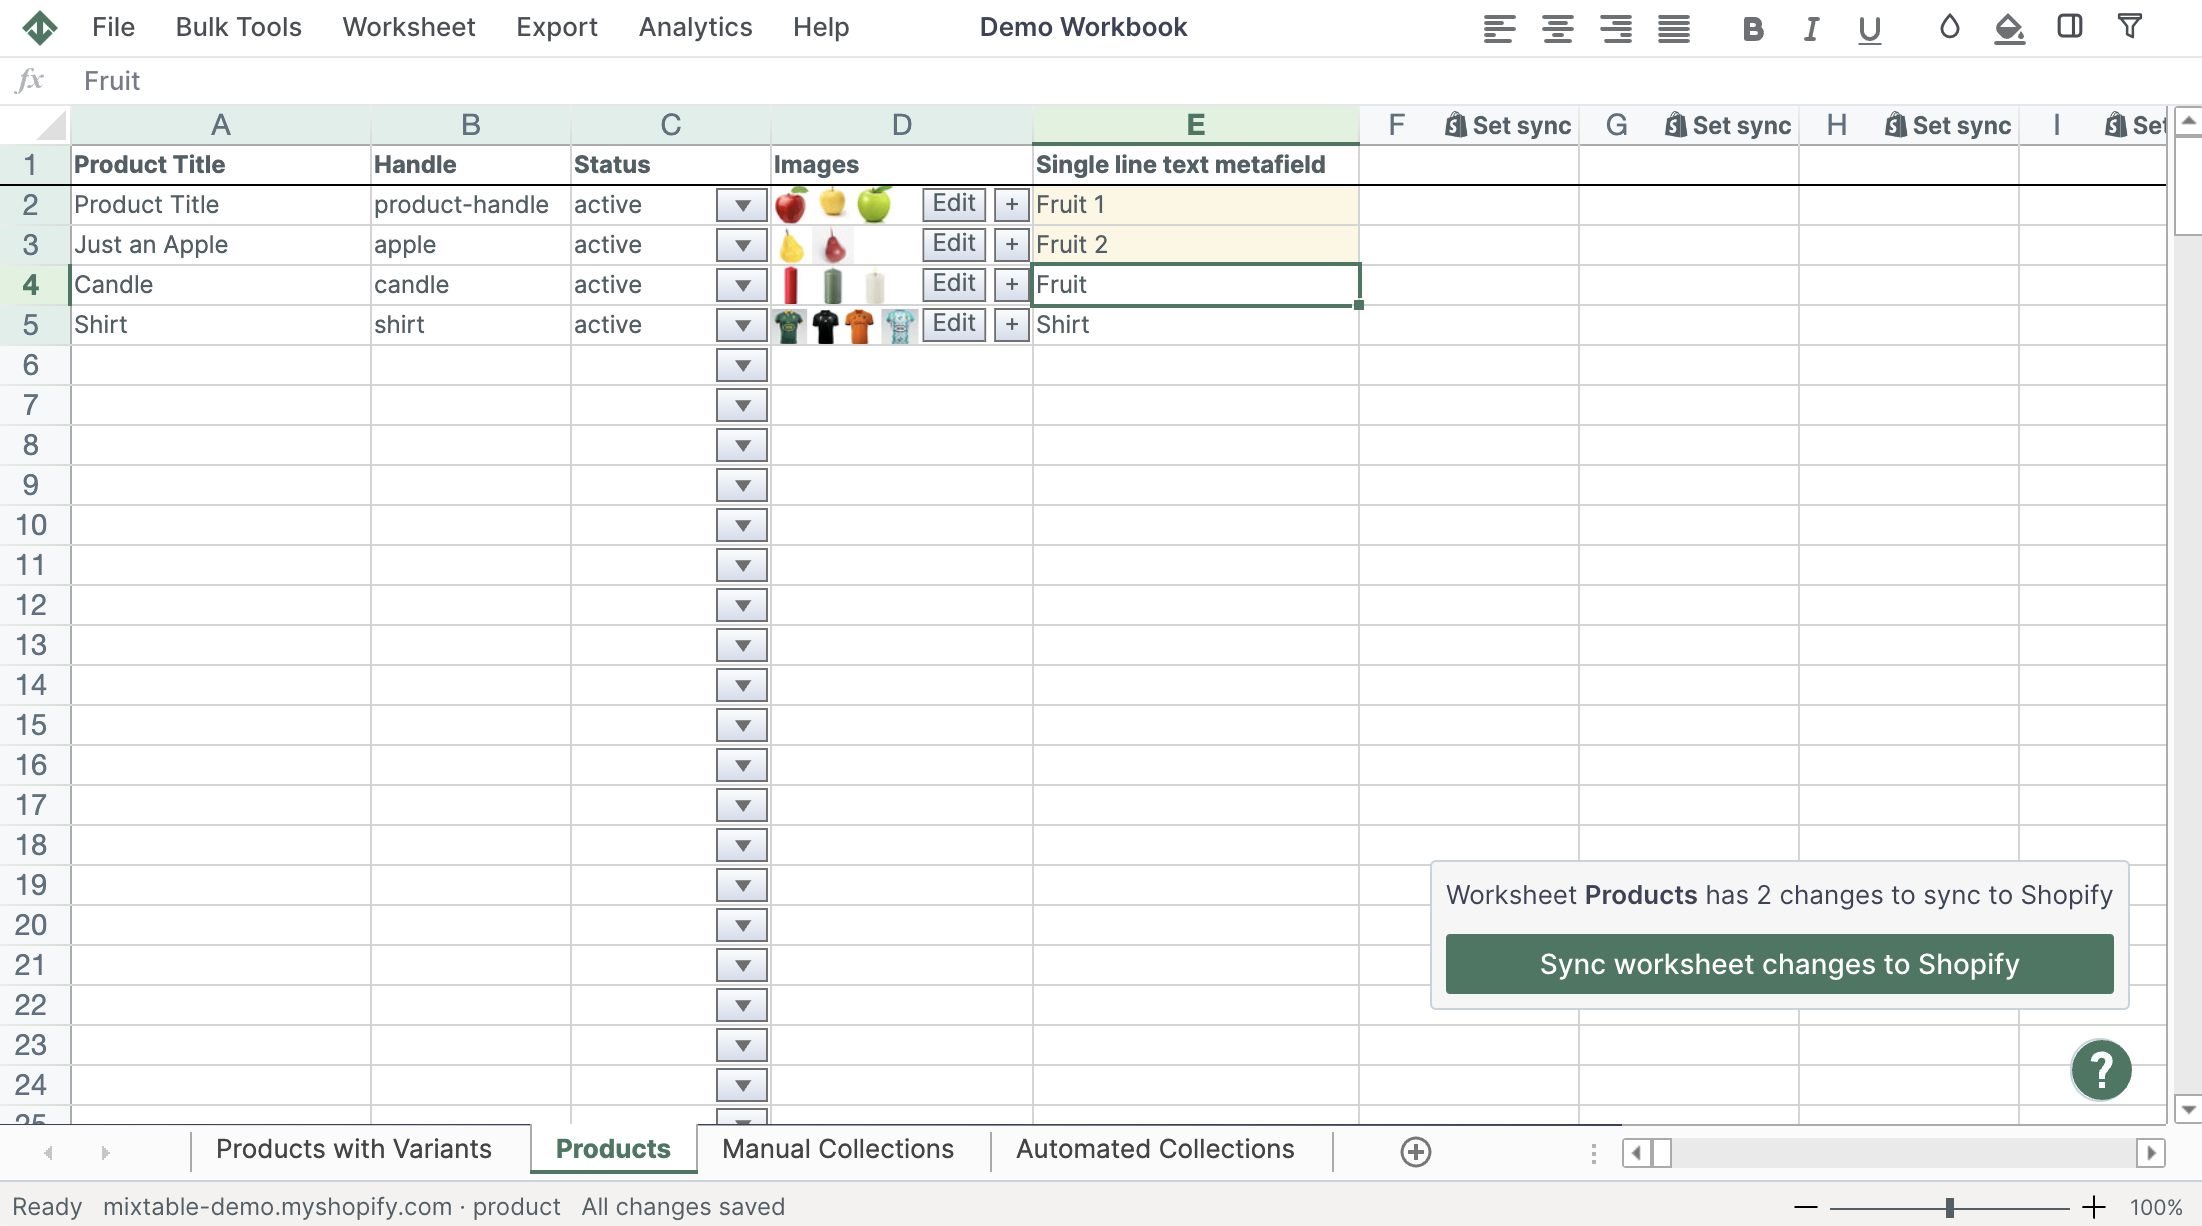
With the Mixtable Spreadsheet Editor interface, you can have any metafield in an Excel-like format and edit it individually or in bulk.
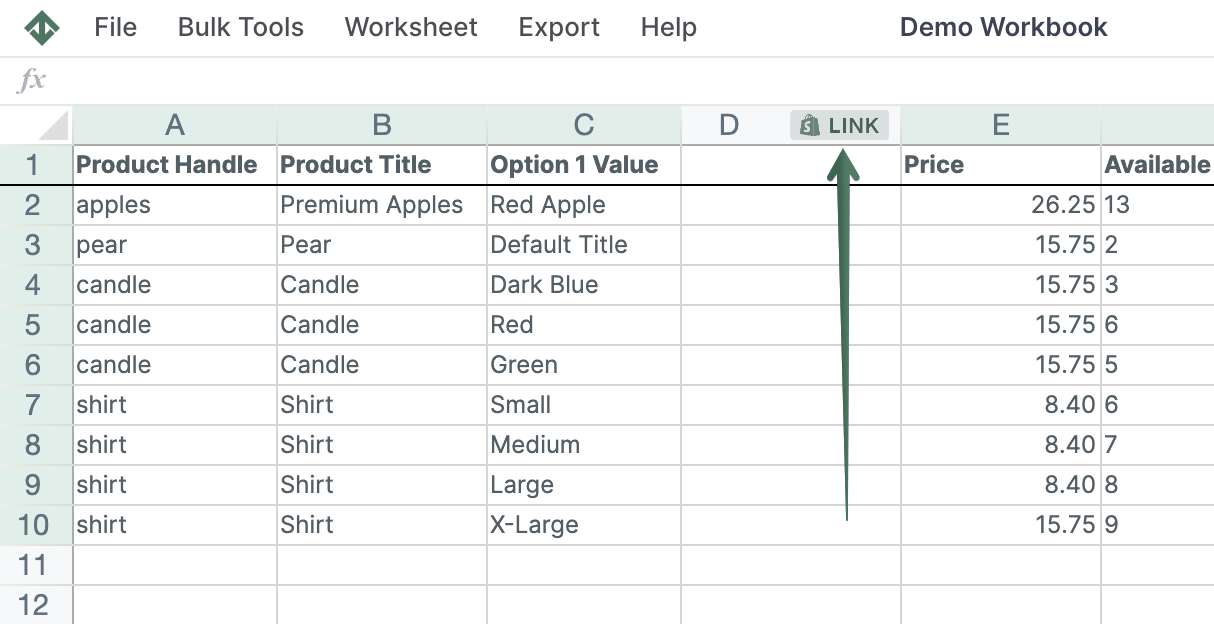
You can add/edit metafields individually or in bulk. Here’s how:
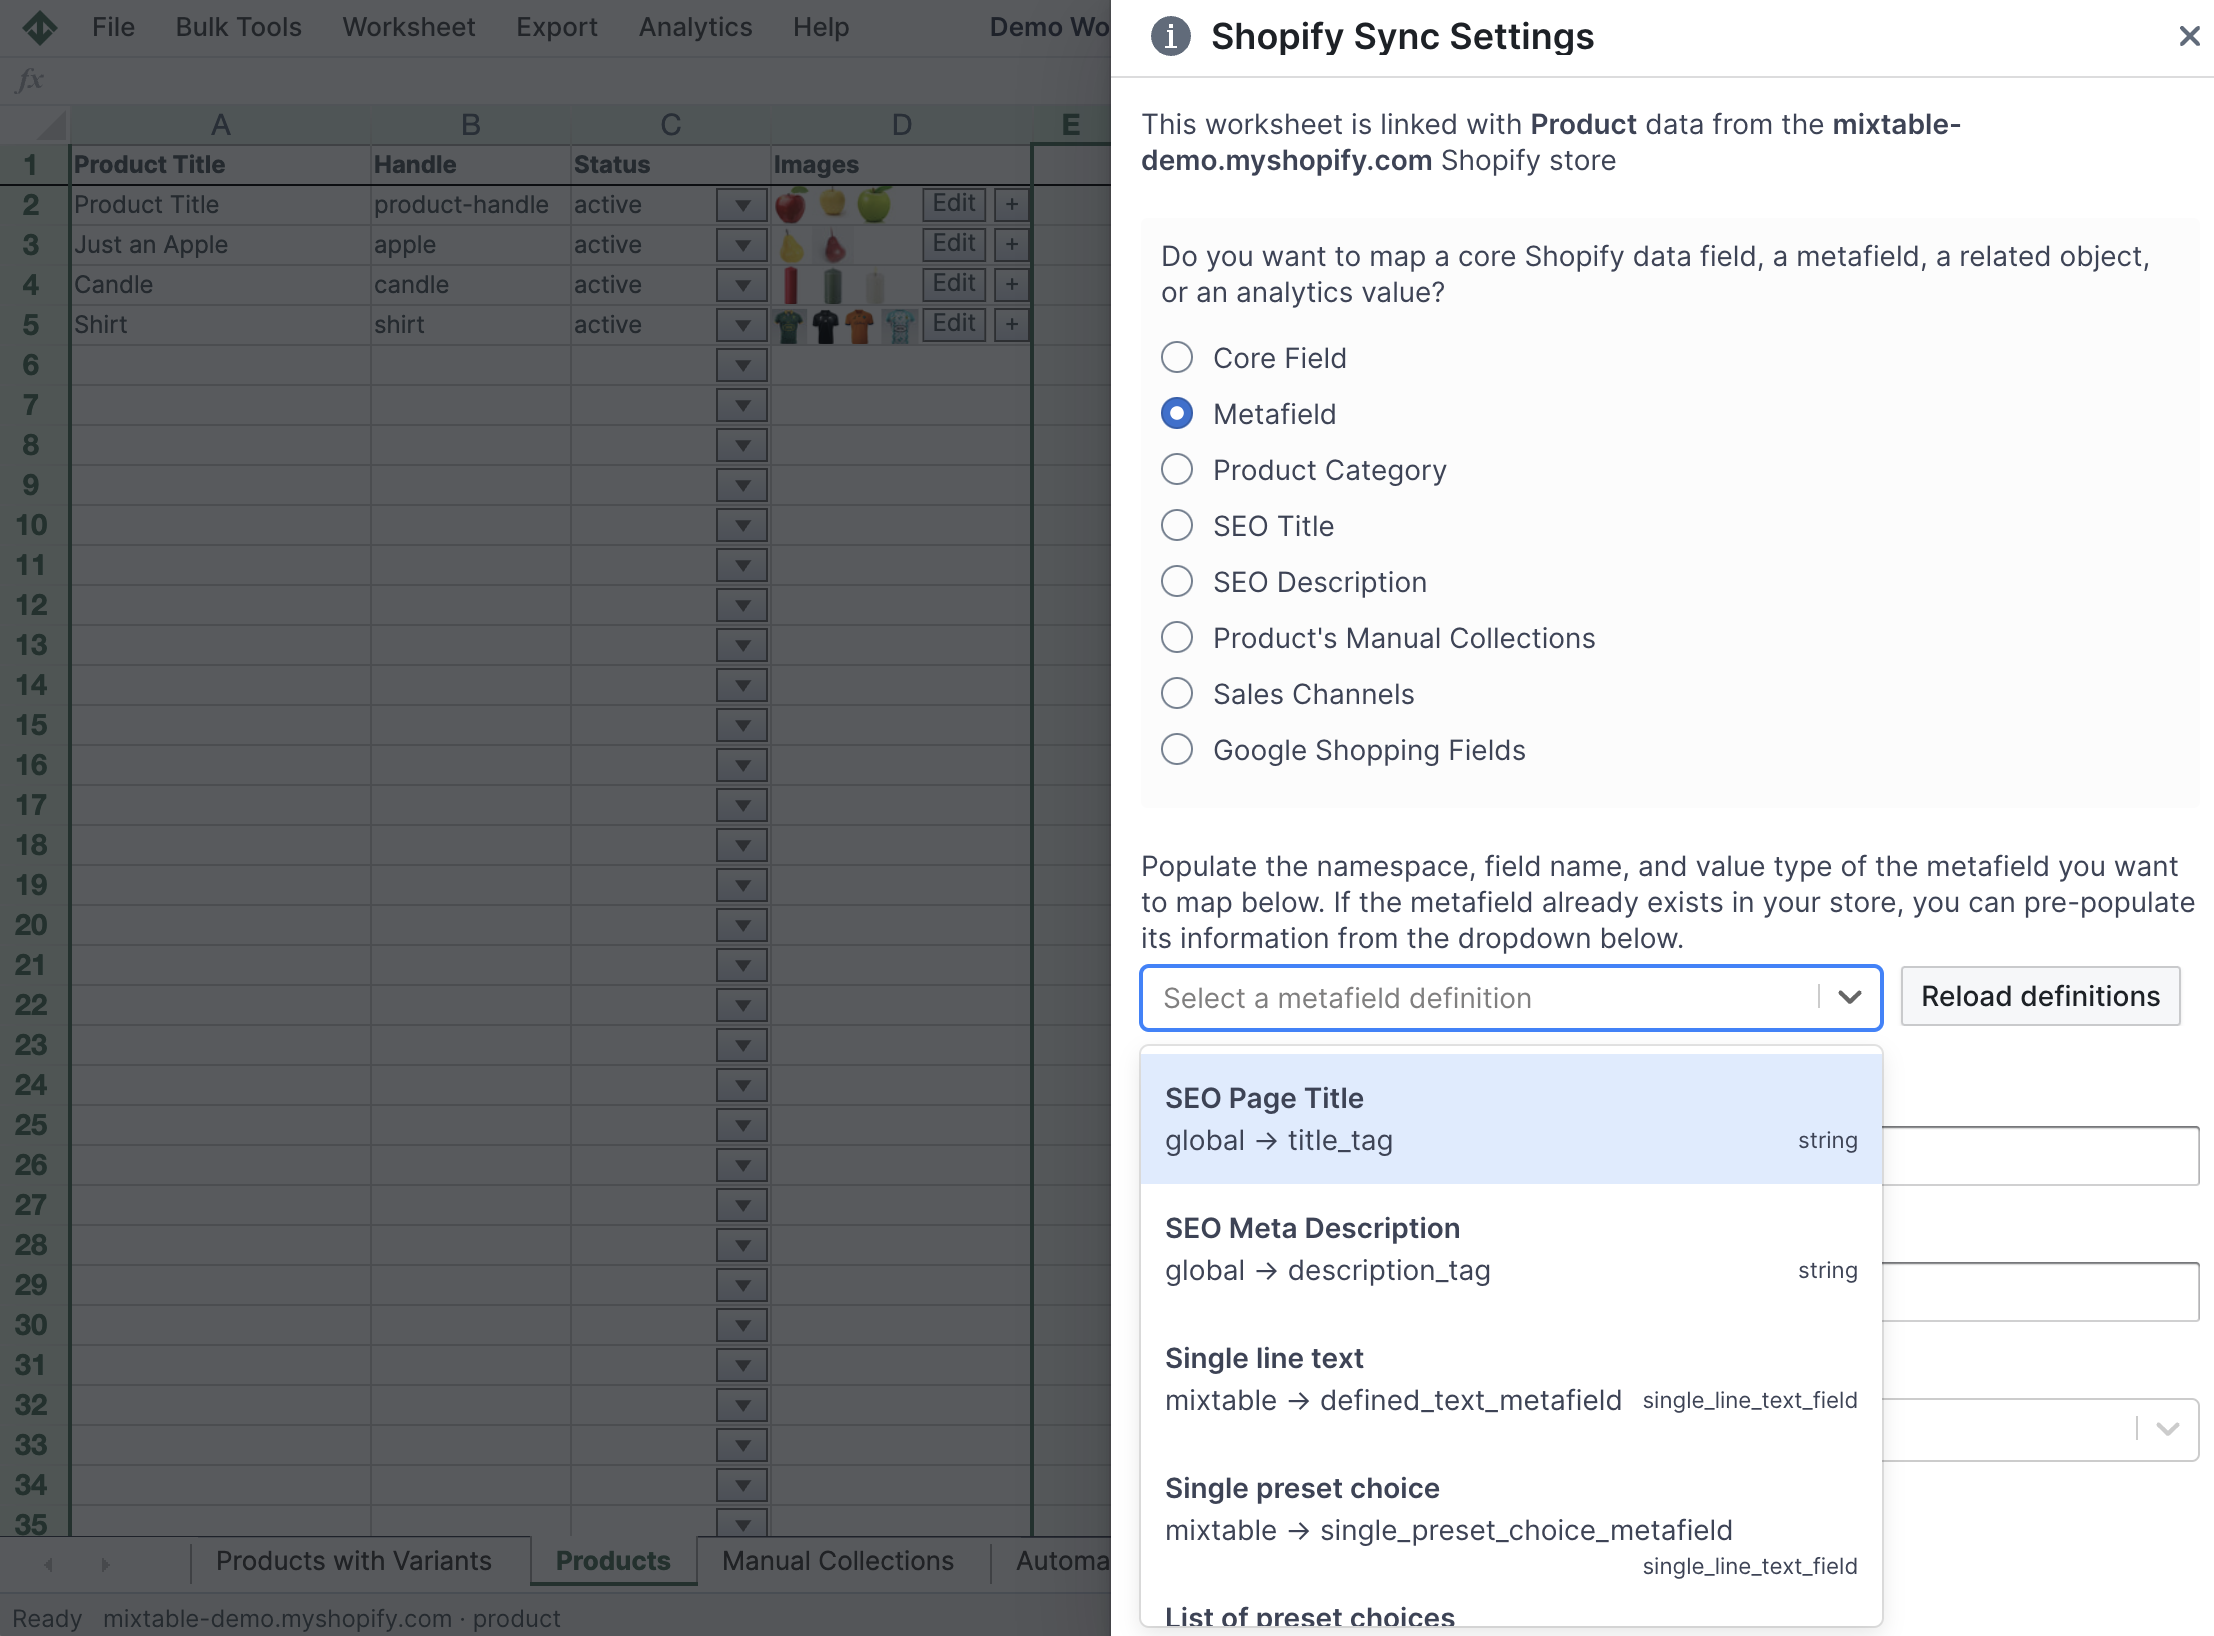
You’ll see that you are now being prompted for information on the metafield that we’ll map into this column. Each metafield in Shopify has a Namespace, a Name, and a Type. You can enter this information manually, or select the metafield you want to sync from the dropdown list that Mixtable shows you. This dropdown contains the metafields that you’ve defined in your Shopify Admin. After you’ve selected your metafields click the Save button.
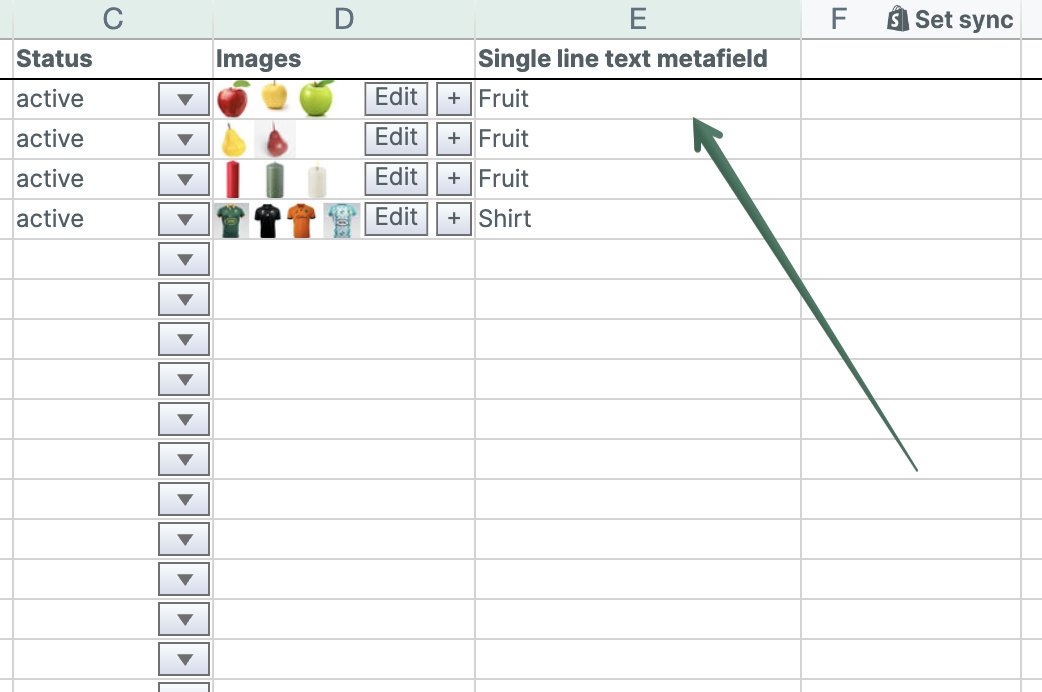
You’ll now see Mixtable set up this new column with a heading (which you are free to change), and populate all the cells with any pre-existing data for the metafield you just set up.
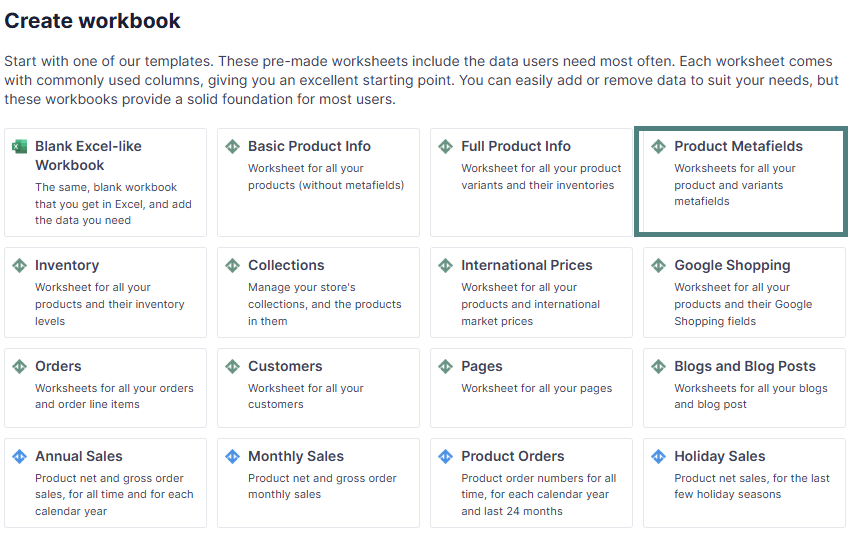
You can create a workbook from the Product Metafields template, which will load Product and Variant metafields in two separate worksheets:
In Shopify you can define a metafield to be limited to one or more values from a list of preset choices. These are single-line text metafields that either allow a single value or a list of values to be set, but these values have to be one of the defined preset choices.
If you map such a metafield to a column Mixtable will auto-detect the possible preset choices and automatically add a dropdown to each cell in the column. Clicking on the dropdown will open a menu showing the preset choice options. This makes it a breeze to set values for such a metafield, without having to remember what all the preset options are, saving you time and minimizing sync errors.
If you make use of the Product Reference metafield type you can use Mixtable’s spreadsheet to very quickly set metafield values in a very user-friendly manner. Just map your metafield to a column, as normal. Mixtable will detect that you’ve mapped a Product Reference metafield and will add a 🔍 button to each cell in the column. Press this button to open up the product selector window. Here you’ll be presented with a list of your store’s products, which you can filter by name, handle, or description. Select the product, or products if you are making a list of product references, and Mixtable will populate the cell for you with the object notation that Shopify wants for these metafields - gid://shopify/Product/PRODUCTID
If you make use of the Variant Reference metafield type you can use Mixtable’s spreadsheet to very quickly set metafield values in a very user-friendly manner. Just map your metafield to a column, as normal. Mixtable will detect that you’ve mapped a Variant Reference metafield and will add a 🔍 button to each cell in the column. Press this button to open up the variant selector window. Here you’ll be presented with a list of your store’s variants, which you can sort by name if you wish. Select the variant and Mixtable will populate the cell for you with the object notation that Shopify wants for these metafields - gid://shopify/ProductVariant/VARIANTID
If you make use of the Page Reference metafield type you can use Mixtable’s spreadsheet to very quickly set metafield values in a very user-friendly manner. Just map your metafield to a column, as normal. Mixtable will detect that you’ve mapped a Page Reference metafield and will add a 🔍 button to each cell in the column. Press this button to open up the page selector window. Here you’ll be presented with a list of your store’s pages, which you can filter by name and handle. Select the page, or pages if you are making a list of page references, and Mixtable will populate the cell for you with the object notation that Shopify wants for these metafields - gid://shopify/OnlineStorePage/PAGEID
You're ready!
Mixtable is an online spreadsheet designed to sync data with Shopify. It looks, feels, and behaves like Excel (including formulas), but runs in your browser. With Mixtable you can:
Best of all, you can sync changes back to Shopify with a single click. Find out more about the Mixtable suite of products here.