
Bulk Delete Orders From Your Shopify Store
 Spreadsheet Editor Updated October 6, 2026
 On this page
You can use the Mixtable Spreadsheet Editor app to make bulk edits to your Shopify store.
In this case, to delete orders in bulk, you can follow these steps:
Step 1: Sync Shopify orders to Mixtable Spreadsheet Editor
Once you install and open Mixtable Spreadsheet Editor, the quickest way to start is the pre-built Orders and Order Items template. It loads your orders into an Orders worksheet, with one row per order:
Open your Mixtable dashboard and click Create spreadsheet at the top of the page. If you haven't created a spreadsheet yet, click Browse all templates below the starting-point cards instead. In the Create spreadsheet window, find Orders and Order Items under Orders & Customers, or type its name in the search box, and click it. Mixtable creates the spreadsheet and fills it with data from your Shopify store.
Before you click the template, use the list on its card to choose how far back to load your orders. It starts at Since 1 month ago, and All orders loads your whole order history.
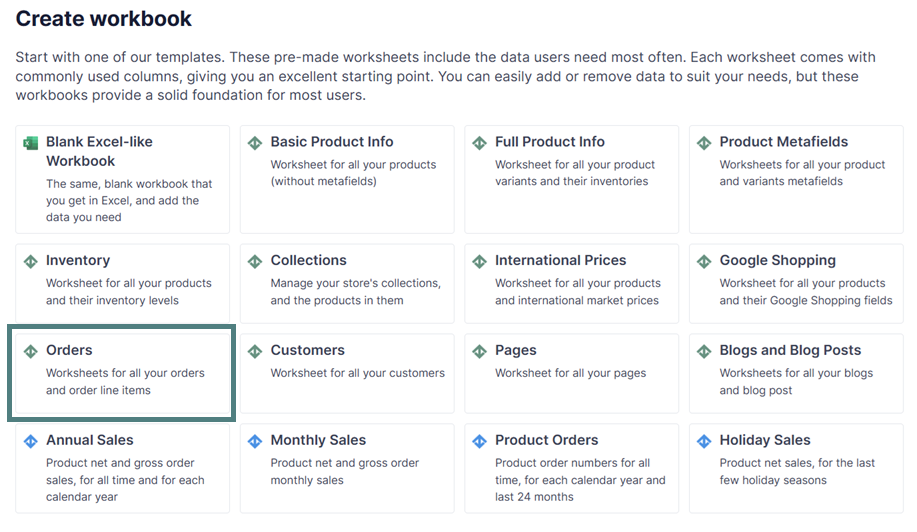
The Orders worksheet includes columns such as:
- Order Name
- Shopify ID
- Customer Email Address
- Created At
- Total Price
Optional: Another way to delete orders from your Shopify store is to add a new Worksheet integrated with Shopify Orders data.
In an existing Mixtable spreadsheet, click the + button at the end of the worksheet tabs, at the bottom of the screen, to add a new worksheet.
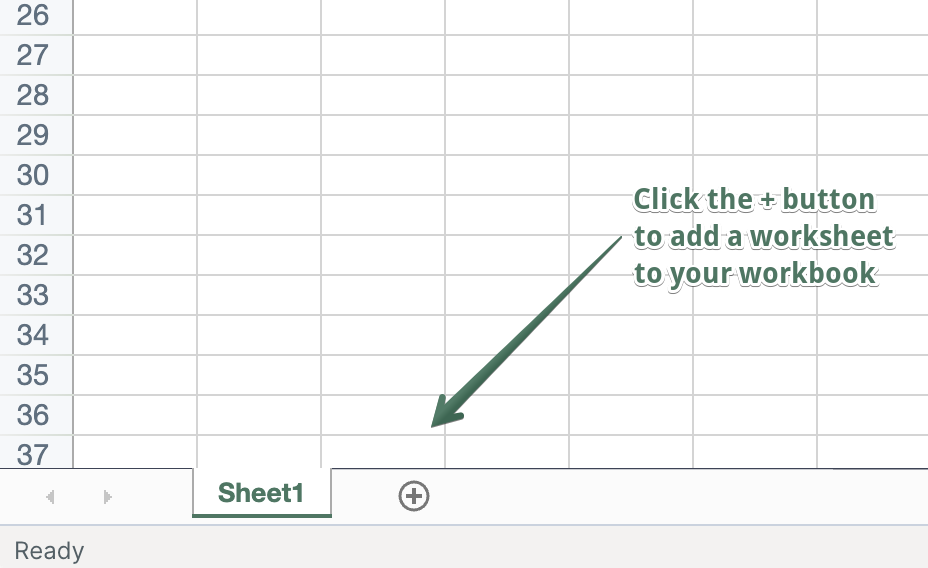
- Select Shopify data worksheet and click Continue
- Choose Orders (no line items)
- Pick the columns you want, then click Continue
- Choose Load a date range and set how far back to load orders, or choose Only rows that match a condition to load only the orders that match a rule
- Click Create Worksheet
Note: You’ll see that when you connect Shopify orders to Mixtable, the data will immediately start populating with any existing data from Shopify into the spreadsheet.
Step 2: Select the orders you want to delete
Once you see the order data in the spreadsheet, select the rows for the orders you’d like to delete, just like you would in Excel: click a row number, then drag across the row numbers of the other orders.
Step 3: Delete the orders
- To delete one order, right-click its row number and choose Delete order in Shopify…. To delete several at once, select their rows, then right-click one of the selected row numbers (or open the Row menu) and choose the option, which shows the count, for example Delete 3 orders in Shopify…
- In the Delete Shopify Objects window, check the list of what will be deleted. This cannot be undone
- Click Delete, then click Are you sure?? to confirm
- Mixtable asks Shopify to delete the order. Once Shopify has deleted it, Mixtable clears the row and leaves it empty. To tidy up, choose Worksheet > Remove Empty Rows
Only the spreadsheet's owner can delete in Shopify, and only on rows linked to Shopify. If the worksheet is filtered, hidden rows are left alone.