
Format Shopify Product Descriptions With a Rich Text Editor
 Spreadsheet Editor Updated October 15, 2026
 On this page
Shopify stores product descriptions as HTML, the code behind the headings, bold text, lists and links on your product pages. Mixtable’s rich text editor lets you format a description the way it looks in your store, so you don’t need to read or write HTML yourself.
Click Edit in a description cell, format the text, and click Update cell. The new description waits in the cell until you sync it to Shopify, just like any other edit in your spreadsheet.
The editor works on one description at a time. To change descriptions across many products at once, see Bulk edit product descriptions.
Where you’ll find the Edit button
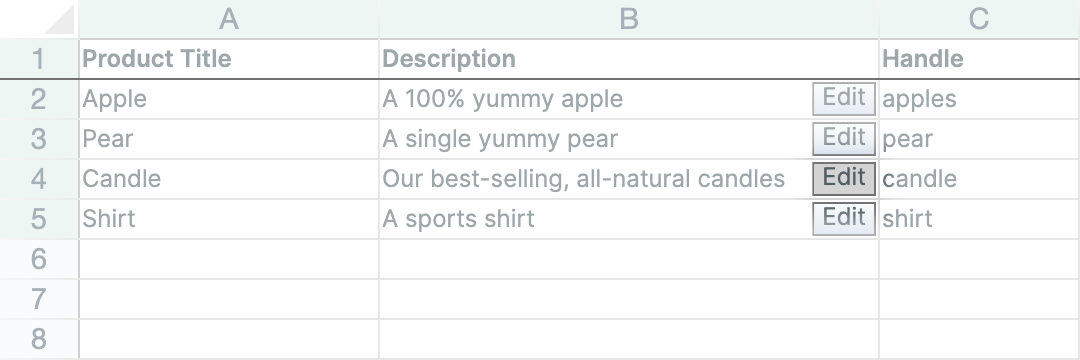
The Edit button sits at the right edge of every cell that holds formatted text from Shopify:
- Description on a Products (no variants) or Collections worksheet
- Description on a Products (with variants) worksheet. The description belongs to the product, so a change shows on all of its variants
- Content on a Pages or Blog Posts worksheet, and Excerpt on a Blog Posts worksheet
- Translation columns for any of these fields, so you can format your Shopify translations the same way
Before you start
Install Mixtable Spreadsheet Editor and open a spreadsheet with a Products (no variants) worksheet. The Basic Product Info template is an easy place to start. If your worksheet doesn’t have a Description column yet, add one:
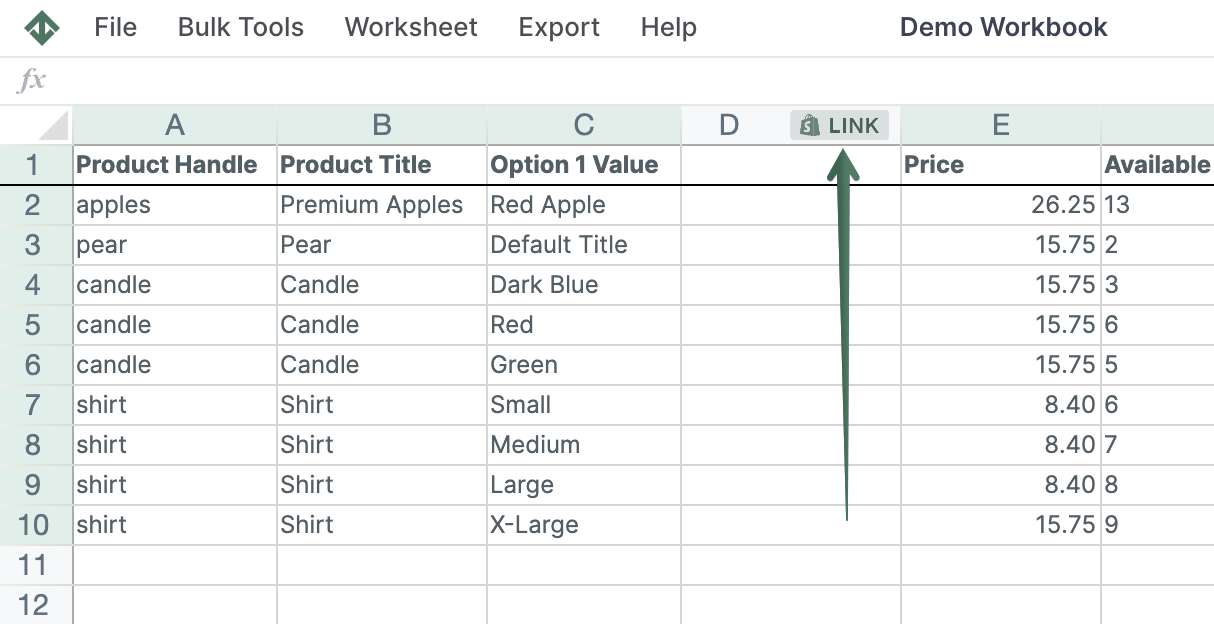
In a spreadsheet, create a worksheet that shows your Shopify Product data.
-
Click + Shopify data in the header row of an empty column, or choose Column > Add Shopify data… from the menu bar. The field picker opens so you can choose the data you want to pull in
-
Type the field's name in the search box at the top, then click Description in the list. The panel on the right explains the field and shows an example value from your worksheet
-
Click Save Column. The column fills with the Description values from Shopify
Step 1: Open the editor
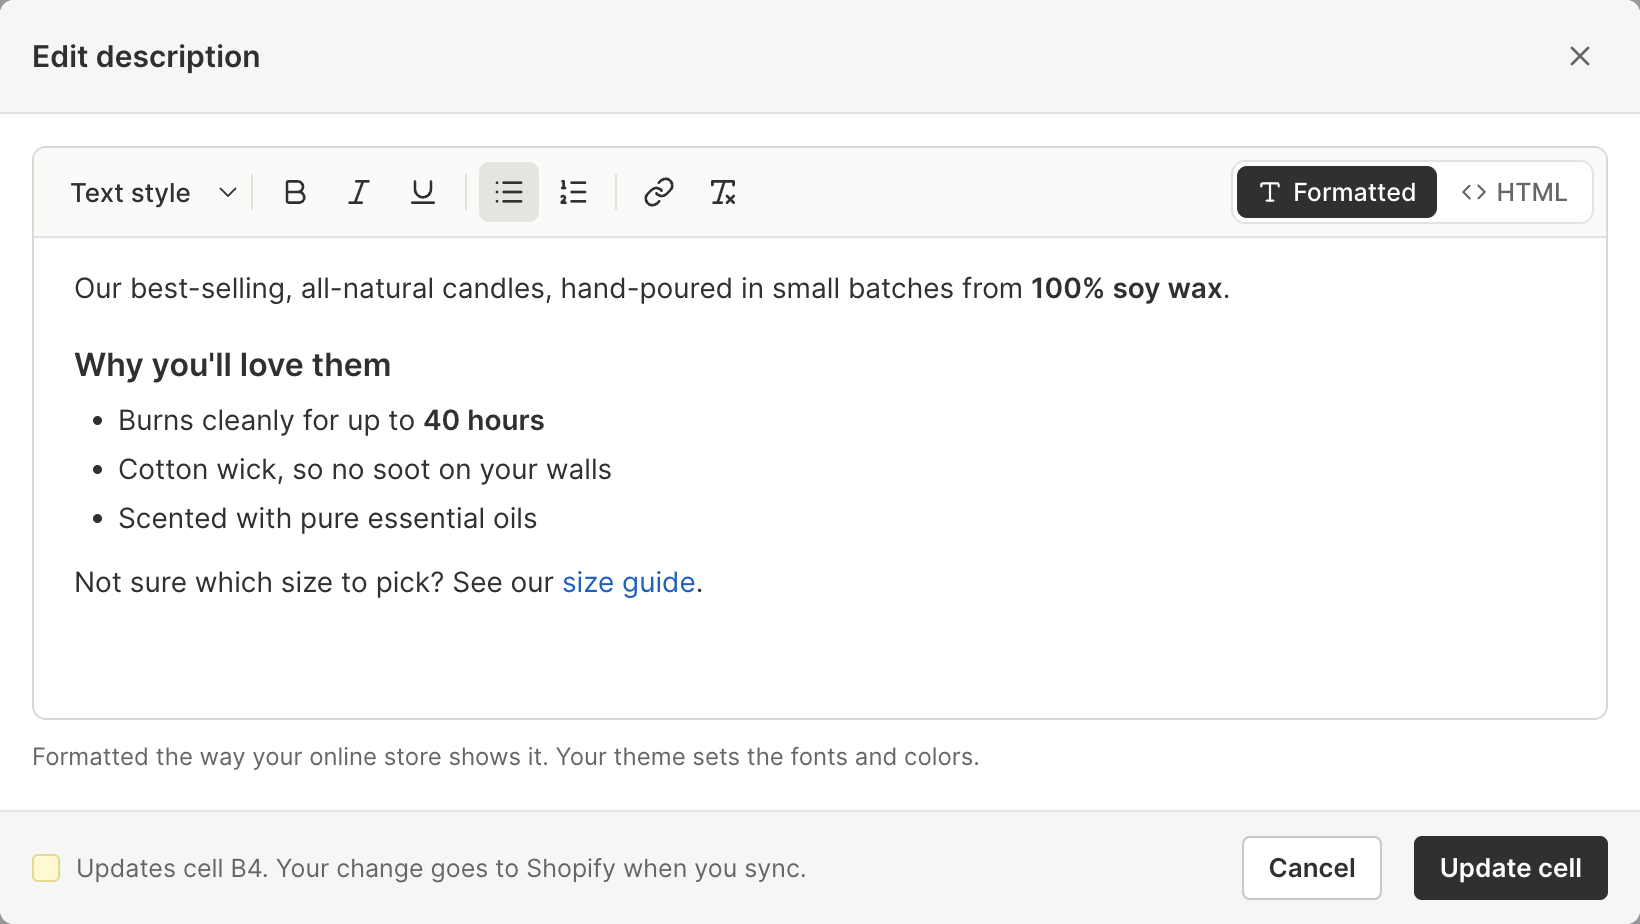
Find the product you want to change and click Edit at the right edge of its Description cell. The Edit description window opens with the description formatted the way your online store shows it. Your theme sets the final fonts and colors.
Step 2: Format the description
Type straight into the description, then use the toolbar to format it:
- Text style: turn a line into a paragraph, Heading 2, Heading 3, Heading 4 or a quote
- Bold, Italic and Underline
- Bulleted list and Numbered list
- Link: select some text, click the button and enter a web address or a page of your store, such as
/pages/size-guide. Click it on an existing link to remove the link - Remove formatting: clear bold, italic and other styling from the selected text
Copying text from Google Docs, Word or a web page? Paste it in. Mixtable keeps the bold, italic, underline, headings, lists, links and tables, and drops fonts, colors and sizes, so the description takes on your store’s look.
Step 3: Check the HTML (optional)
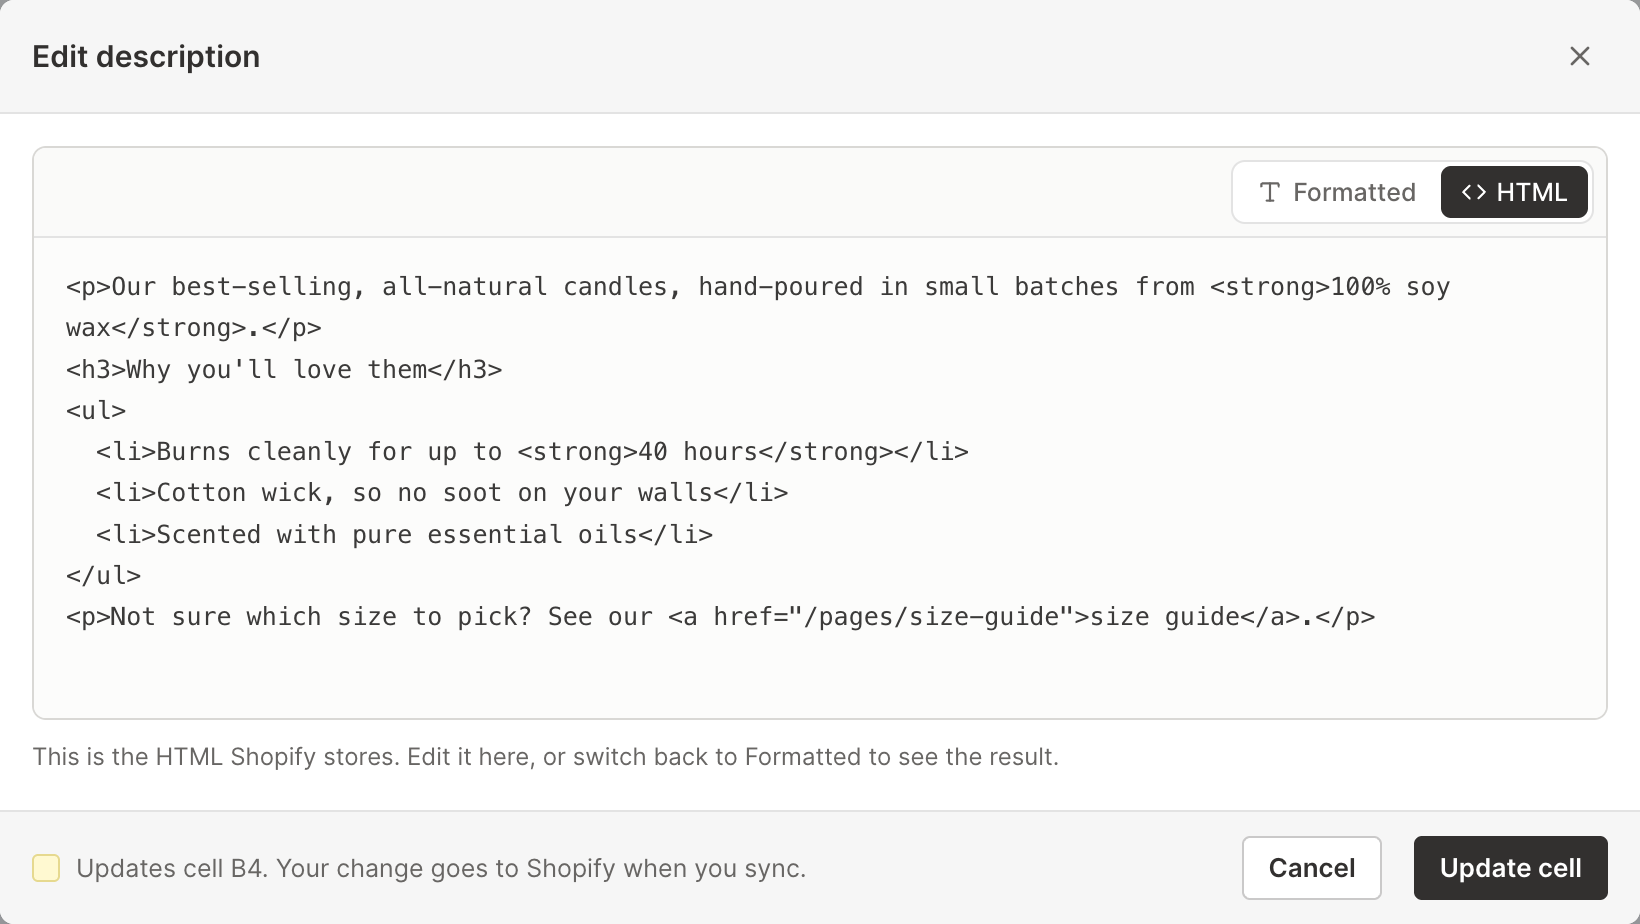
Click HTML at the right of the toolbar to see the same description as the HTML Shopify stores, laid out one paragraph, heading or list item per line. You can edit it there too, for example to add a table or an embedded video. Click Formatted to go back, and your changes come with you.
Some descriptions hold code the formatted view can’t show safely, such as a script or a style block added by another app. Those open straight in the HTML view, exactly as Shopify has them, so nothing in them is lost or run.
Step 4: Update the cell
Click Update cell. The window closes and the description cell turns pale yellow, Mixtable’s sign of an edit that hasn’t been synced to Shopify yet. If you didn’t change anything, the cell stays as it was.
Changed your mind? Click Cancel, the X or press Esc to close the window without changing the cell.
When you are ready, look at the sync control at the top right of the spreadsheet, next to Share. It shows how many edits are waiting, for example Sync 12 changes. Click Preview to review them, then click the Sync button. Mixtable sends the updated Product data to Shopify. It may take a few seconds for the changes to appear in your store.
Rich text editor or spreadsheet cells?
Both update the same Shopify description field. Choose the one that fits the job:
- Use the rich text editor to format and review one description visually, or to paste a formatted description from another tool
- Use the cells to change many descriptions at once, paste prepared HTML, build descriptions with formulas, or fix wording across products with Find and Replace. See Bulk edit product descriptions