Bulk edit Shopify customer data
Bulk edit Shopify customer data
Mixtable’s Excel-like spreadsheet interface is the perfect way to update customer data in your Shopify store. You can make individual or bulk changes to your customer data. For this you can use the same steps you would when making edits in Excel, and you can also make use of Mixtable’s built-in bulk edit features.
Import a CSV to bulk update customer data
If you already have a Shopify customers worksheet in Mixtable and you have customer updates in a CSV, you can import that CSV into your worksheet and update only the customer fields you choose.
Here is the quick flow:
- Click Import & Export and select Import CSV file
- Upload your CSV file
- Match CSV rows to your worksheet using a key like Email
- Choose whether you want to update matching rows only, or update and add new rows
- Pick the customer columns you want to update (for example, tags, notes, addresses), review the preview, then run the import
For the full walkthrough, see Import CSV to update or add Shopify store data
When the import is done, click Sync to Shopify whenever you are ready to apply those updates to your Shopify store
First, prepare your Shopify customers worksheet
To get things going, add a new worksheet that is set up to sync with your Shopify store’s customers.
The worksheet comes preloaded with columns for the most commonly needed customer fields. You are free to delete columns you don’t need (right-click on the column headers to see the delete option), or to map blank columns to sync the data you need. To make a column show a particular field (e.g., the customer’s email) you need to map a column to the field.
To load new Shopify data, start by selecting an empty column — any column with a non-green header (green headers mean the column is already linked to Shopify data). Then, click the  button in the column header to open the selection window to choose the data you want to pull in.
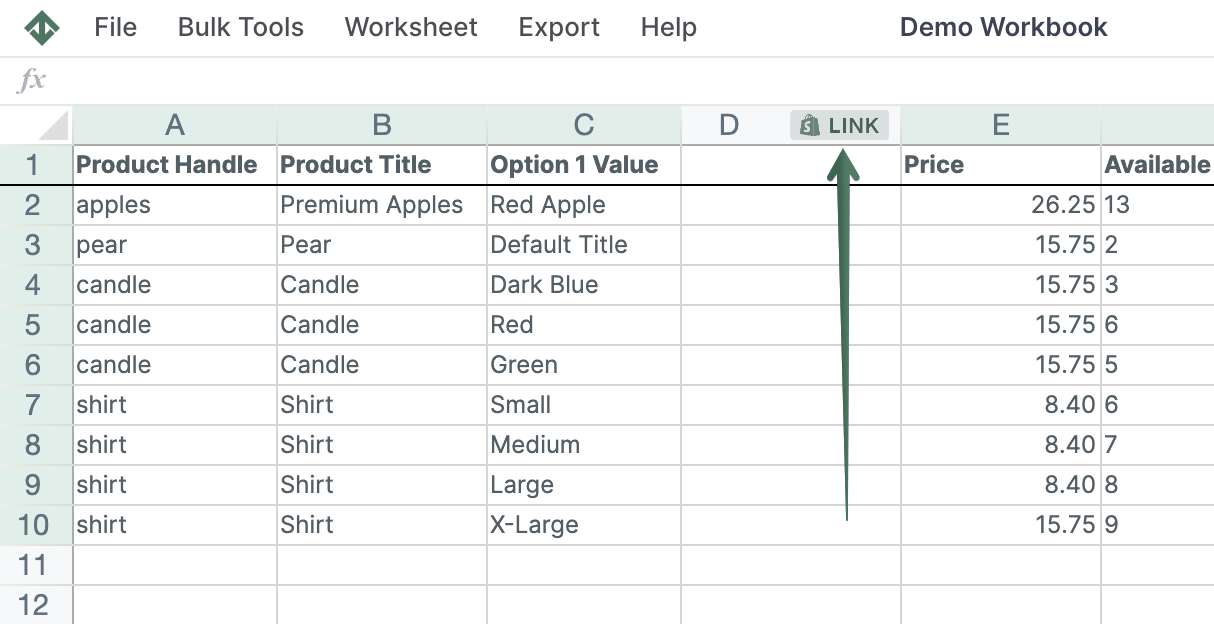
In the window that opens, you have a choice whether to map Shopify data fields, a Metafield, or a Mixtable Analytics field. Once you’ve selected the field you want to map to the column, click on Save and you’ll see any existing Shopify data start to populate in the column.
Second, update your customer data
Now that you’ve set up the columns you need, it’s time to update their data. You can either manually enter the information or paste it from another spreadsheet application (e.g., Excel). All the cells that you modify will get a light, yellow background. This denotes that these cells’ contents have changed, but haven’t been “committed” yet. When you commit the cells, Mixtable will sync their contents to Shopify.
Third, start the sync
Once you are done updating your customers’ data and are ready for the data to be synced to Shopify, click the Sync to Shopify button on the right side of the worksheet. This will “commit” the changes and trigger their sync to Shopify.
You're ready!
Mixtable is an online spreadsheet designed to sync data with Shopify. It looks, feels, and behaves like Excel (including formulas), but runs in your browser. With Mixtable you can:
- Bulk add products to collections, edit metafields, add or remove tags;
- Change product prices, including international prices, and review price history;
- Manage customers with a spreadsheet CRM for Shopify;
- Use Excel features like sort ascending or descending, find-replace, filter, and more.
Best of all, you can sync changes back to Shopify with a single click. Find out more about the Mixtable suite of products here.
Manage Shopify data in a spreadsheet.
Use Mixtable to edit, sync, analyze, import, and export your Shopify store data without CSV juggling.