
Shopify Gross Sales Analytics
 Analytics Spreadsheet Updated October 8, 2026
 On this page
Gross Sales is the value of the products customers ordered, before any discounts or returns are taken off. It excludes tax, shipping, duties, and additional fees, so it measures merchandise demand and nothing else.
How Shopify Gross Sales is calculated
Gross Sales = Product price × Quantity ordered
Nothing is deducted. Discounts, returns, tax, shipping, duties, and additional fees are all left out, which is why Gross Sales is always the largest of the sales metrics and why it overstates what your store kept.
Why Gross Sales is worth reporting
On its own, Gross Sales flatters your store. Its real value is as a starting point: it is the merchandise total before discounts and refunds are taken off, which makes it the benchmark everything else gets measured against.
Reporting Gross Sales beside Net Sales tells you:
- How much of your top line discounts and returns are quietly consuming
- Which products move mainly when a discount is applied
- Whether a slow month was weak demand or unusually heavy discounting
- Which vendors and categories retain the most of what they sell
A product with strong Gross Sales and weak Net Sales is not the bestseller it appears to be. Much of what it earned went back out in discounts or refunds, which is worth understanding before you order more of it.
Add Gross Sales to a Shopify data worksheet
-
Open a supported Shopify data worksheet
-
Click + Shopify data in the header row of an empty column, or choose Column > Add Shopify data… from the menu bar. The field picker opens
-
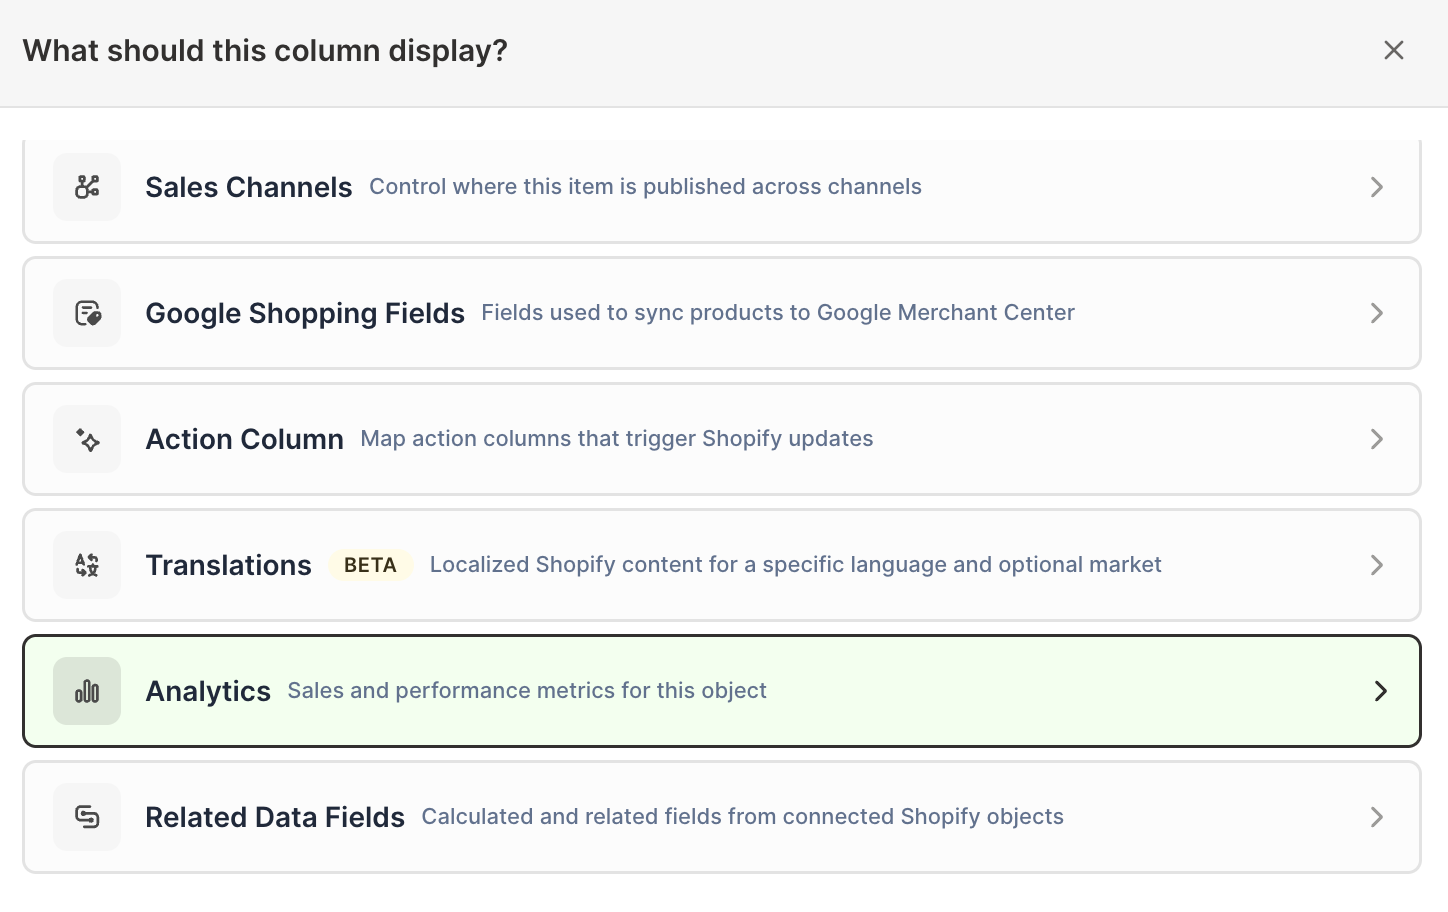
Click Sales & analytics in the list of sections on the left, or type the metric's name in the search box
-
Click Gross Sales. The metric's settings open with it already chosen under Which metric?
-
Under Over what time period?, choose All time, Fixed dates, Rolling period, Calendar year, or Calendar month
-
Under Limit which orders count, add any optional filters supported by the metric
-
Click Save Column
The new column calculates Gross Sales for each worksheet row. On a Products worksheet it shows Gross Sales per product; on a Customers worksheet it shows the Gross Sales associated with each customer.
Compare Gross Sales with a Pivot Table worksheet
Create a Pivot Table worksheet to rank Shopify performance by vendor, product type, product category, product tag, market, or customer segment.
- Click the + at the end of the worksheet tabs, or choose Worksheet > Add worksheet…
- Choose Reporting worksheet, then click Continue
- Select a ready-made Pivot Table report, or choose Blank pivot table, then click Continue
- Choose the breakdown under Break down by and add Gross Sales under Metrics
- Choose the timeframe under Time period
- Click Create Worksheet
Add Total Discount Amount, Total Refund Amount Excluding Tax, and Net Sales to the same report. Reading the four together turns a list of numbers into a story: what customers ordered, what came off in discounts, what went back out in refunds, and what you kept.
The builder creates its columns without filters. To count only some orders, add a column once the worksheet exists: click + Analytics data in the header row of an empty column, choose the metric under Which metric?, pick the time period, add filters under Limit which orders count, and click Save Column.
Track Gross Sales over time
Use a Time Series worksheet to watch demand move day by day, week by week, month by month, or year by year, separately from your discounting.
- Click the + at the end of the worksheet tabs, select Reporting worksheet, and click Continue
- Select a Time Series report, or choose Blank time series, then click Continue
- Under Break down by, choose Store to show several store metrics as rows, or select vendor, product type, market, customer segment, or marketing channel
- Select Gross Sales under Measure (with Store rows, select it under Metrics)
- Under Time periods, choose By day, By week, By month, or By year, then choose how many periods to include next to for the last
- Click Create Worksheet
When Store is the breakdown, you can place Gross Sales beside Net Sales, Orders Count, Average Order Value, refunds, discounts, and other supported store metrics. Gross Sales rising while Net Sales stays flat means discounts and refunds are absorbing the difference, and the discount and refund rows in the same report will show you which.