Export Shopify Products with Metafields
Export Shopify Products with Metafields
To export your Shopify products along with their metafields is very straightforward if you choose to do it with Mixtable Spreadsheet Editor. You’ll need to perform three quick steps.
- First, have a worksheet that shows your Shopify products.
- Second, map one or more columns to show the metafield data you want to export.
- Third, when above are done, just export the spreadsheet and you’ll be able to download all your products with their metafield data as an Excel file or in .CSV format.
Below are more details on each step.
Step 1 - Show your Shopify Products in a spreadsheet
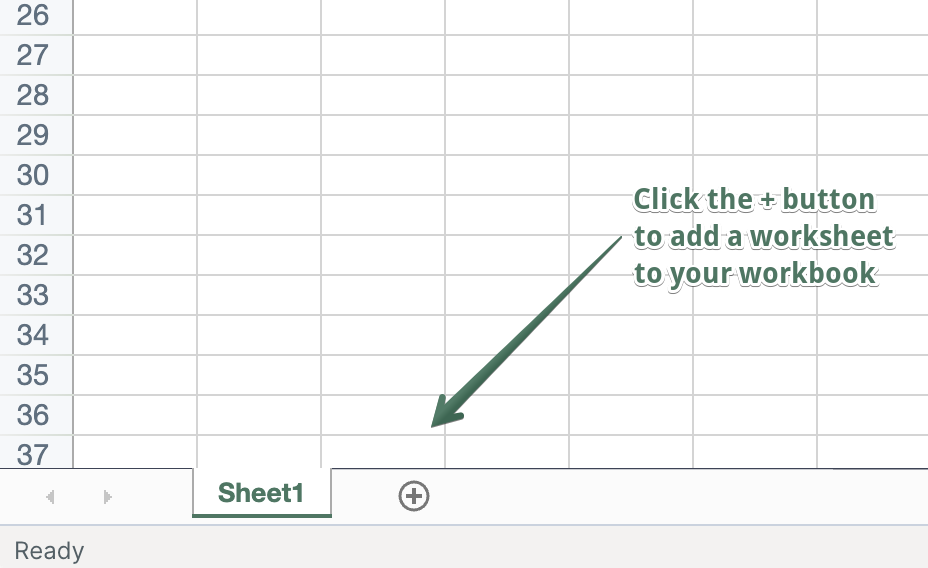
In an existing Mixtable spreadsheet, click the (+) button to add a new worksheet.
You’ll now be presented with a list of what Shopify data you’d like to sync to the new worksheet - products, orders, customers, etc. Select the Products (no variants) option. The new worksheet will be added, and you’ll see your Shopify Products data starting to populate in it.
Step 2 - Sync metafields to products in the Mixtable spreadsheet
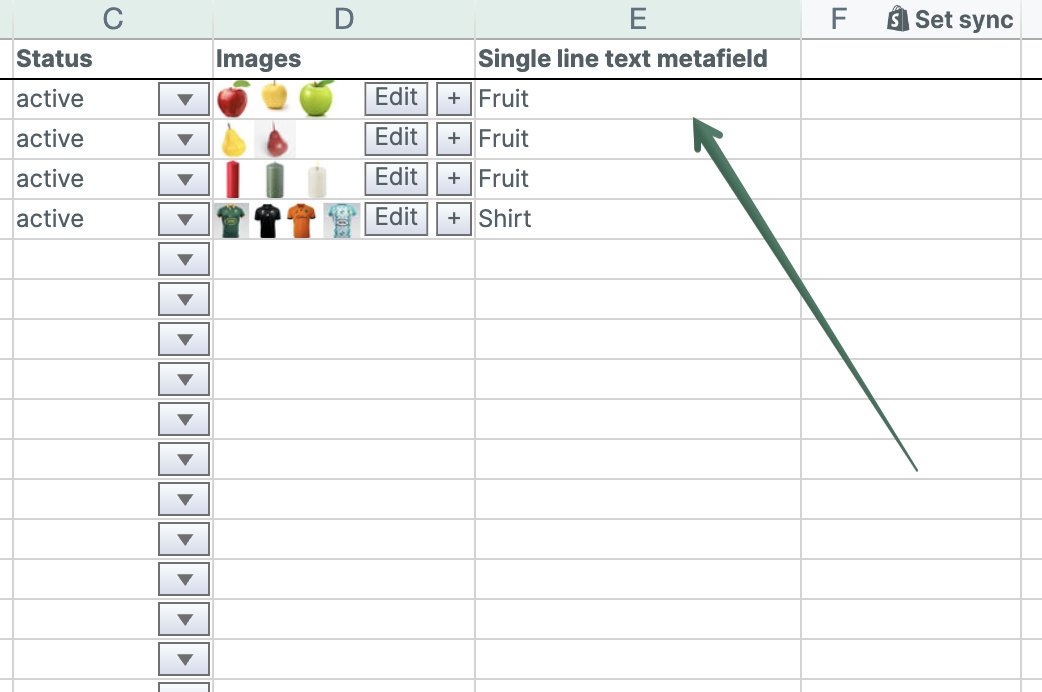
Now that we have our Products (no variants) worksheet, we need to populate our metafields data in it. All that’s involved is to configure columns to display the metafields you want to export. Here’s how:
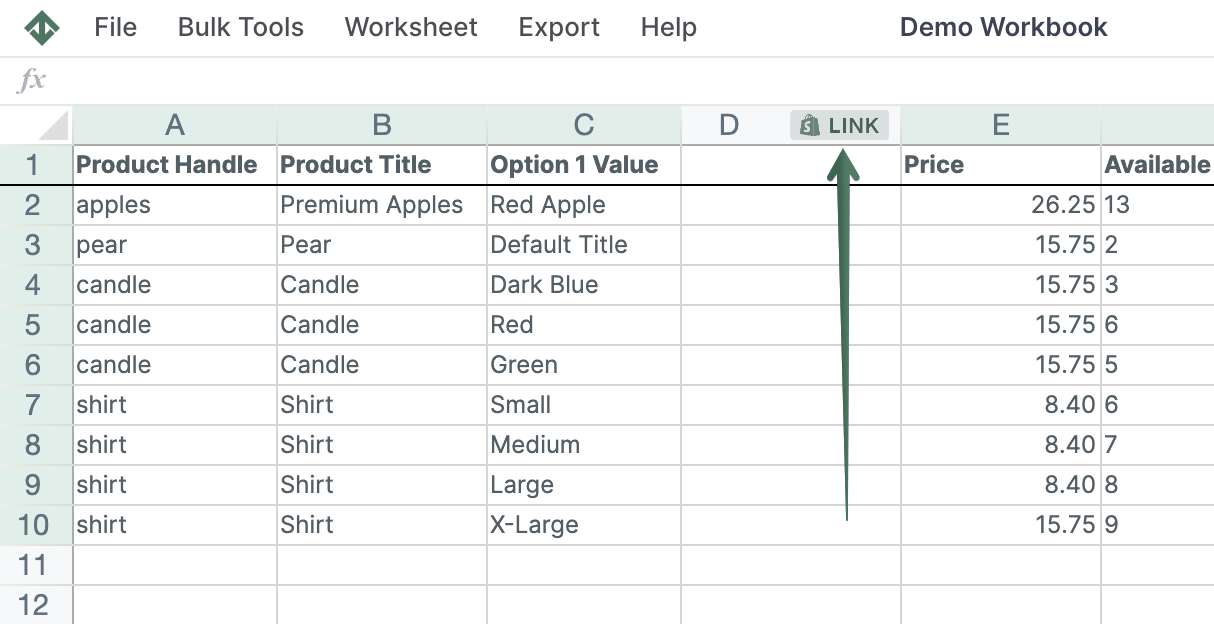
To load new Shopify data, start by selecting an empty column — any column with a non-green header (green headers mean the column is already linked to Shopify data). Then, click the  button in the column header to open the selection window to choose the data you want to pull in.
- In the window that opens, select the Metafield radio button option
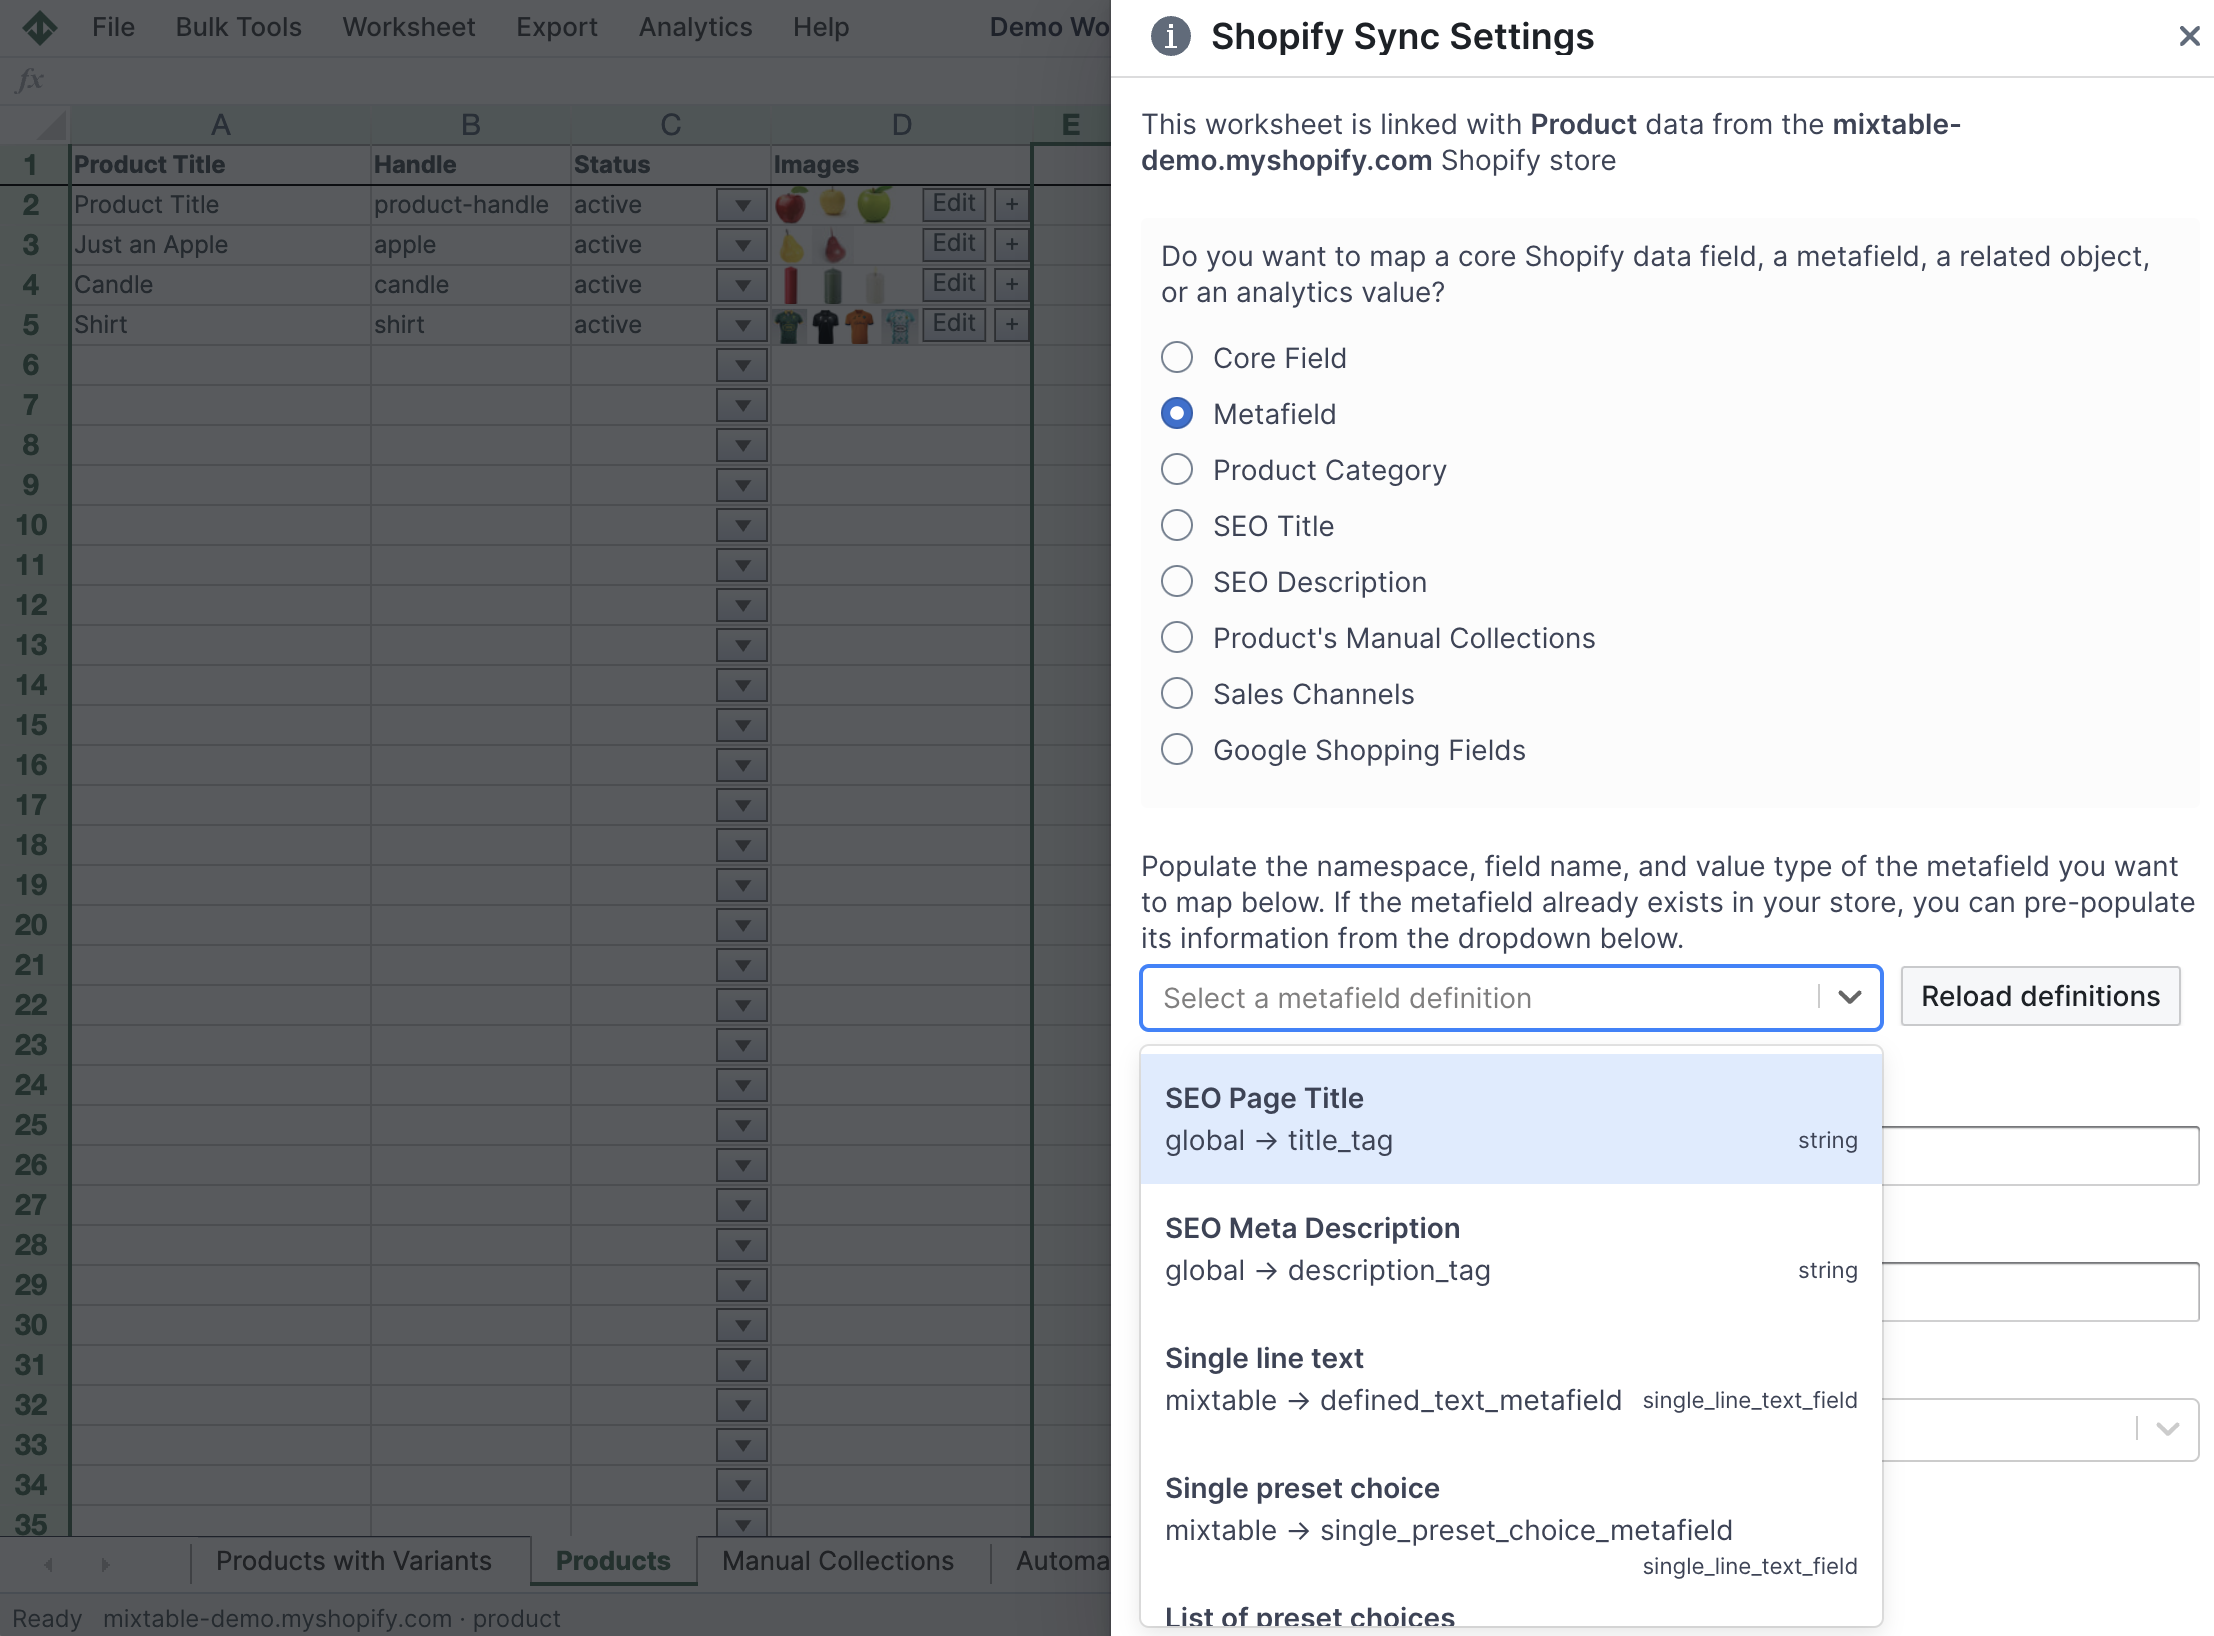
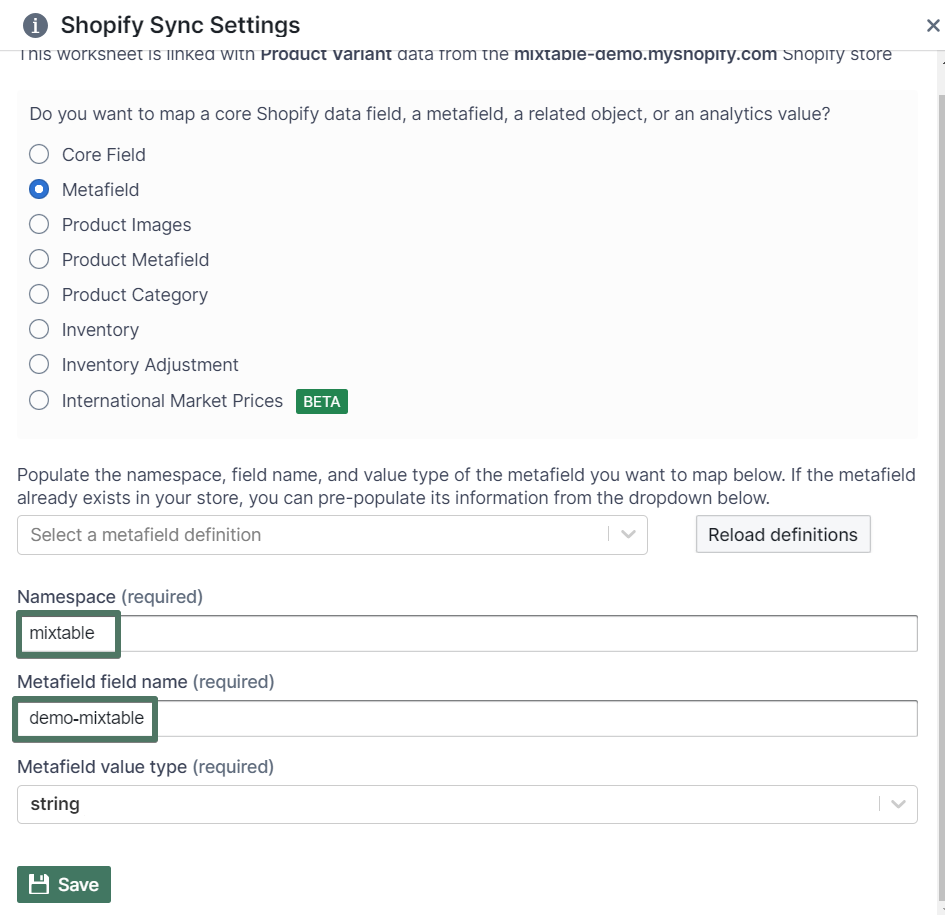
- You’ll see that you are now being prompted for information on the metafield that we’ll map into this column. Each metafield in Shopify has a Namespace and a Name. Enter the values for any existing metafields here. If you are creating new metafields then enter the Namespace and Name values you’d like to use. Then, click the Save button.
- You’ll now see Mixtable set up this new column with a heading (which you are free to change), and populate all the cells with any pre-existing data for the metafield you just set up.
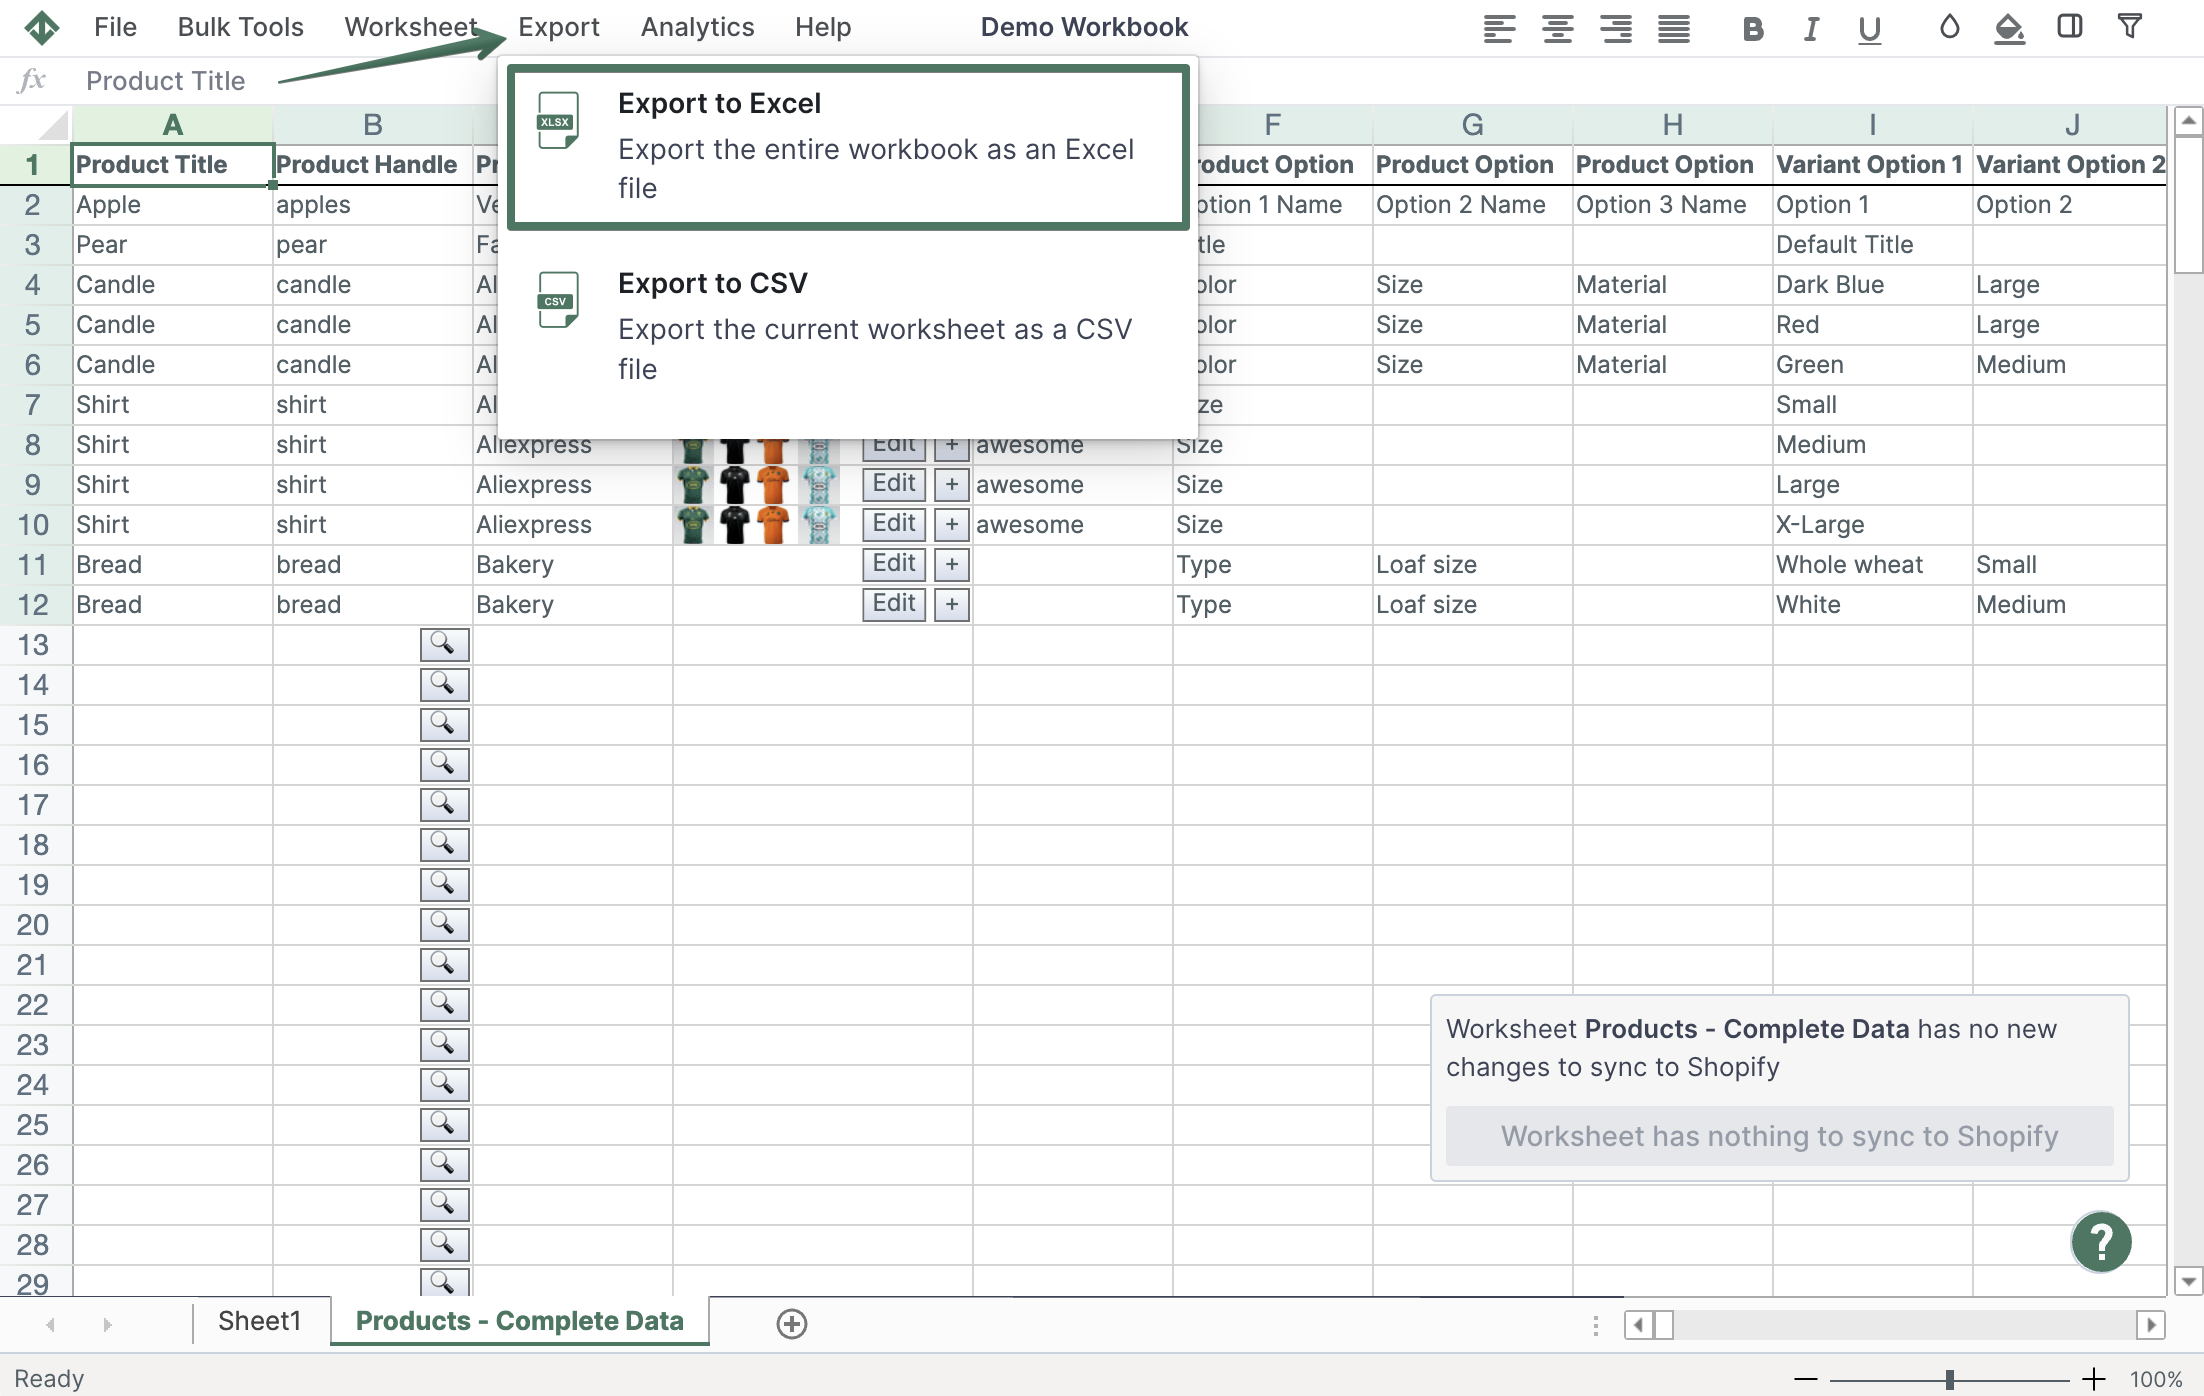
Step 3 - Export your metafields to an Excel file or .CSV
Now that we have our Products metafields data in our worksheet, let’s export everything to an Excel file. Click Import & Export in the top toolbar, then select Export to Excel. The file will be downloaded to your computer right away. And that’s it!
Well done!
Mixtable Explore & Export is an Excel-like app built to sync data with Shopify automatically. It looks, feels, and behaves like Excel (including formulas), but runs in your browser. Find here:
- How to export Shopify products, products with metafields, and products with collections;
- How to export Shopify orders and orders with metafields;
- How to export blog posts or pages into CSV or Excel.
Because Mixtable keeps your spreadsheet updated automatically as your Shopify data changes, there’s no need to wait for manual syncs — just open and export.
Manage Shopify data in a spreadsheet.
Use Mixtable to edit, sync, analyze, import, and export your Shopify store data without CSV juggling.