
Export Shopify data to Excel or CSV
 Spreadsheet EditorExport: Excel & CSV Updated October 8, 2026
 On this page
 Export Shopify store data to Excel and CSVHow to export your Shopify products, orders, customers, and more, to Excel using Mixtable's Excel/Google Sheets-like spreadsheet and its built-in sync with Shopify.
 This article covers the download itself: how to set up a worksheet, pick your columns, and save the file. For a wider look at the options for getting Shopify data into Excel, Google Sheets, or a BI tool, see Shopify to Excel.
Shopify admin does not export .xlsx files. It exports CSV, and only for certain record types. Excel opens a CSV, but you lose formatting, multiple worksheets, and any field Shopify left out of its fixed column list.
Step 1: Start with a spreadsheet template
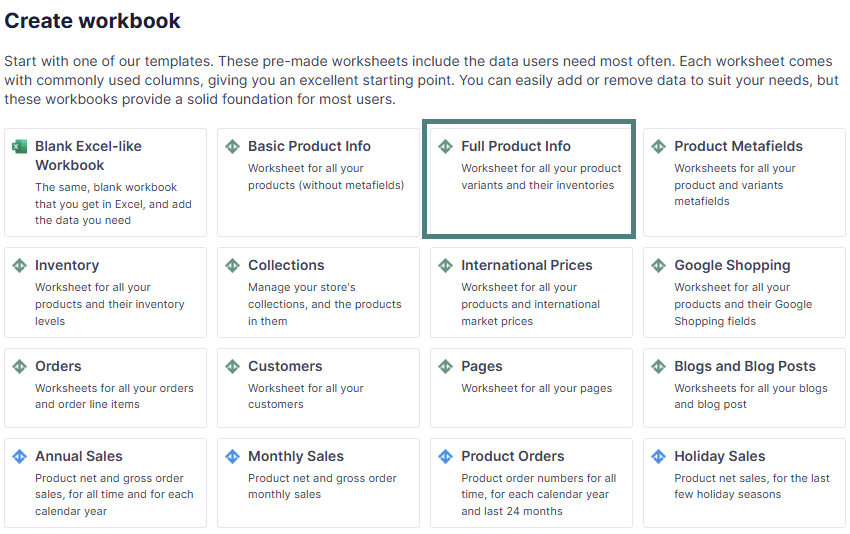
After you install the Mixtable Spreadsheet Editor you can build your own spreadsheet from scratch, but the easiest way to start is with one of our pre-made templates. In this example we want to export our product information, so we’ll start with the Full Product Info template:
Open your Mixtable dashboard and click Create spreadsheet at the top of the page. If you haven't created a spreadsheet yet, click Browse all templates below the starting-point cards instead. In the Create spreadsheet window, find Full Product Info under Products, or type its name in the search box, and click it. Mixtable creates the spreadsheet and fills it with data from your Shopify store.
On your first visit, the Edit products and prices card on the dashboard creates the same template in one click (in Mixtable Export: Excel & CSV, it’s the Export products card).
Note: Exporting to Excel and CSV is free with Mixtable Export: Excel & CSV.
Step 2: Customize the data you wish to export
Add / Delete columns
The templates are loaded with columns for the information that our users use the most. You can customize the columns in your worksheet to suit your needs, by adding and removing them.
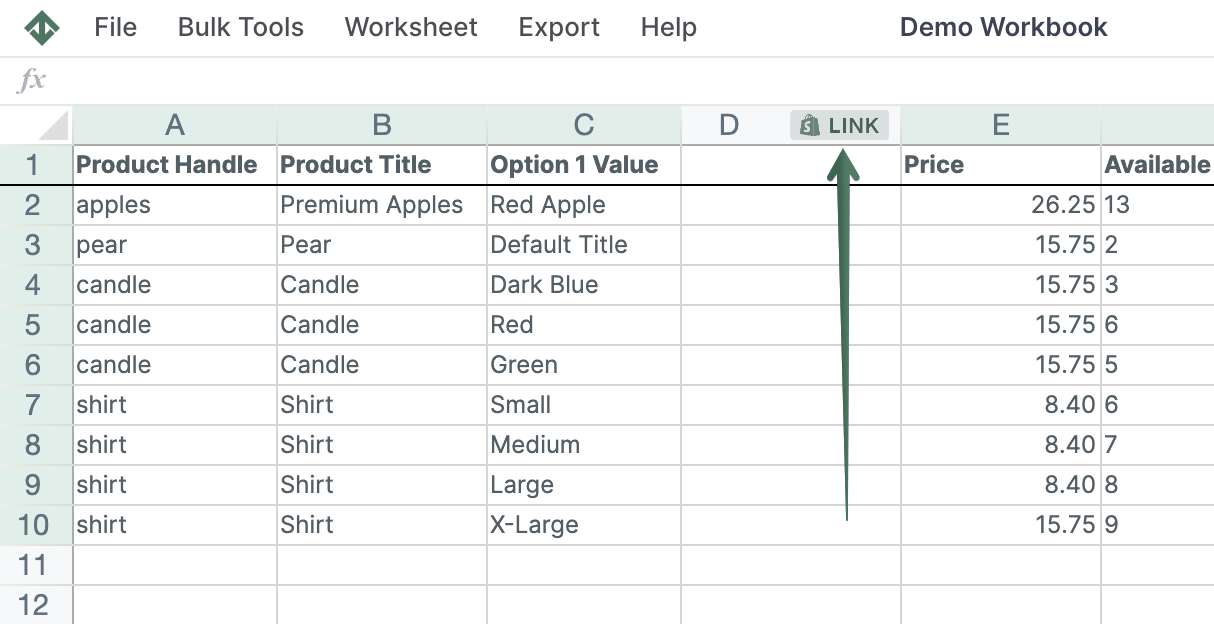
To load more Shopify data, click + Shopify data in the header row of an empty column, such as the one right after your last column. You can also choose Column > Add Shopify data… from the menu bar. The field picker opens and asks What should column E show?, with your column's letter in place of E. It lists everything the worksheet can show from Shopify, grouped into sections the way your Shopify admin groups them. Type in the search box at the top, or click a section on the left, to find the field you want.
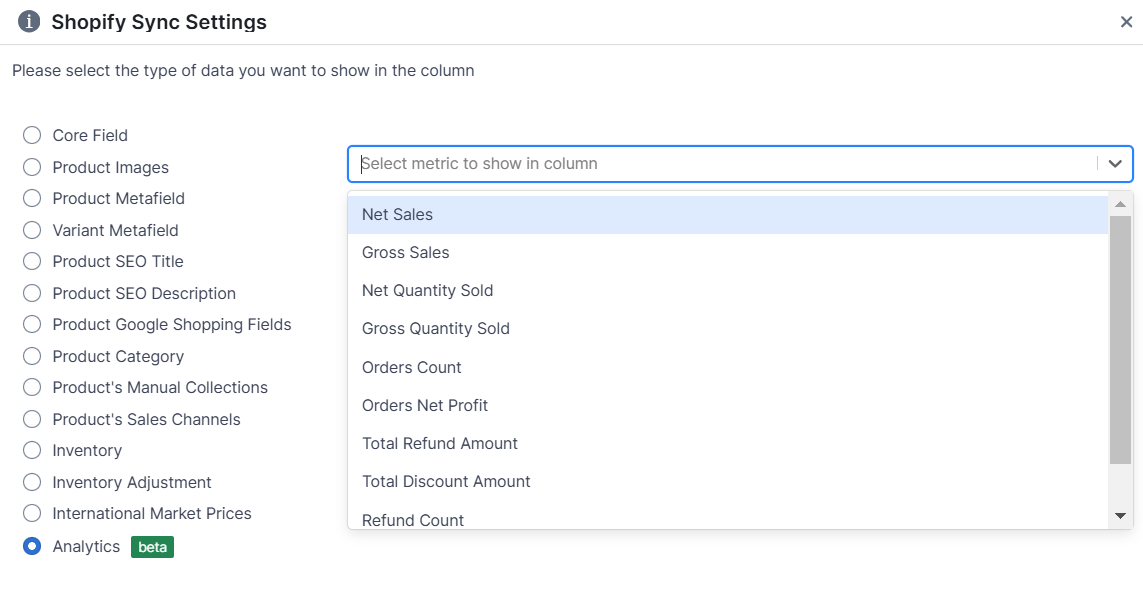
You can choose to add a variety of Shopify data, from standard fields such as price and SKU to metafields (in the Custom data section), stock by location, and related data columns. If you have our Mixtable Analytics Spreadsheet app installed you can also add columns that show analytical information for your products and store, from the Sales & analytics section.
Add more Shopify worksheets
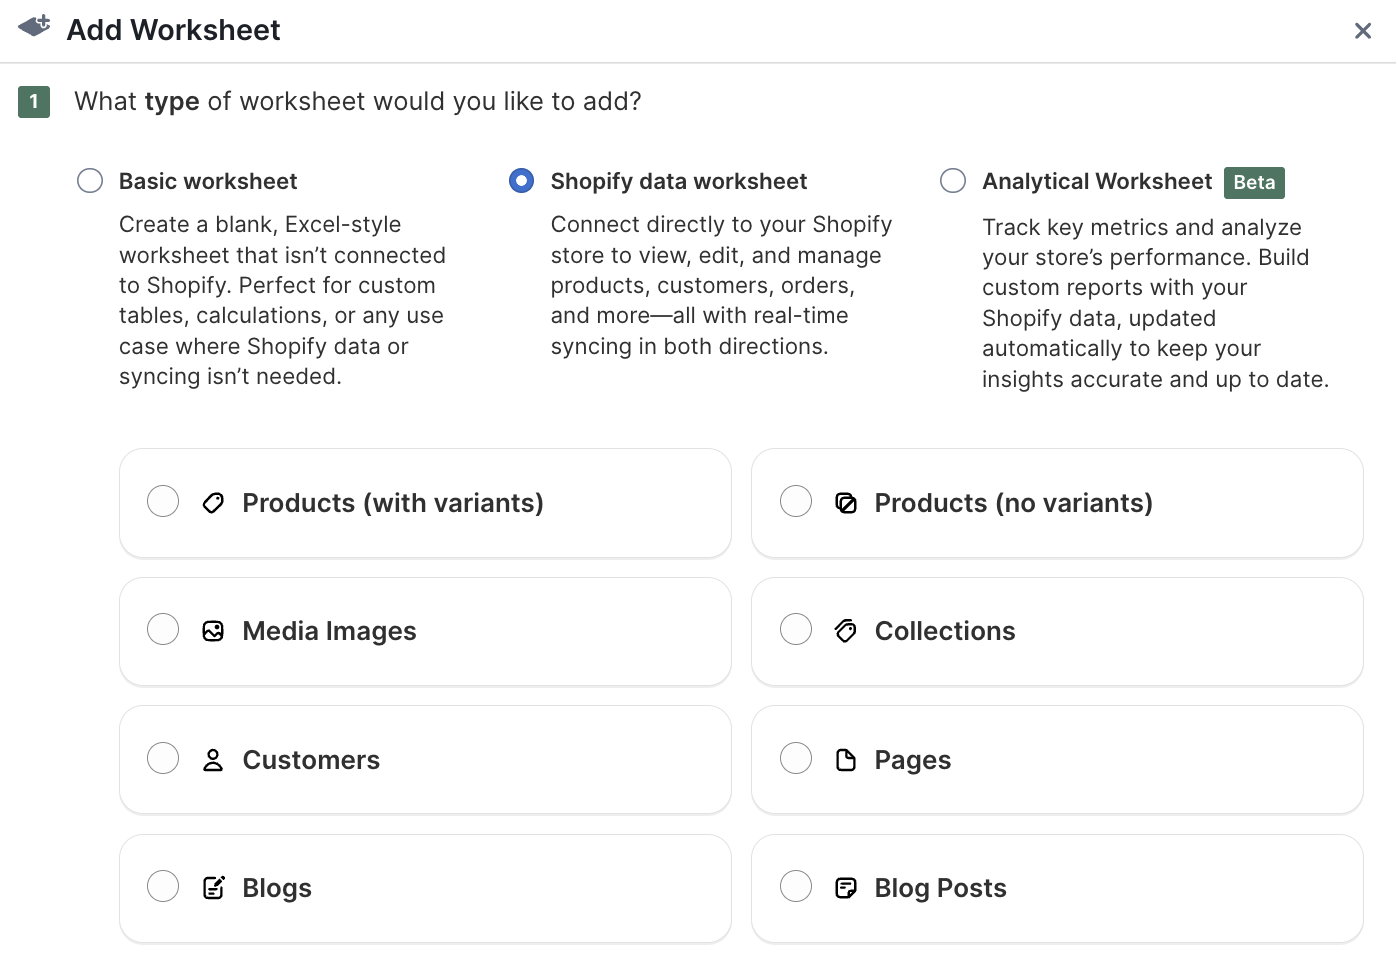
You can also add other worksheets with a different dataset, such as Orders (no line items) or Customers. With Mixtable export to Excel, you will get a single .xlsx file containing all worksheets in your spreadsheet, and the data will be kept up to date for future exports.
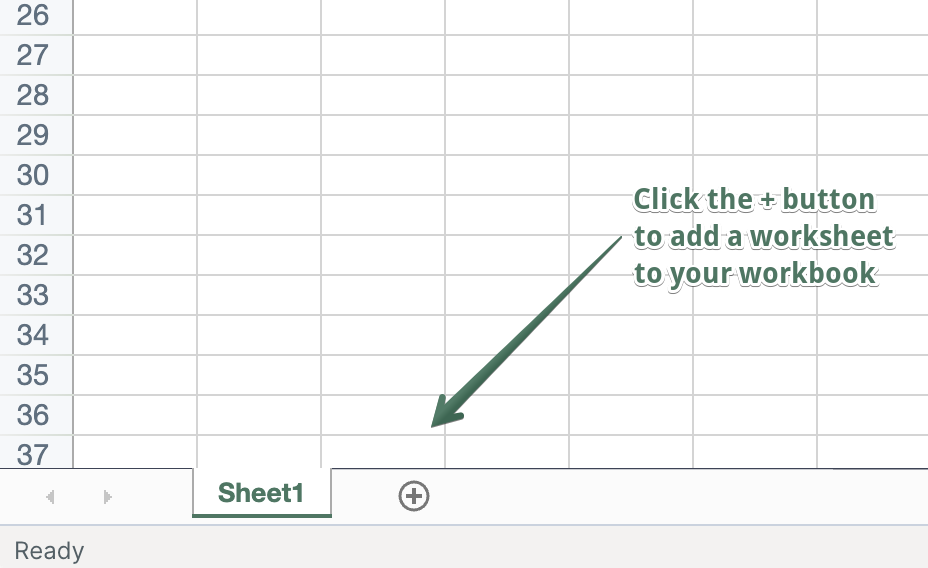
In an existing Mixtable spreadsheet, click the + button at the end of the worksheet tabs, at the bottom of the screen, to add a new worksheet.
Choose Shopify data worksheet and click Continue. Then pick the data you want, such as Orders (no line items) or Customers, choose your columns, decide which rows to load, and click Create Worksheet.
Step 3: Export to an Excel .xlsx file
Once the spreadsheet is set up, click Import & Export in the menu bar and choose the Export to Excel option (or press Ctrl+S, or ⌘S on a Mac). A prompt will then guide you to select a save location for your file.
Tip: If the sync control at the top right shows updates waiting from Shopify, for example Apply 3 updates, click it first so your export includes them.
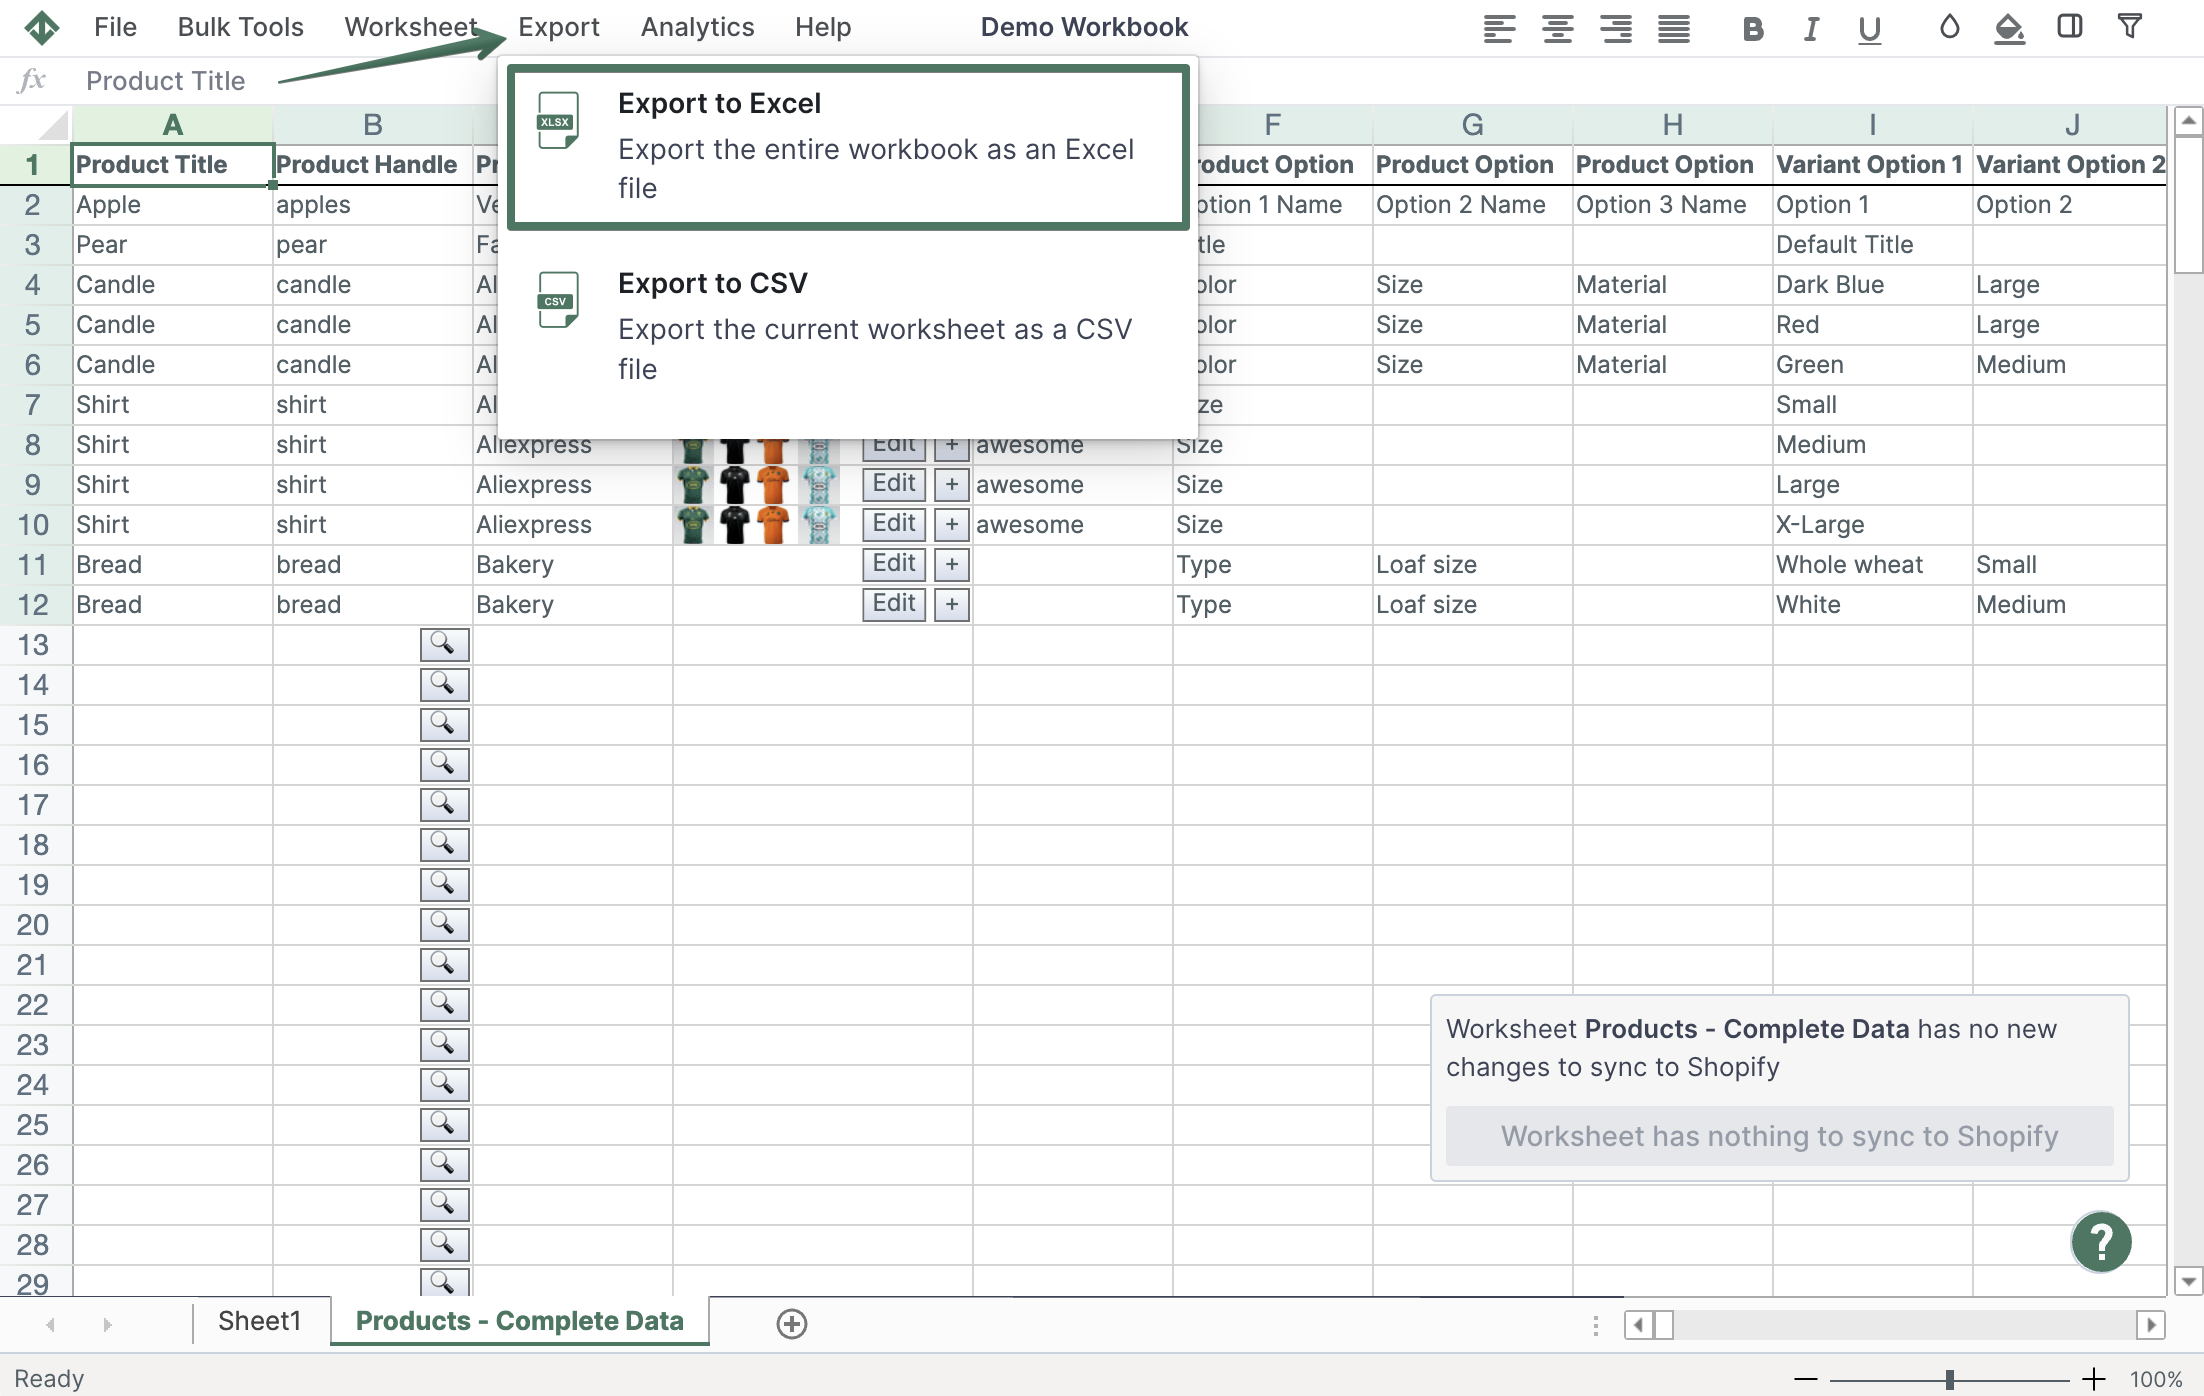
Your raw values, formulas, images, and formatting, including conditional formatting rules, are all retained in the transition from Mixtable to Excel, and every worksheet in the spreadsheet lands in the same file.
Export a single worksheet to CSV instead
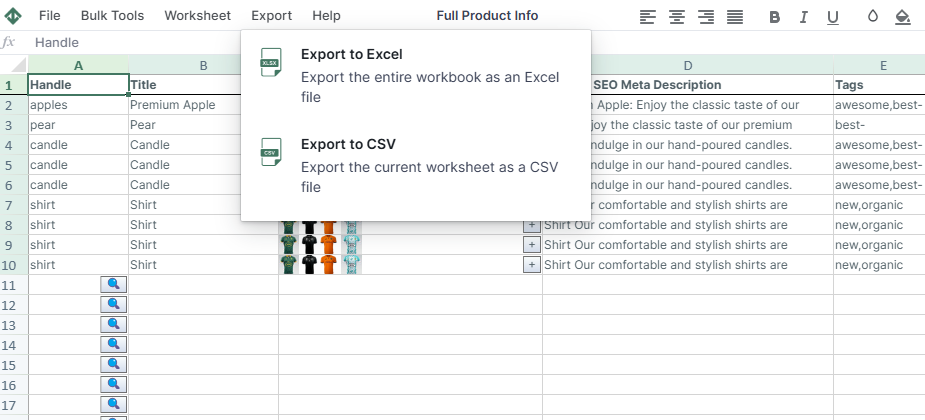
CSV files cannot hold multiple tabs, so a CSV export covers the worksheet you are currently on. To export a complete spreadsheet as CSV, export each worksheet separately.
- Click Import & Export in the menu bar
- Choose the Export to CSV option
- A prompt will then guide you to select a save location for your file
Export guides for specific Shopify data
The steps above work for any worksheet. These articles cover the details for each record type: