How to Prepare Sale Campaigns in Shopify with a Spreadsheet App
On this page
Your discount policy is crucial for attracting new customers, boosting profits, and keeping your inventory fresh.
If your goal is to create your next campaign and change product prices in bulk, you need a tool like the Mixtable spreadsheet to do it quickly and conveniently.
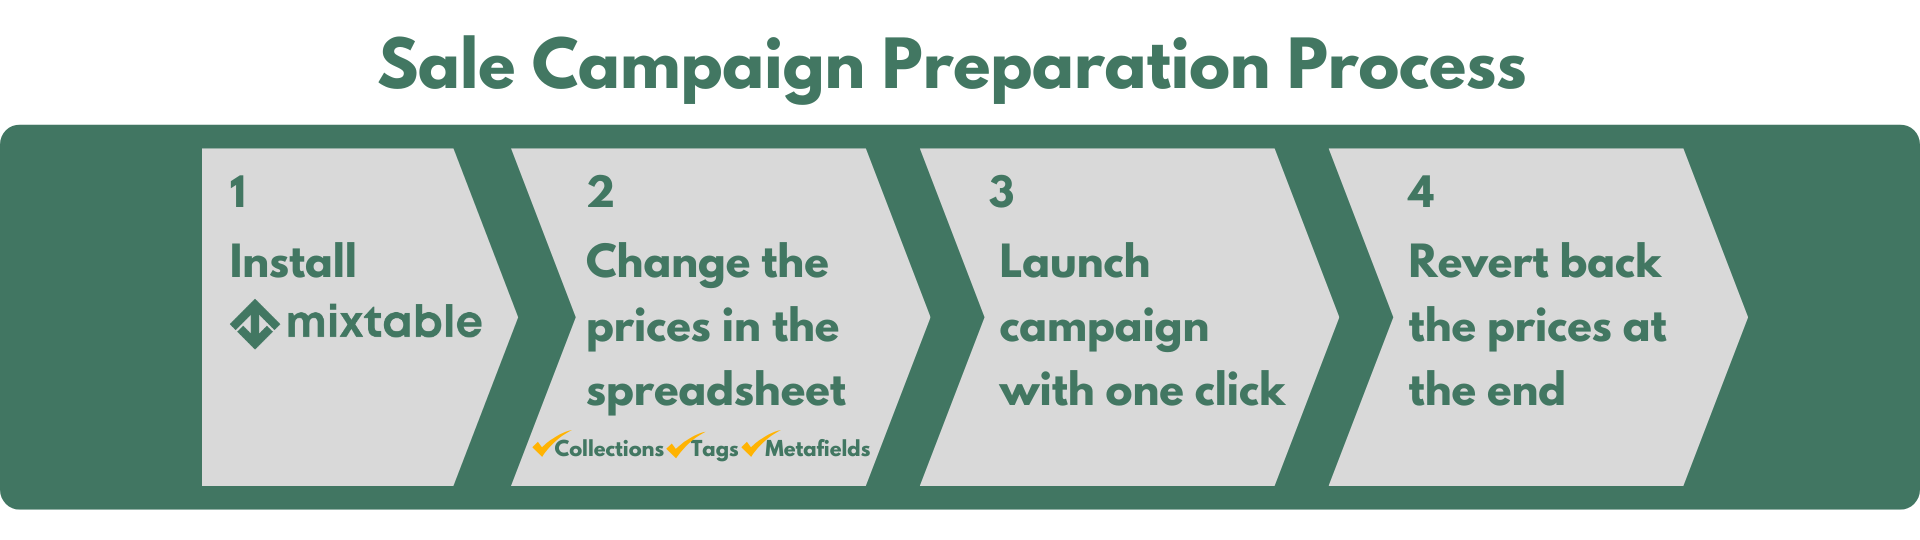
Here’s how the sales campaign setup process works:
- Install Mixtable Spreadsheet Editor: Connect your Shopify store and create a spreadsheet with your product and price data
- Change the prices in the spreadsheet: Discount prices for the sales campaign are available directly from the convenience of a spreadsheet. Feel free to filter products by collection, tag, or metafield, and utilize bulk editing features to change multiple prices by a certain percentage or value at once. You can also add specific products to a new collection (e.g., Summer Sale 2025), or add tags or metafields to products in bulk
- Launch campaign with one click: On the day of the campaign launch, click Sync at the top right of the spreadsheet, and the campaign will go live!
- Revert to the original prices at the end: When the campaign ends, simply copy the product prices from the Compare-at column to the Price column, and your campaign will be complete
Below, we will show you in detail how to do the job accurately, quickly, and stress-free.
Change the prices for products and variants in bulk
-
After installing the Mixtable Spreadsheet Editor app, create a spreadsheet from the Full Product Info template. It loads all your product variants and their prices from Shopify
-
Open your Mixtable dashboard and click Create spreadsheet at the top of the page. If you haven't created a spreadsheet yet, click Browse all templates below the starting-point cards instead. In the Create spreadsheet window, find Full Product Info under Products, or type its name in the search box, and click it. Mixtable creates the spreadsheet and fills it with data from your Shopify store.
-
You can also pull the Compare-at price data into the spreadsheet:
-
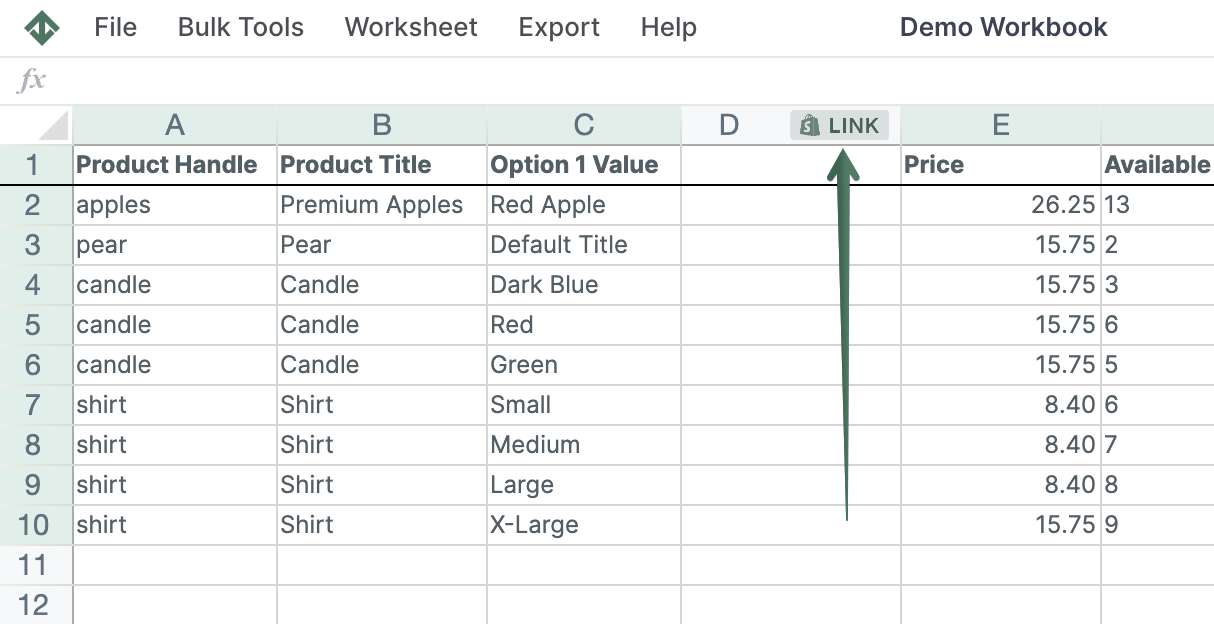
To load more Shopify data, click + Shopify data in the header row of an empty column, such as the one right after your last column. You can also choose Column > Add Shopify data… from the menu bar. The field picker opens and asks What should column E show?, with your column's letter in place of E. It lists everything the worksheet can show from Shopify, grouped into sections the way your Shopify admin groups them. Type in the search box at the top, or click a section on the left, to find the field you want.
-
Click Compare-at price in the Pricing section and click Save Column
-
You can copy the current product price data into the Compare-at price column, use it as the “crossed-out” price on the product page, and calculate the discount
-
You can now start changing the products’ prices in the campaign from the Price column
-
To change the prices with a formula or by a certain percentage, see the section below: Change the price by a percentage or a formula
Important: The changes you make in this new spreadsheet shouldn’t be synced to Shopify until the date of the campaign launch.
On the campaign start date, open the worksheet where you made the changes, click Preview at the top right of the spreadsheet to review them, then click Sync. The campaign will go live.
Bulk discount prices by Collections, Tags, or Metafields
If you want to discount only specific products, you can use the filtering options in the Mixtable spreadsheet. Here’s how to do it:
Discount prices per Collection

-
After installing the Mixtable Spreadsheet Editor app, create a spreadsheet from the Full Product Info template, as shown above. It loads your product variants and their prices
-
To run a discount on a specific collection, load the Collection data into your spreadsheet. Here’s how to do it:
-
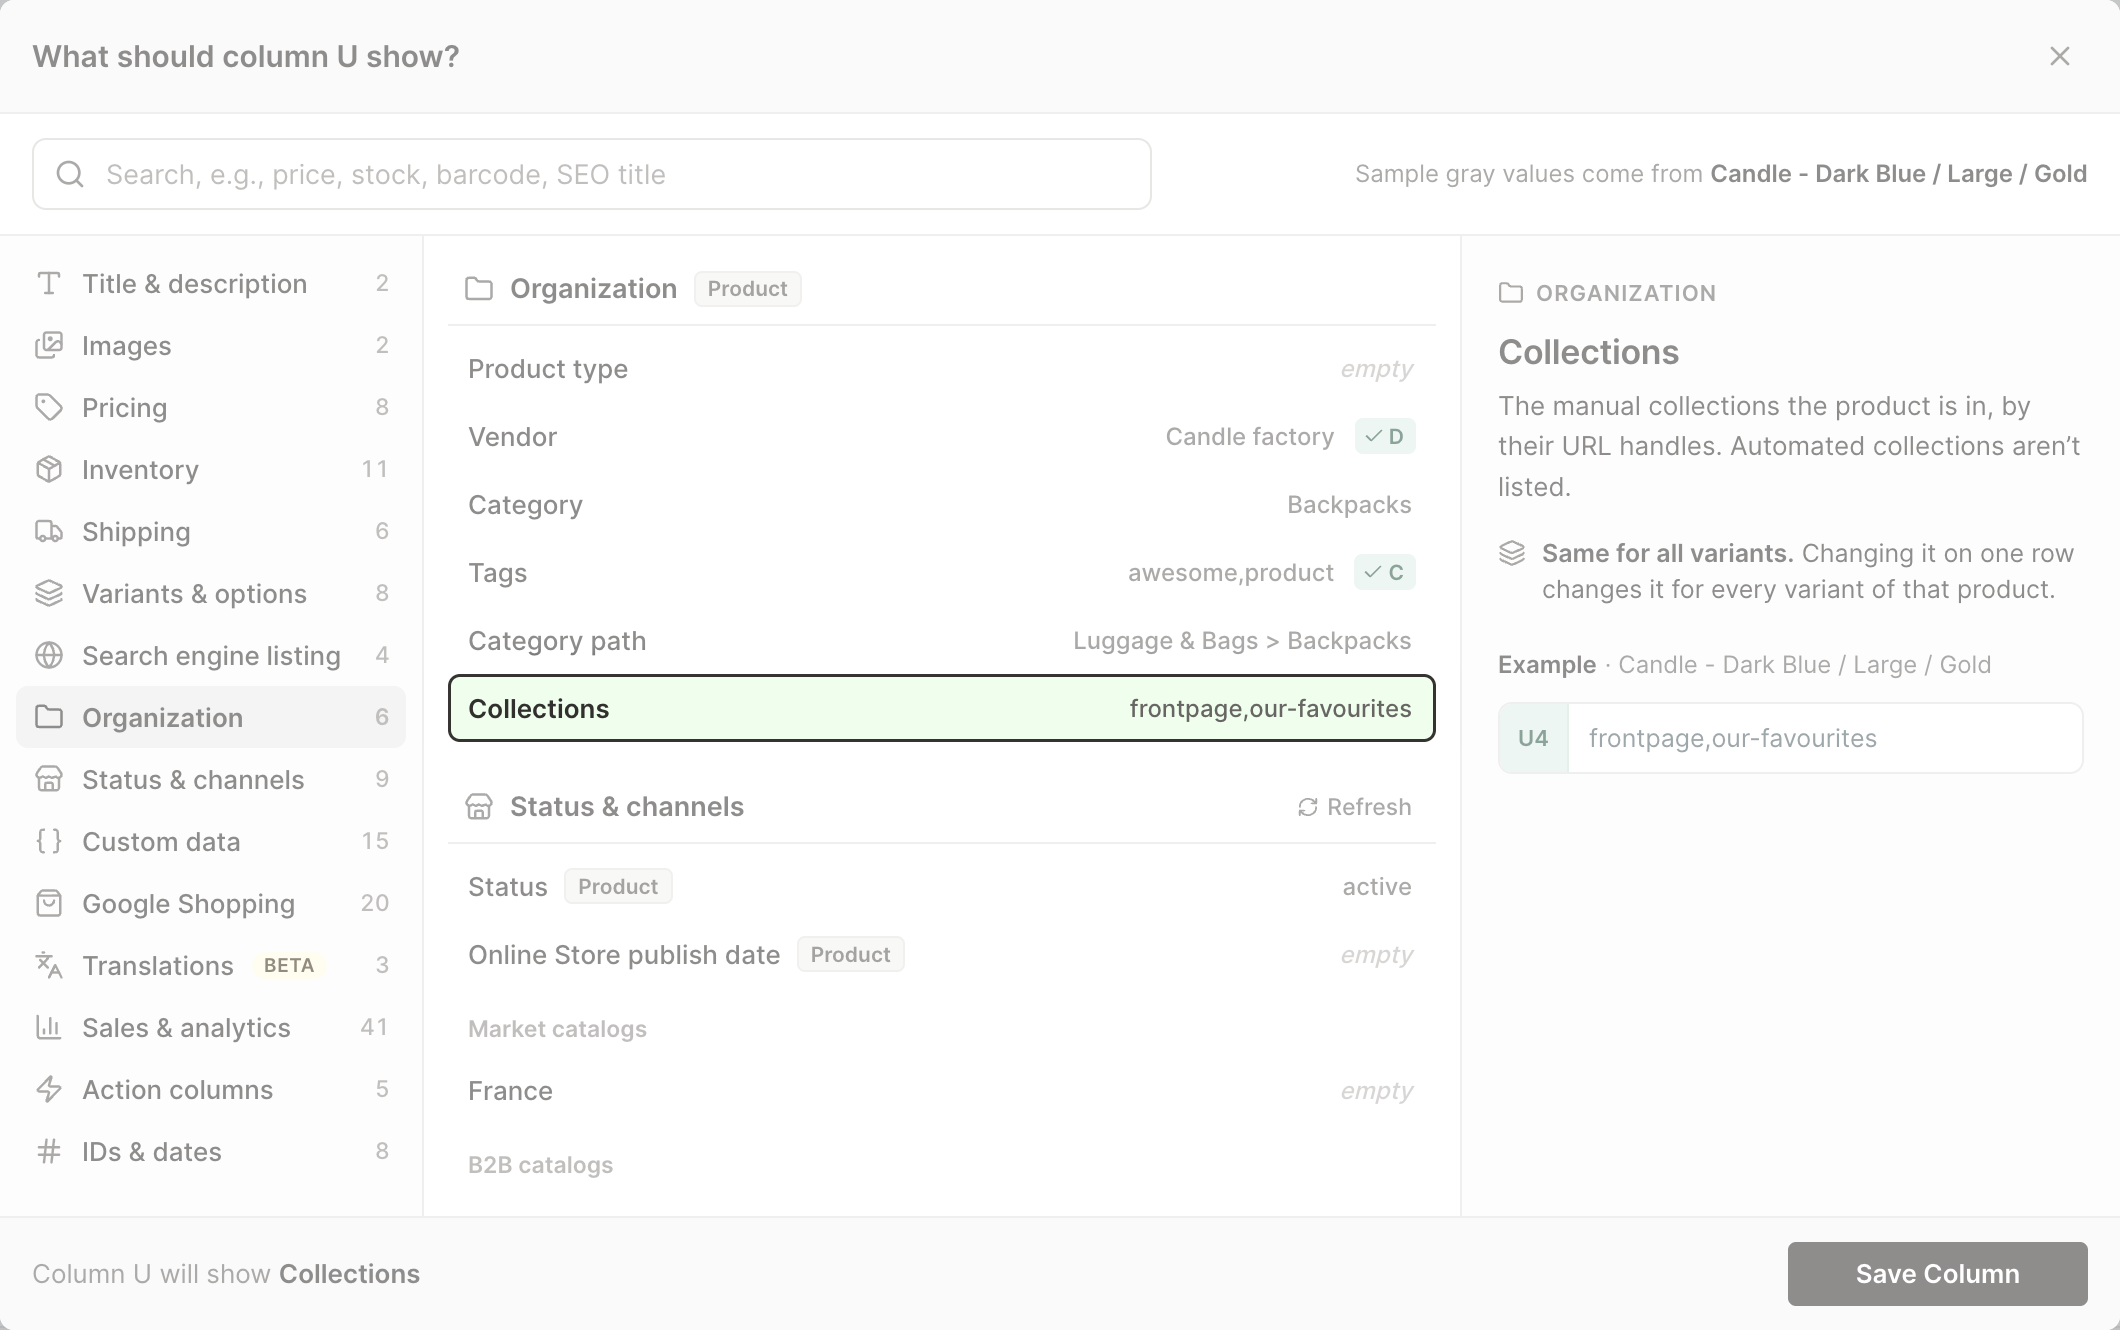
To load more Shopify data, click + Shopify data in the header row of an empty column, such as the one right after your last column. You can also choose Column > Add Shopify data… from the menu bar. The field picker opens and asks What should column E show?, with your column's letter in place of E. It lists everything the worksheet can show from Shopify, grouped into sections the way your Shopify admin groups them. Type in the search box at the top, or click a section on the left, to find the field you want.
-
Then click Collections in the Organization section and click Save Column
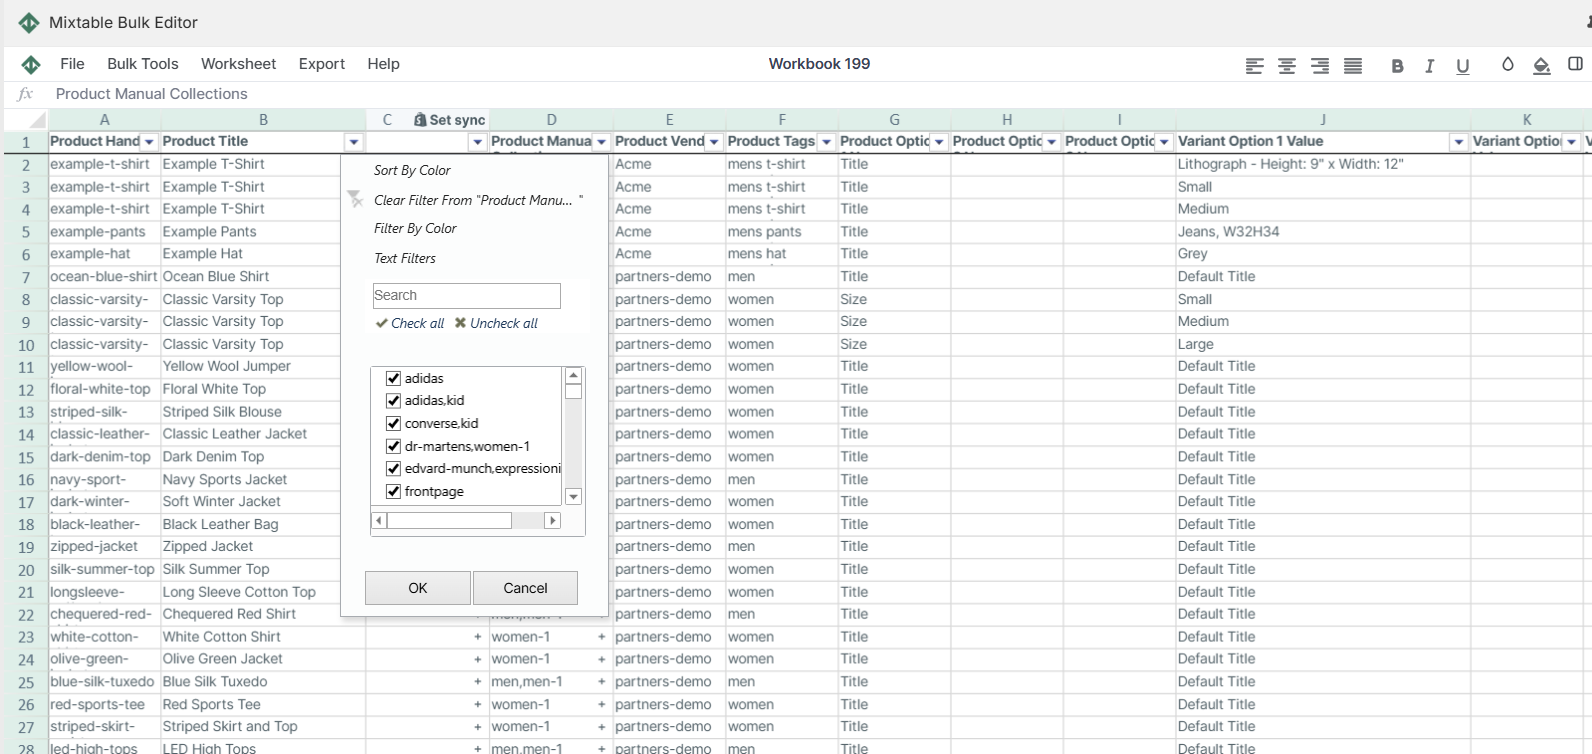
- Now, you can use spreadsheet filtering to select specific Collections for which to change the price:
- Once you have the desired data in a column, you can follow the steps from the above section: Change the Price for all products, but enforce it only on the selected products
- With Mixtable you can also add or remove products from collections in bulk, which can help you include only certain products in a sale campaign
Important: The changes you make in this new spreadsheet shouldn’t be synced to Shopify until the date of the campaign launch.
Discount prices per Product Tags

- To run discounts with certain Tags, you need the tag data in your spreadsheet. The Full Product Info template already includes a Tags column. To add tags to a worksheet that doesn’t have them, click + Shopify data in the header row of an empty column, click Tags in the Organization section of the field picker, and click Save Column
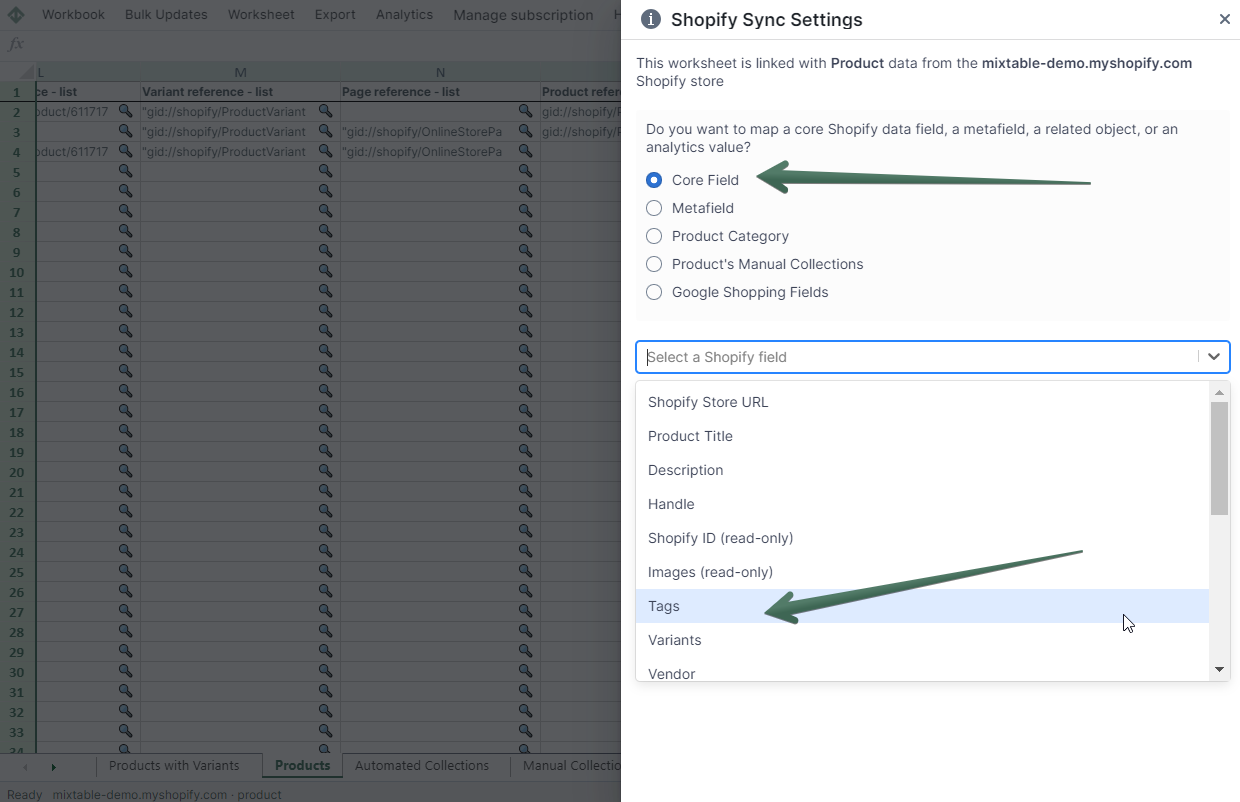
- Now, you can use spreadsheet filtering to select specific Tags for which to change the price
- Once you have the desired data in a column, you can follow the steps from the above section: Change the Price for all products, but enforce it only on the selected products
- With Mixtable you can also add or edit tags in bulk
Important: The changes you make in this new spreadsheet shouldn’t be synced to Shopify until the date of the campaign launch.
Change prices per Metafields

To run discounts per certain Metafields, you first need to pull the Metafield data into the spreadsheet.
- To do that, click + Shopify data in the header row of an empty column, click Custom data in the field picker’s list of sections, click the metafield, and click Save Column
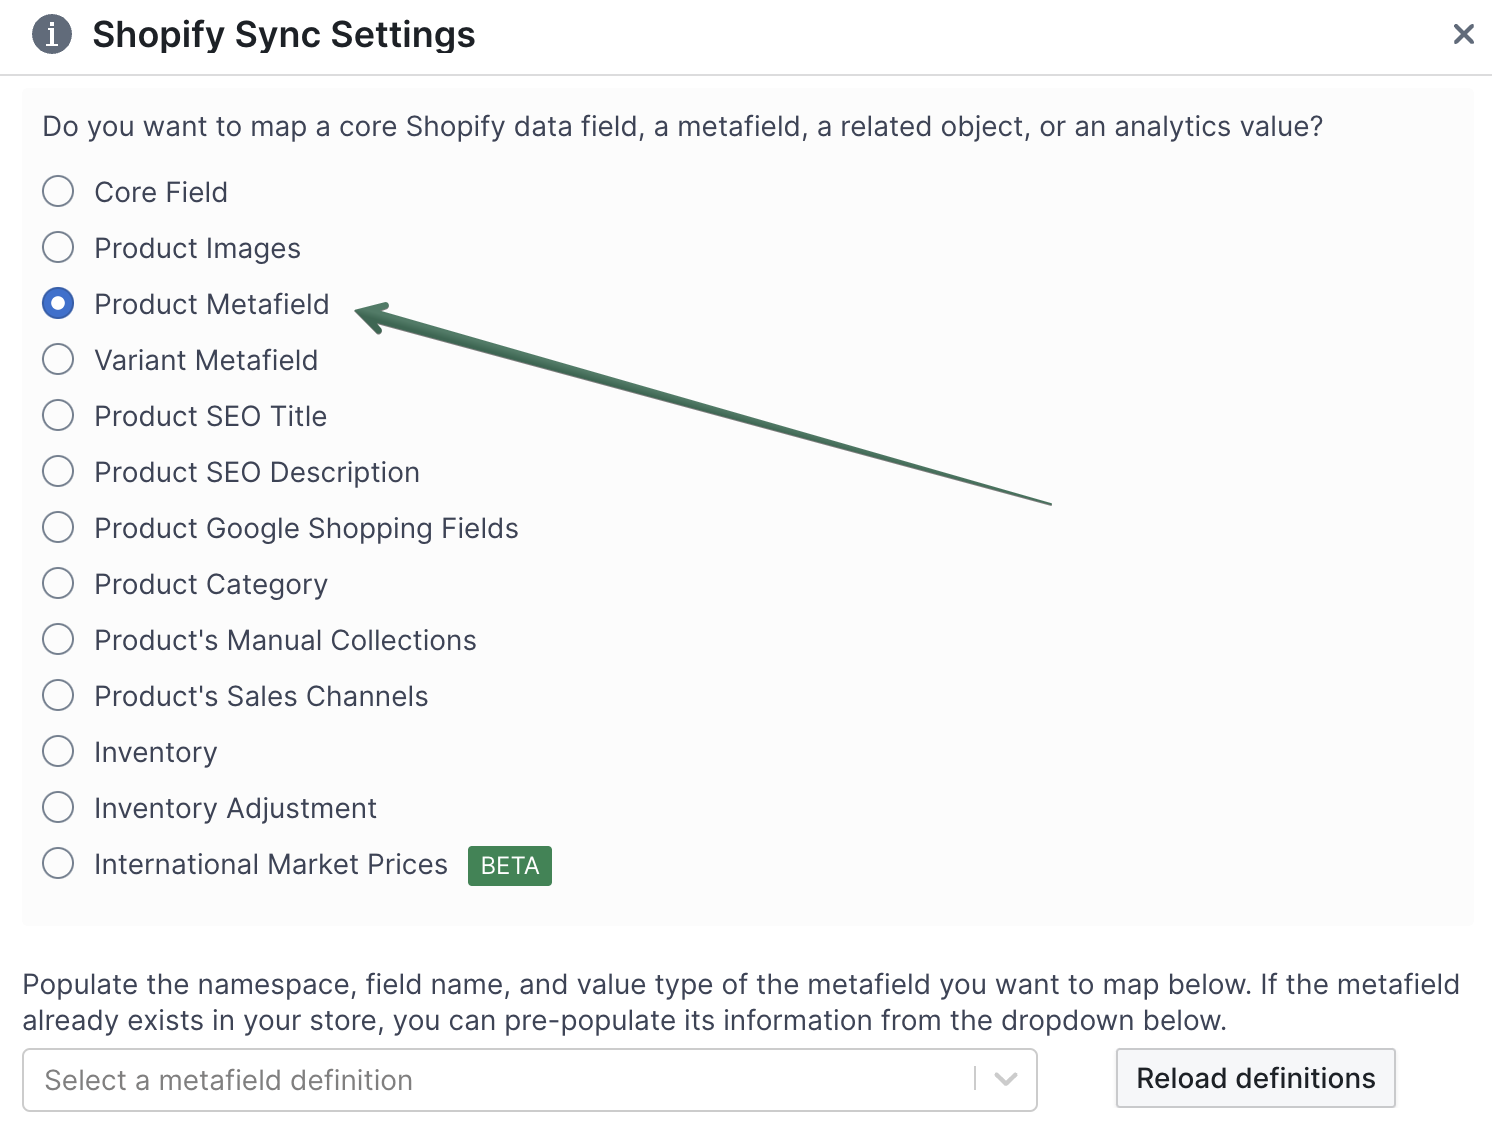
- Now, you can use spreadsheet filtering options to select products with specific Metafields for which to change the price
- You can now change product prices by a certain percentage or a formula. Check the instructions from the above section: Change the Price for all products, for details
- With Mixtable you can also add or edit metafields in bulk
Important: The changes you make in this new spreadsheet shouldn’t be synced to Shopify until the date of the campaign launch.
Change the price by a percentage or a formula with Bulk number changes
If, for example, you need to decrease the price by 10% for Black Friday/Cyber Monday or add $1.50 to the price of every product due to a corresponding increase in wholesale prices, you can do that in bulk with Bulk number changes.
Note: Bulk number changes performs mathematical changes and only updates cells with a number in them. You specify the type of calculation to perform, and Mixtable does it for you. If a column has a mix of numbers and text values, only the cells with number values are updated.
To open it, click the ▾ on the price column’s letter and choose Bulk number changes…. The Bulk Edit Numbers window opens with that column already chosen. You can also choose Bulk Edit > Bulk number changes from the menu bar. In the window, you’ll see a few inputs:
-
Select column - the column in the active worksheet that the change applies to. Pick your Price column
-
Select operation - this is where you select what type of mathematical operation will be performed. The options are:
- Add - Adds the value you’ve given to every number
- Subtract - Subtracts the value you’ve given from every number
- Increase by % - Takes each number and increases it by the specified percent
- Decrease by % - Takes each number and decreases it by the specified percent
- Multiply - Multiplies each number by the specified value
- Divide - Divide each number by the specified value
-
Value - The actual value you want to use in the mathematical update
-
Preview first 10 rows - Turn this on to see the Before and After values for the first 10 visible rows of the worksheet, so you can check the result before you make it real
-
Round results - Turn this on to round every result to a whole number. Leave it off for prices with cents, such as $19.99
Click Update Spreadsheet to apply the change. Only the rows you can see are changed, so if you filtered the worksheet by collection, tag, or metafield, the other products keep their prices. The new prices stay in your spreadsheet until you sync them to Shopify.
Campaign Launch and Campaign End
Campaign Launch
Once you are ready with the product price changes, you can leave this spreadsheet until the Campaign Launch date.
- On the campaign launch date, open this spreadsheet and go to the worksheet where you made the changes
- Click Preview at the top right of the spreadsheet to review your changes, then click Sync
- The data will sync with Shopify, and the campaign will go live!
Campaign End
- When the campaign is over, simply copy the original product prices from the Compare-at price column to the Price column
- Delete the Compare at prices if you don’t want to display anything there
- Click Preview at the top right of the spreadsheet to review your changes, then click Sync
- The prices will be back to the original ones