Shopify Sub Collections: Create and Manage
On this page
Shopify supports only one level of collections, and there are no official sub-levels of collections. Still, there are ways to present collections as subsets of other collections, and we’ll discuss them here.
How to display sub collections in Shopify
There are two ways to present subcollections in Shopify:
Sub collections as menu items
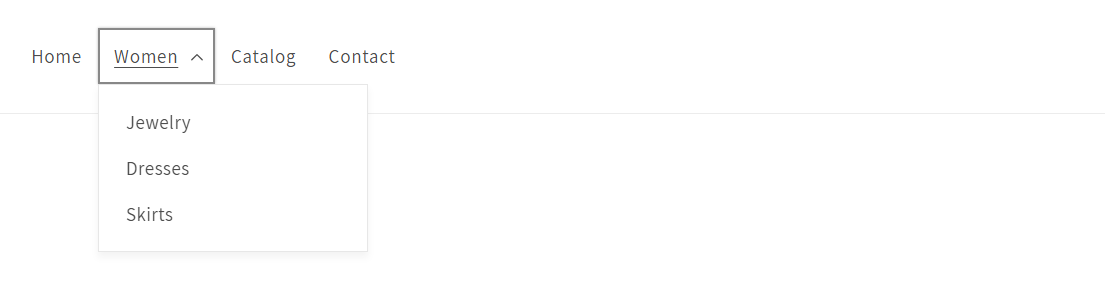
The first option is to show them as sub-menus, e.g., Jewelry, Dresses, or Skirts under the Women’s menu.
To add collections as submenus,
- Go to Shopify Admin > Content > Menus.
- Choose the menu you want to edit, e.g., Main menu.
- Add the new subcollection as items to the menu.
- Now, drag the new menu item below the item you want to associate it with and move it slightly to the right to make a Parent-Child connection. Click SAVE, and you are ready!
Sub collections as a template section
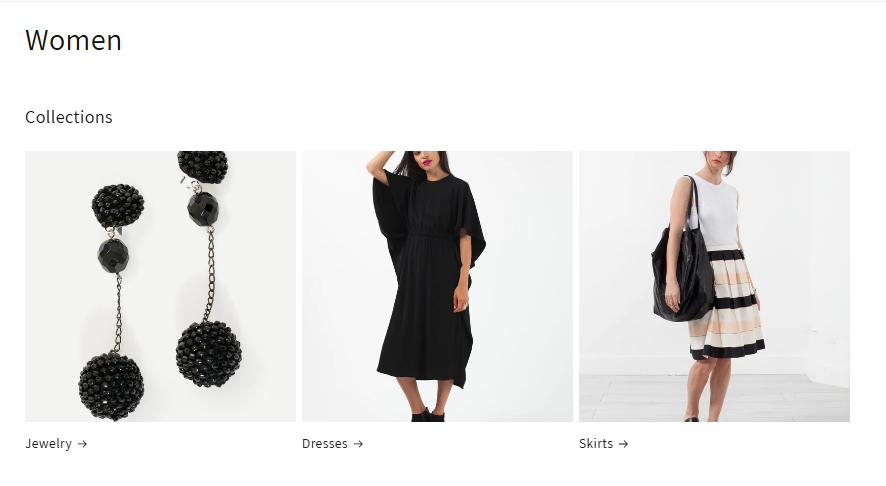
The second way is through adding an extra section inside a collection page (via a custom template). The section contains the sub-collections we want to display. Here’s how to do that:
- Create a new collection template for a specific main collection.
- Add a new Collection section and drag it up to the beginning of the page.
- The Collection section has three default placeholders to link to your subcollections.
Check this video by Rihab Seb for more details on dynamically adding subcollections to the collection template with metafields.
Now that you know how to display the sub collections, let's dive into how to manage the products in them.
Add products to sub-collections in bulk
As you know, Shopify allows for arranging products into automated product collections based on tags. For example, you can set a rule that automatically puts all products with the tag “woman” into the “Women” collection.
Now that you want products in subcollections, you may need to add additional tags to your products. For example, all women’s trousers may need a tag “women” and additional tags “trousers” or “pants,” which will help you automatically add them to the sub collection Women’s Trousers.
Adding the extra tags to your products can be done quickly with a spreadsheet tool like Mixtable. Here’s how to do it:
-
Add Mixtable to your Shopify store
-
Use the Full Product Info template to load your Shopify data on your product variants into a Mixtable spreadsheet.
-
The template already includes a Tags column. To add one to a worksheet that doesn’t have it:
-
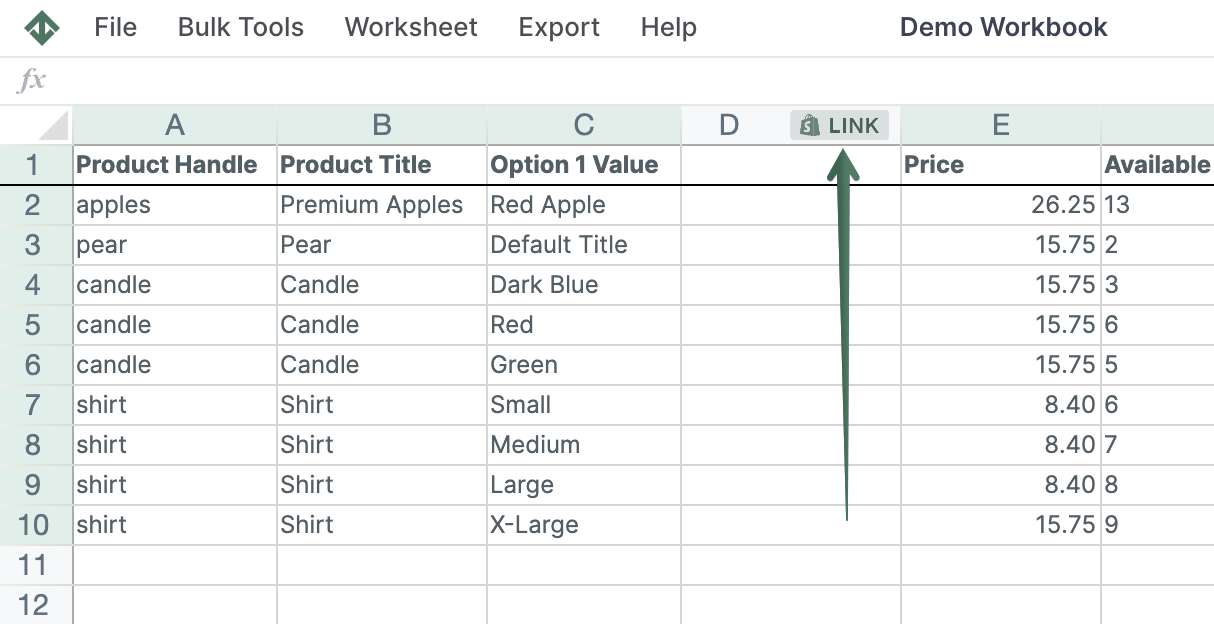
To load more Shopify data, click + Shopify data in the header row of an empty column, such as the one right after your last column. You can also choose Column > Add Shopify data… from the menu bar. The field picker opens and asks What should column E show?, with your column's letter in place of E. It lists everything the worksheet can show from Shopify, grouped into sections the way your Shopify admin groups them. Type in the search box at the top, or click a section on the left, to find the field you want.
-
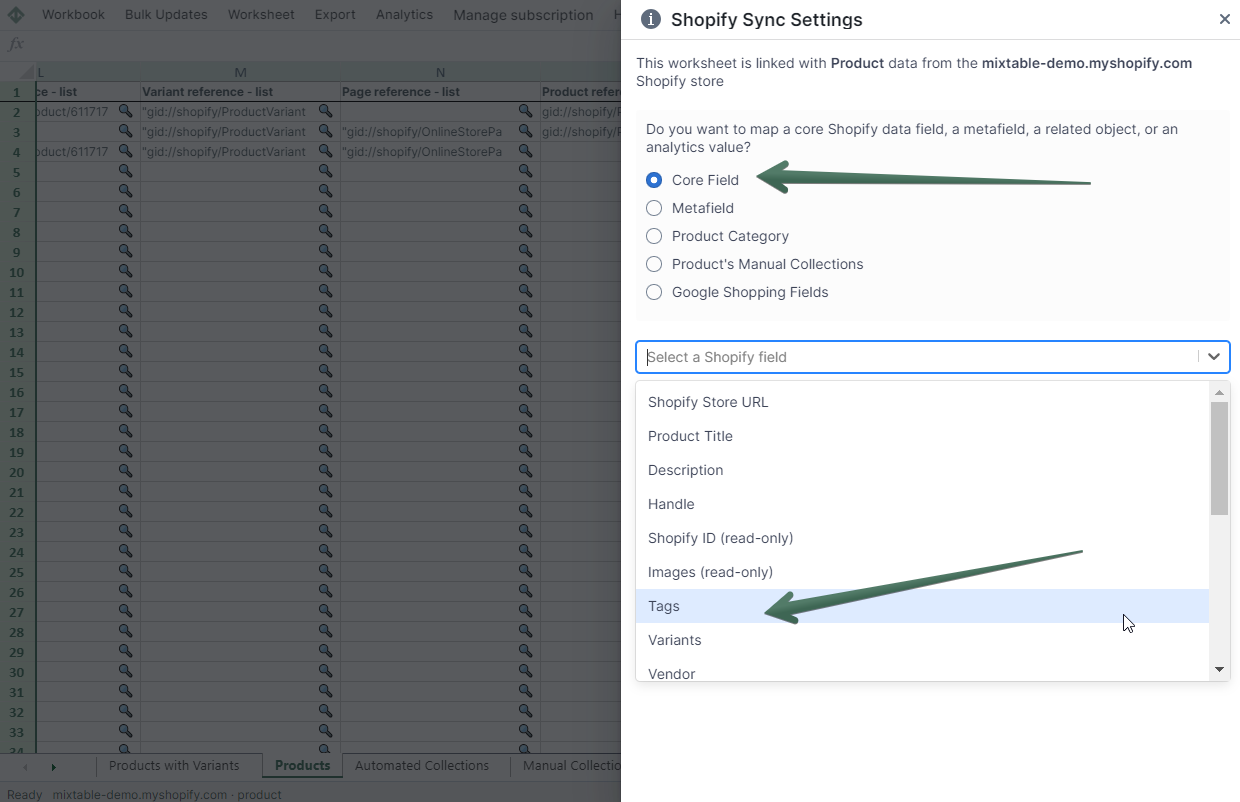
Click Tags in the Organization section, then click Save Column
Now you can set Automated collections rules and arrange products for a better user experience. Well done!