


Getting started
Shopify user guide
Manage multiple Shopify stores
Mixtable provides a seamless solution for managing multiple Shopify online stores in one platform. You do this by linking multiple Shopify stores into the same user workspace. You can then add Shopify data worksheets for different stores to the same workbook. Or you can create different workbooks, each workbook responsible for a different store.
Link multiple Shopify stores to the same Mixtable workspace
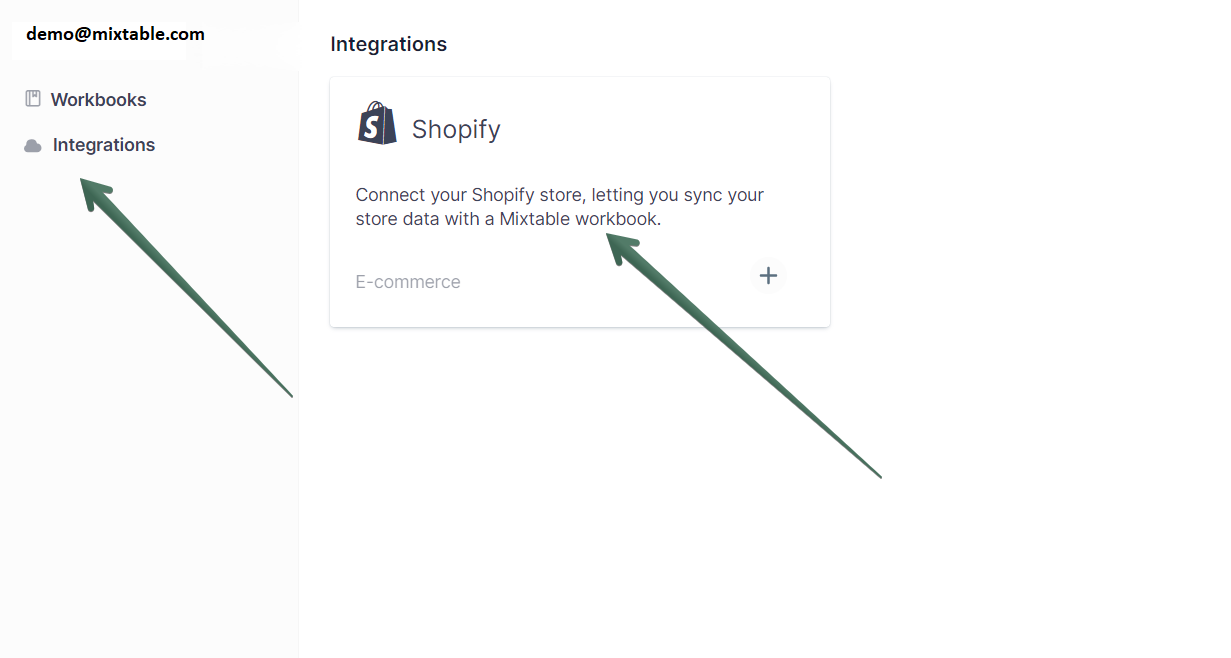
On your dashboard, click on the Integrations menu option on the left menu, and then click on the Shopify integration card.
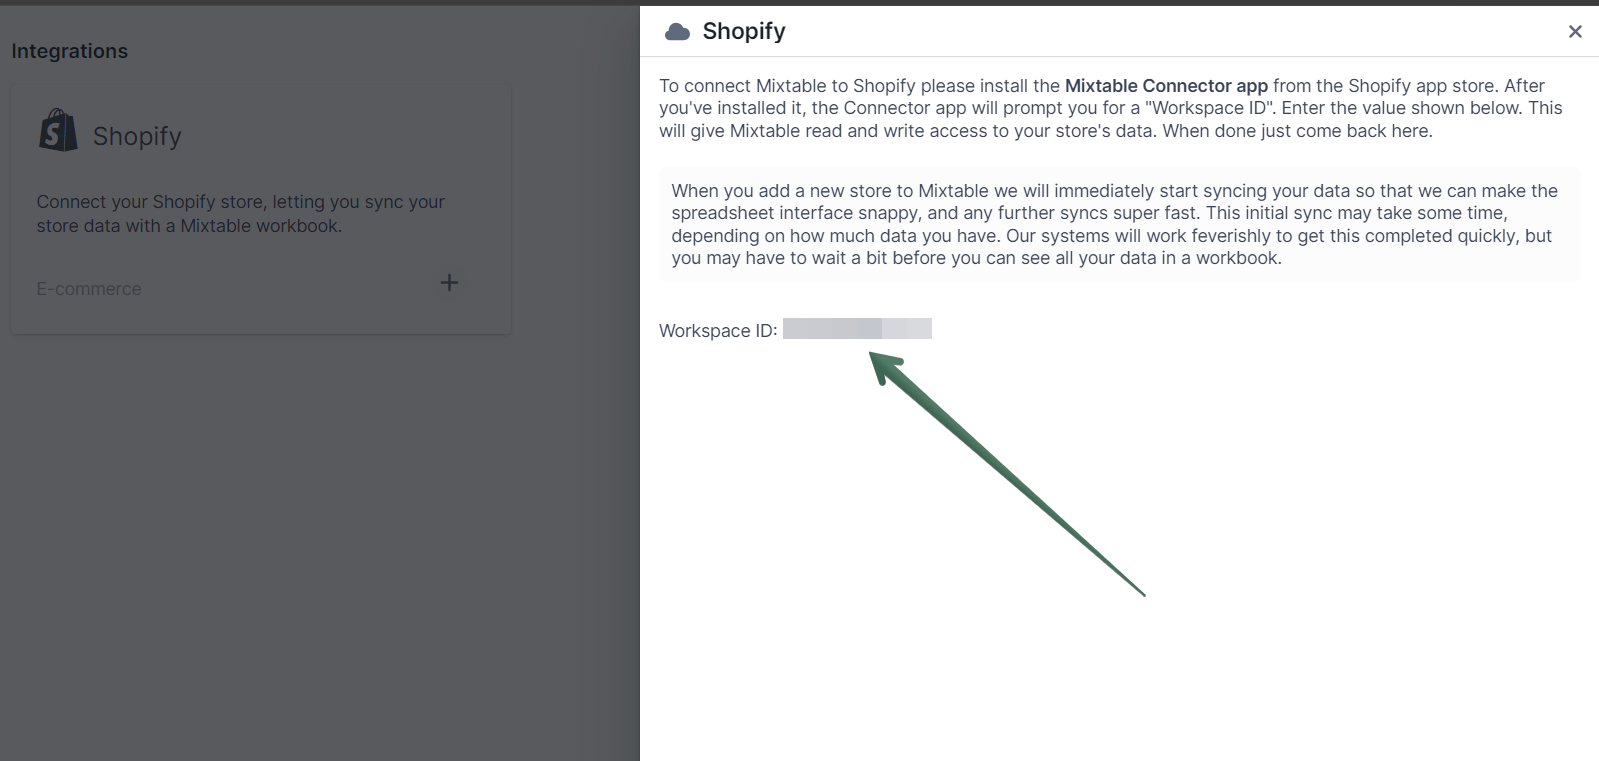
In the new panel that opens you’ll see the Workspace ID for the workspace you are currently in. Copy this value to your clipboard.
Install the Mixtable Bulk Editor or Mixtable Exporter apps from the Shopify app store to each store whose data you want to sync with Mixtable.

Once installed, open the Mixtable app you installed from your Shopify Admin. You will see a prompt to enter the Mixtable Workspace ID that you copied earlier. Paste this value, and click on the Link Store button.


Return to Mixtable, click on Integrations in the left menu. Then click on the Shopify integration card. You will now see the URL for your Shopify store as connected. You will see a new connection for each Shopify store.

By following these steps per Shopify store, you can connect and manage all of your Shopify online stores with Mixtable.
Using Mixtable to manage your Shopify stores
Now that you have connected multiple Shopify stores to the same workspace you can work with their data. In Mixtable Shopify data for each store is linked on a per-worksheet basis. So you can have worksheets from different stores in the same workbook. It’s up to you how you organize your stores’ data. Common approaches we see is to either have a single workbook for each stores, with multiple workshets for different data types from the same store. Or create a workbook for a particular data type (e.g., Products) and have product worksheet from each store inside.
How to create a new Workbook per store
Log into Mixtable. On your dashboard, click on Create Shopify template workbook.

You will see a pop up named Add Shopify Linked Workbook.

From the Add Shopify Linked Workbook dropdown menu select the store you want to create a workbook for and click Starter Shopify workbook to create your new workbook.

How to add a store-specific worksheet to an existing workbook
On your dashboard, select the workbook you want. From the workbook click the [+] button on the worksheet tabs menu found at the bottom of the workbook.

The Add Worksheet dialog will now open. Navigate to the Shopify data worksheet section and click on the dropdown menu. From the dropdown menu select one of the stores you earlier connected to your workspace.

Select the type of worksheet you want to add to the workbook and click Add Worksheet.

Organizing the workbooks and worksheets for your Shopify stores
How to rename a workbook?
- Open the workbook you want to rename.
- From the worksheet that opens navigate to the top left corner and click on Workbook.
- You will see the pop up menu that opens with the default name of the workbook. Double click on it to mark the full name and then delete it.
- Type in the new name of the workbook.
- Save the new name by pressing the Enter key on your keyboard
How to rename a worksheet?
- Open the workbook that holds the worksheet you want to rename.
- Navigate to the bottom of the worksheet and double click on the default name of the sheet.
- Type in the new name of the worksheet and click Enter to save the change.