Change the order of Shopify product variants
Change the order of Shopify product variants
Changing the display order of your Shopify product variants is quite simple using Mixtable’s Excel-like spreadsheet. The display order of your variants is stored in their position field. Every variant of your product has a value in its position field, and Shopify orders the variants on your product pages based on the value of this field.
So, to change the display order of your variants you need to map a column to the position field on a worksheet that syncs your store’s variant data. Here’s how:
Mapping variant position to a column
-
In a spreadsheet create a worksheet that integrates with your Shopify Product Variants.
-
To load new Shopify data, start by selecting an empty column — any column with a non-green header (green headers mean the column is already linked to Shopify data). Then, click the
 button in the column header to open the selection window to choose the data you want to pull in.
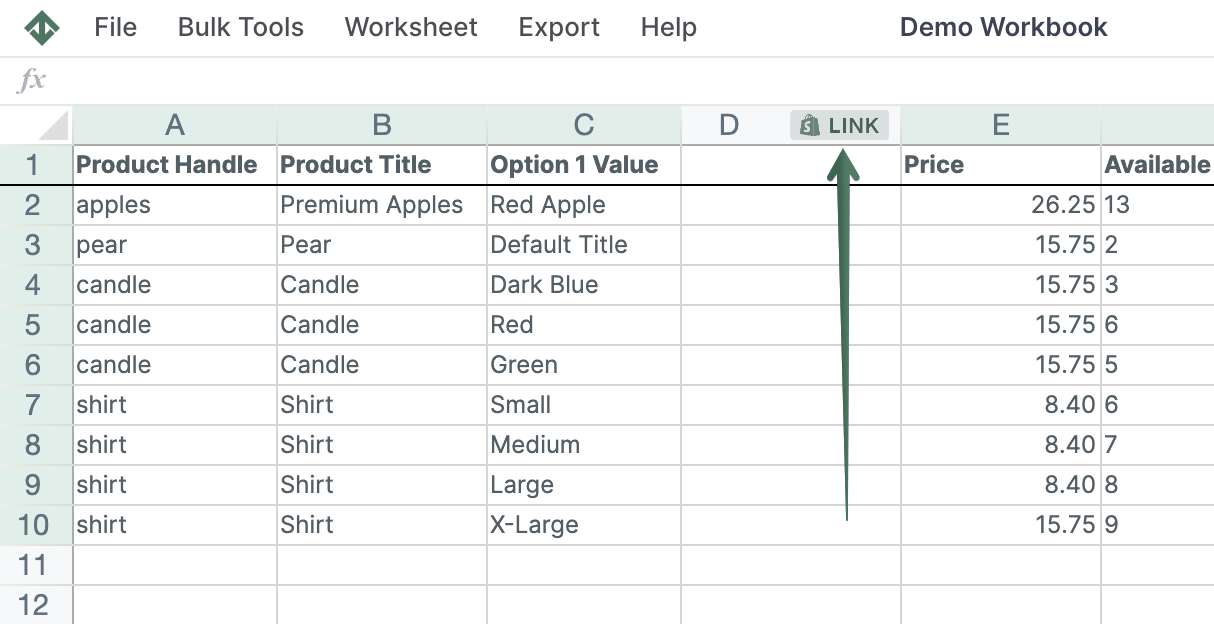
-
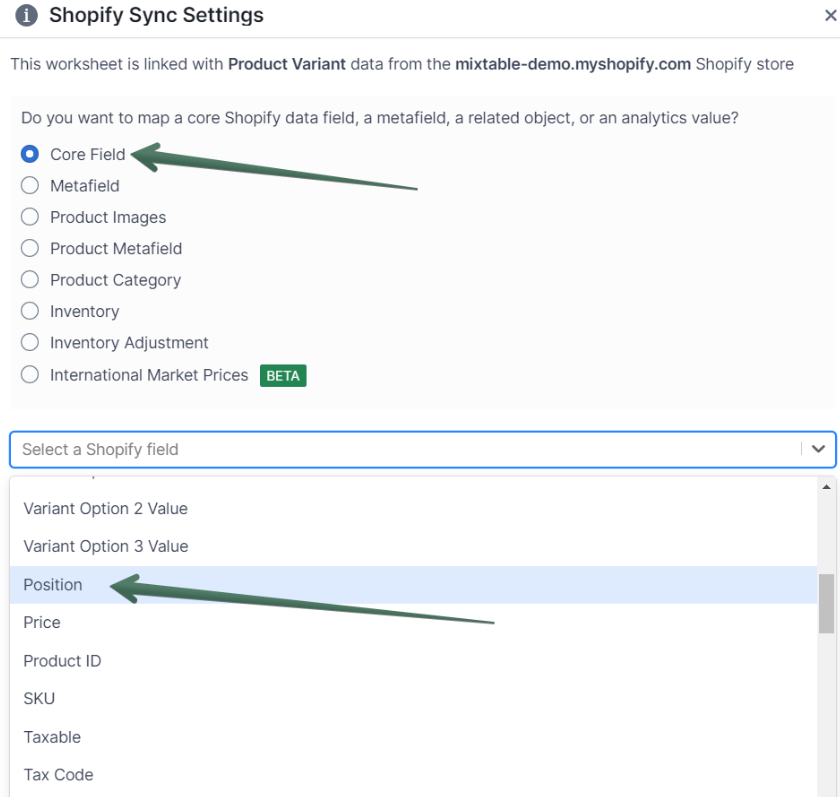
In the window that opens, select Shopify data fields. You will see a dropdown show up, prompting you to select the field you’d like to sync. Find and select the Position field. Now, click on the Save button.
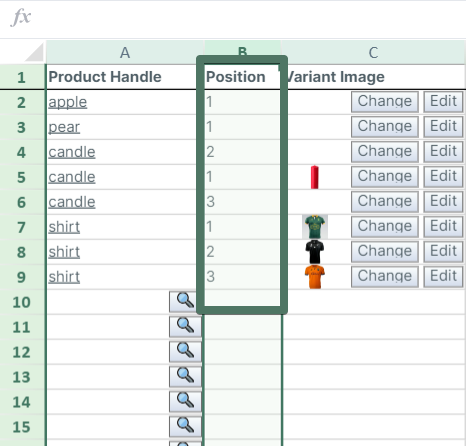
- You’ll now see the column populate with the existing display order positions for your variants
Changing the display order and syncing positions back to Shopify
Now that you have the position field mapped to a column, changing the values of cells and clicking the Sync to Shopify button will sync those changes back to Shopify. It’s up to you how to change the cell values as, depending on your process, you have a few options.
- You can manually change some variants’ position in order to force a particular variant to show up at the top. This can be your best seller, for example.
- You can also use Mixtable’s sort functionality to rearrange the rows in the variants-syncing worksheet based on some logic.
Then update the position cell values after the sort is done with the order of the rows.
- You can do this manually, or by dragging cell values as you can in Excel.
- You can also use the Excel ROW() function to populate the cells with their current row number.
You're ready!
Mixtable is an online spreadsheet designed to sync data with Shopify. It looks, feels, and behaves like Excel (including formulas), but runs in your browser. With Mixtable you can:
- Bulk add products to collections, edit metafields, add or remove tags;
- Change product prices, including international prices, and review price history;
- Manage customers with a spreadsheet CRM for Shopify;
- Use Excel features like sort ascending or descending, find-replace, filter, and more.
Best of all, you can sync changes back to Shopify with a single click. Find out more about the Mixtable suite of products here.
Manage Shopify data in a spreadsheet.
Use Mixtable to edit, sync, analyze, import, and export your Shopify store data without CSV juggling.